Disclosure: Articles may contain affiliate links. As an Amazon Associate, we earn from qualifying purchases (at no additional cost to you). See our full disclosure here.
Last updated on October 13th, 2022 at 10:45 am

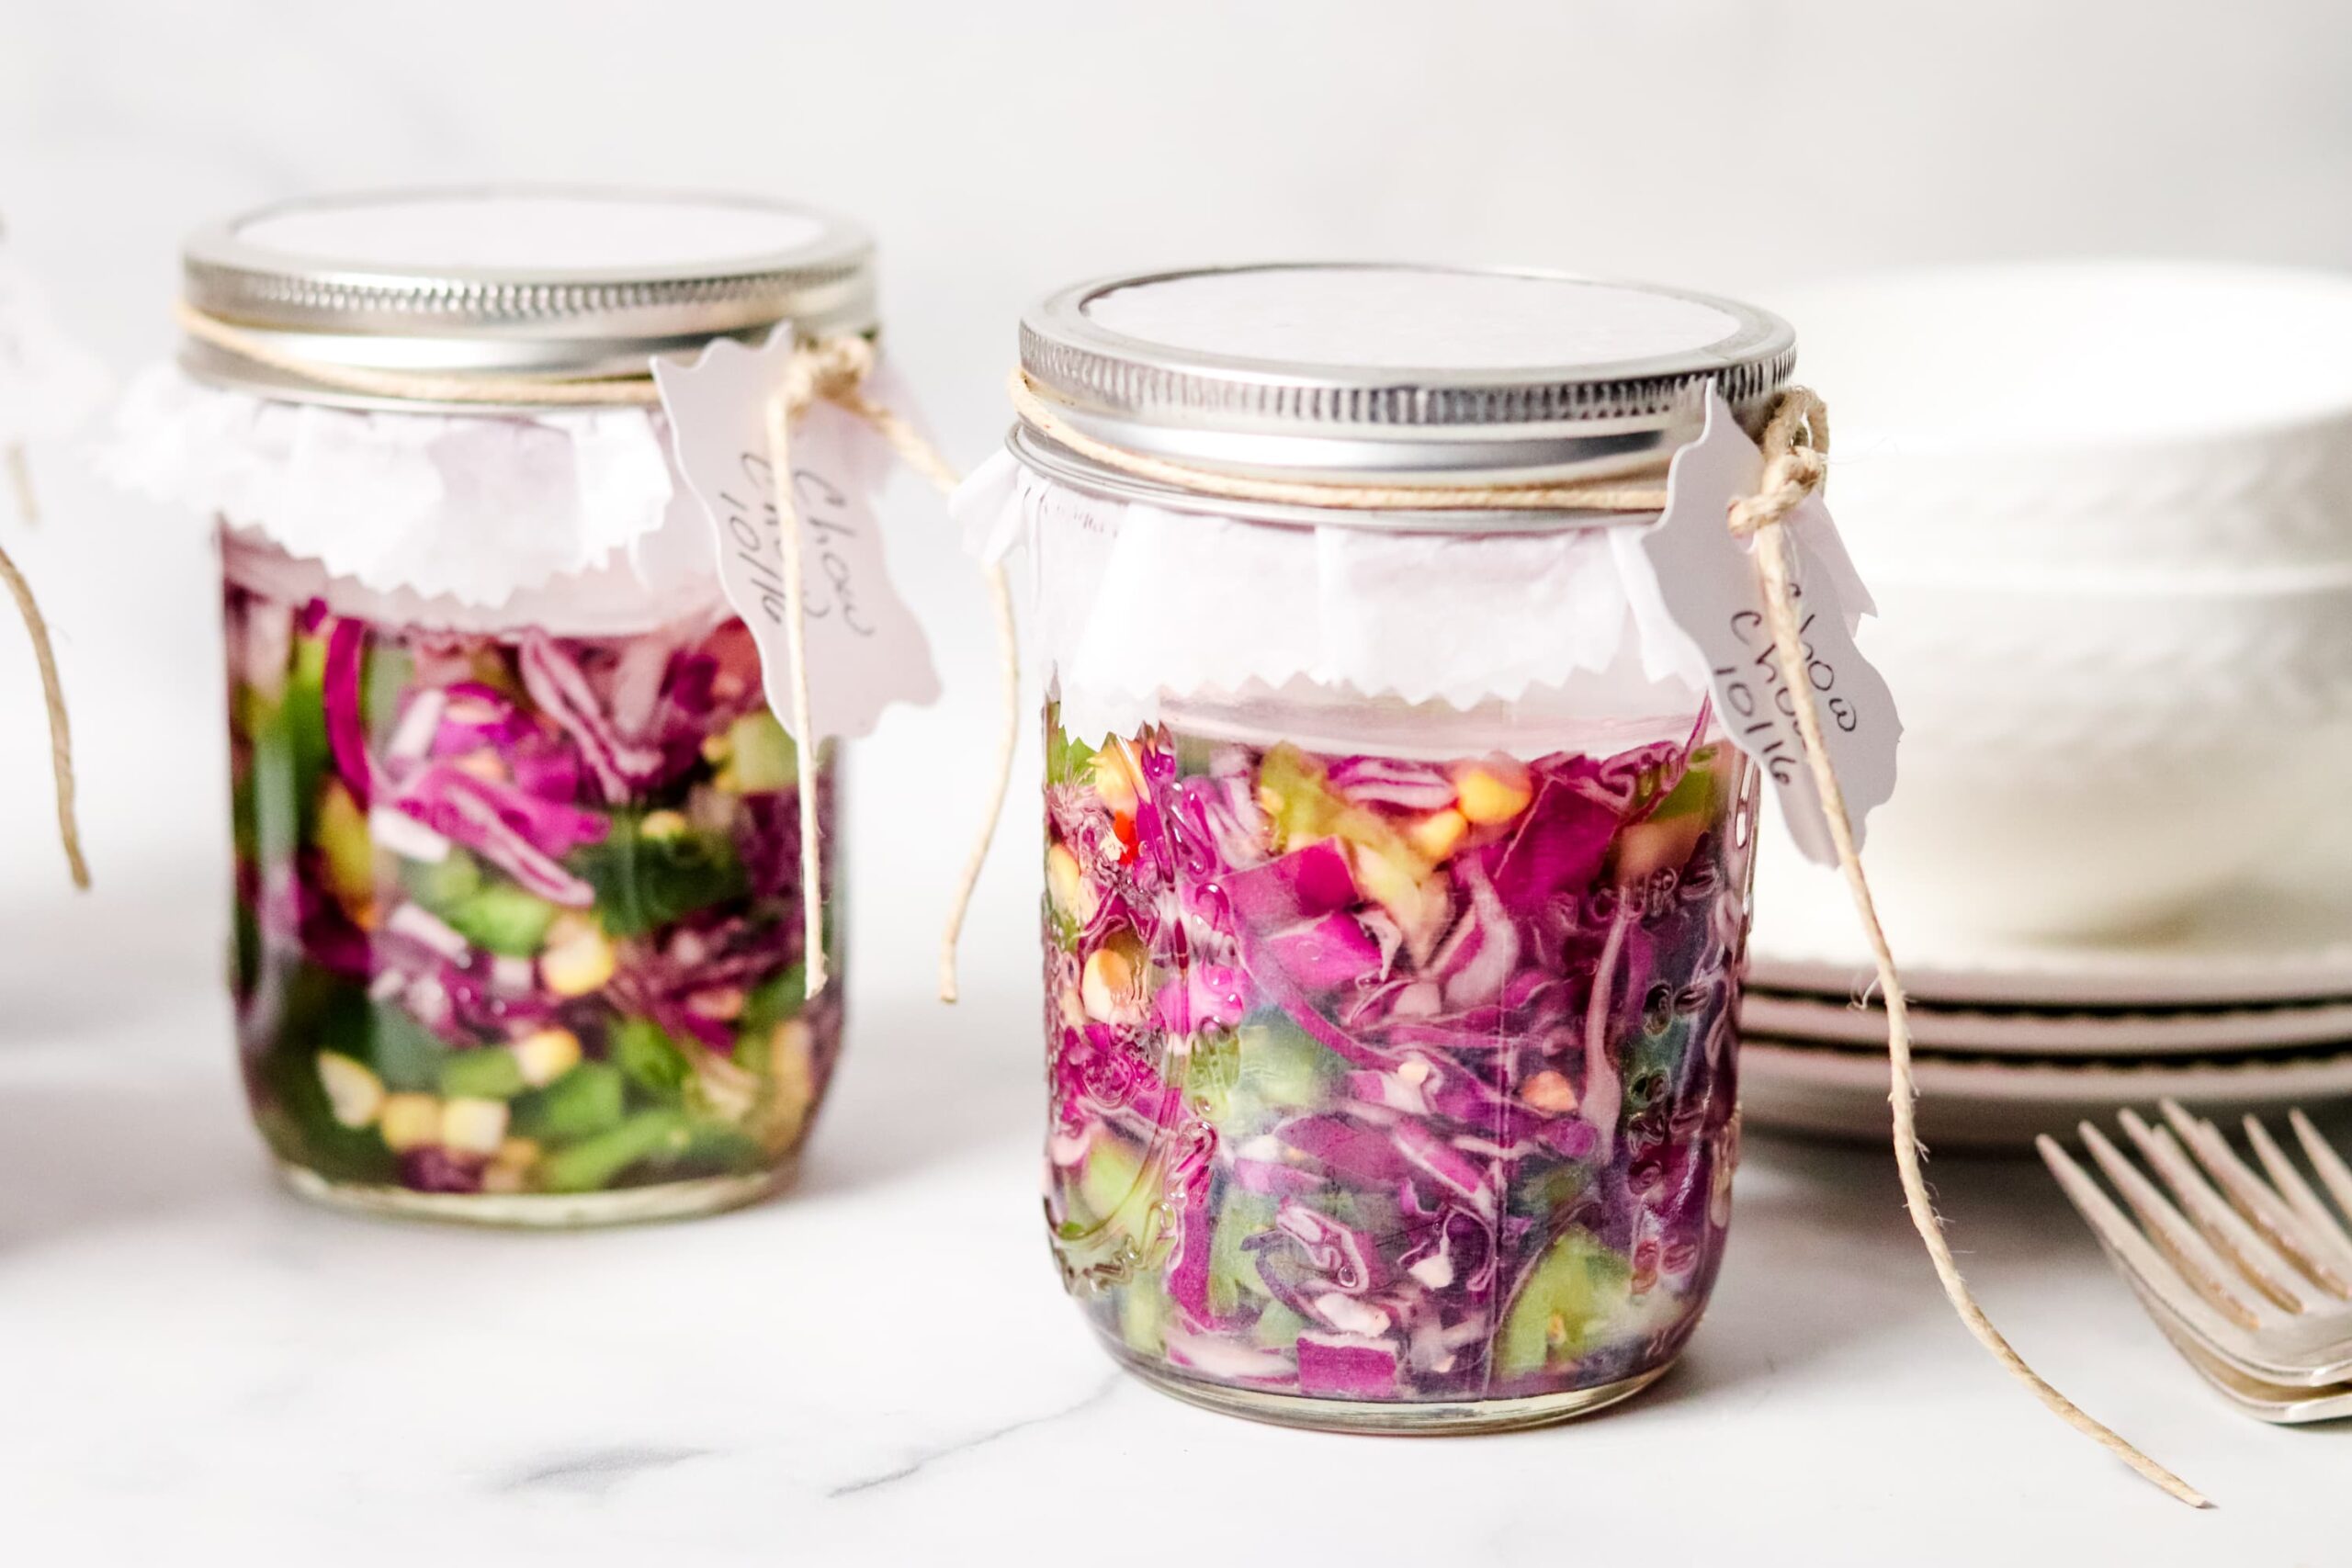
Do you know what chow chow is? I only learned recently, and unless you live in certain areas of the United States, you might not have heard of chow chow either. Let me introduce you to what some people also call chow chow sauce or relish with our recipe for fermented chow chow.
What is chow chow?
Chow chow is a bit like a slaw or a relish made with a base of cabbage–at least in our recipe. Some people make it with a green tomato base, but however you make it, other veggies are added, and this cold “relish” is eaten as a condiment, and sometimes even as a side dish. I prefer it as a topping on burgers, hot dogs, or chili. It can really be enjoyed on just about anything.
If you live in the South, you are more likely to be familiar with chow chow, but it’s gaining in popularity everwhere. Besides the extra flavor it gives to whatever you put it on, fermented chow chow is good for you.
It’s full of veggies, and eating fermented foods is beneficial for our gut health. We need the balance of good bacteria that eating fermented foods helps us achieve to properly synthesize vitamins, like vitamin K and the B vitamins. A diet that includes fermented foods can also help restore healthy digestion after taking antibiotics.
This homemade chow chow recipe with cabbage, corn, green peppers, and yes, we include green tomatoes, is super tasty. It’s worth a little effort when the end result is this delicious relish!
Articles may contain affiliate links. As an Amazon Associate, we earn from qualifying purchases (at no cost to you).
Here are a few things you’ll want to have on hand before you start making your chow chow:
- Canning stickers to label your jars (or some kind of label)
- Fermentation weights to use with Mason jars
- A canning funnel
- A kitchen scale
- Or, pick up this fermentation kit which has some of these items bundled together.
Fermented Chow Chow Recipe
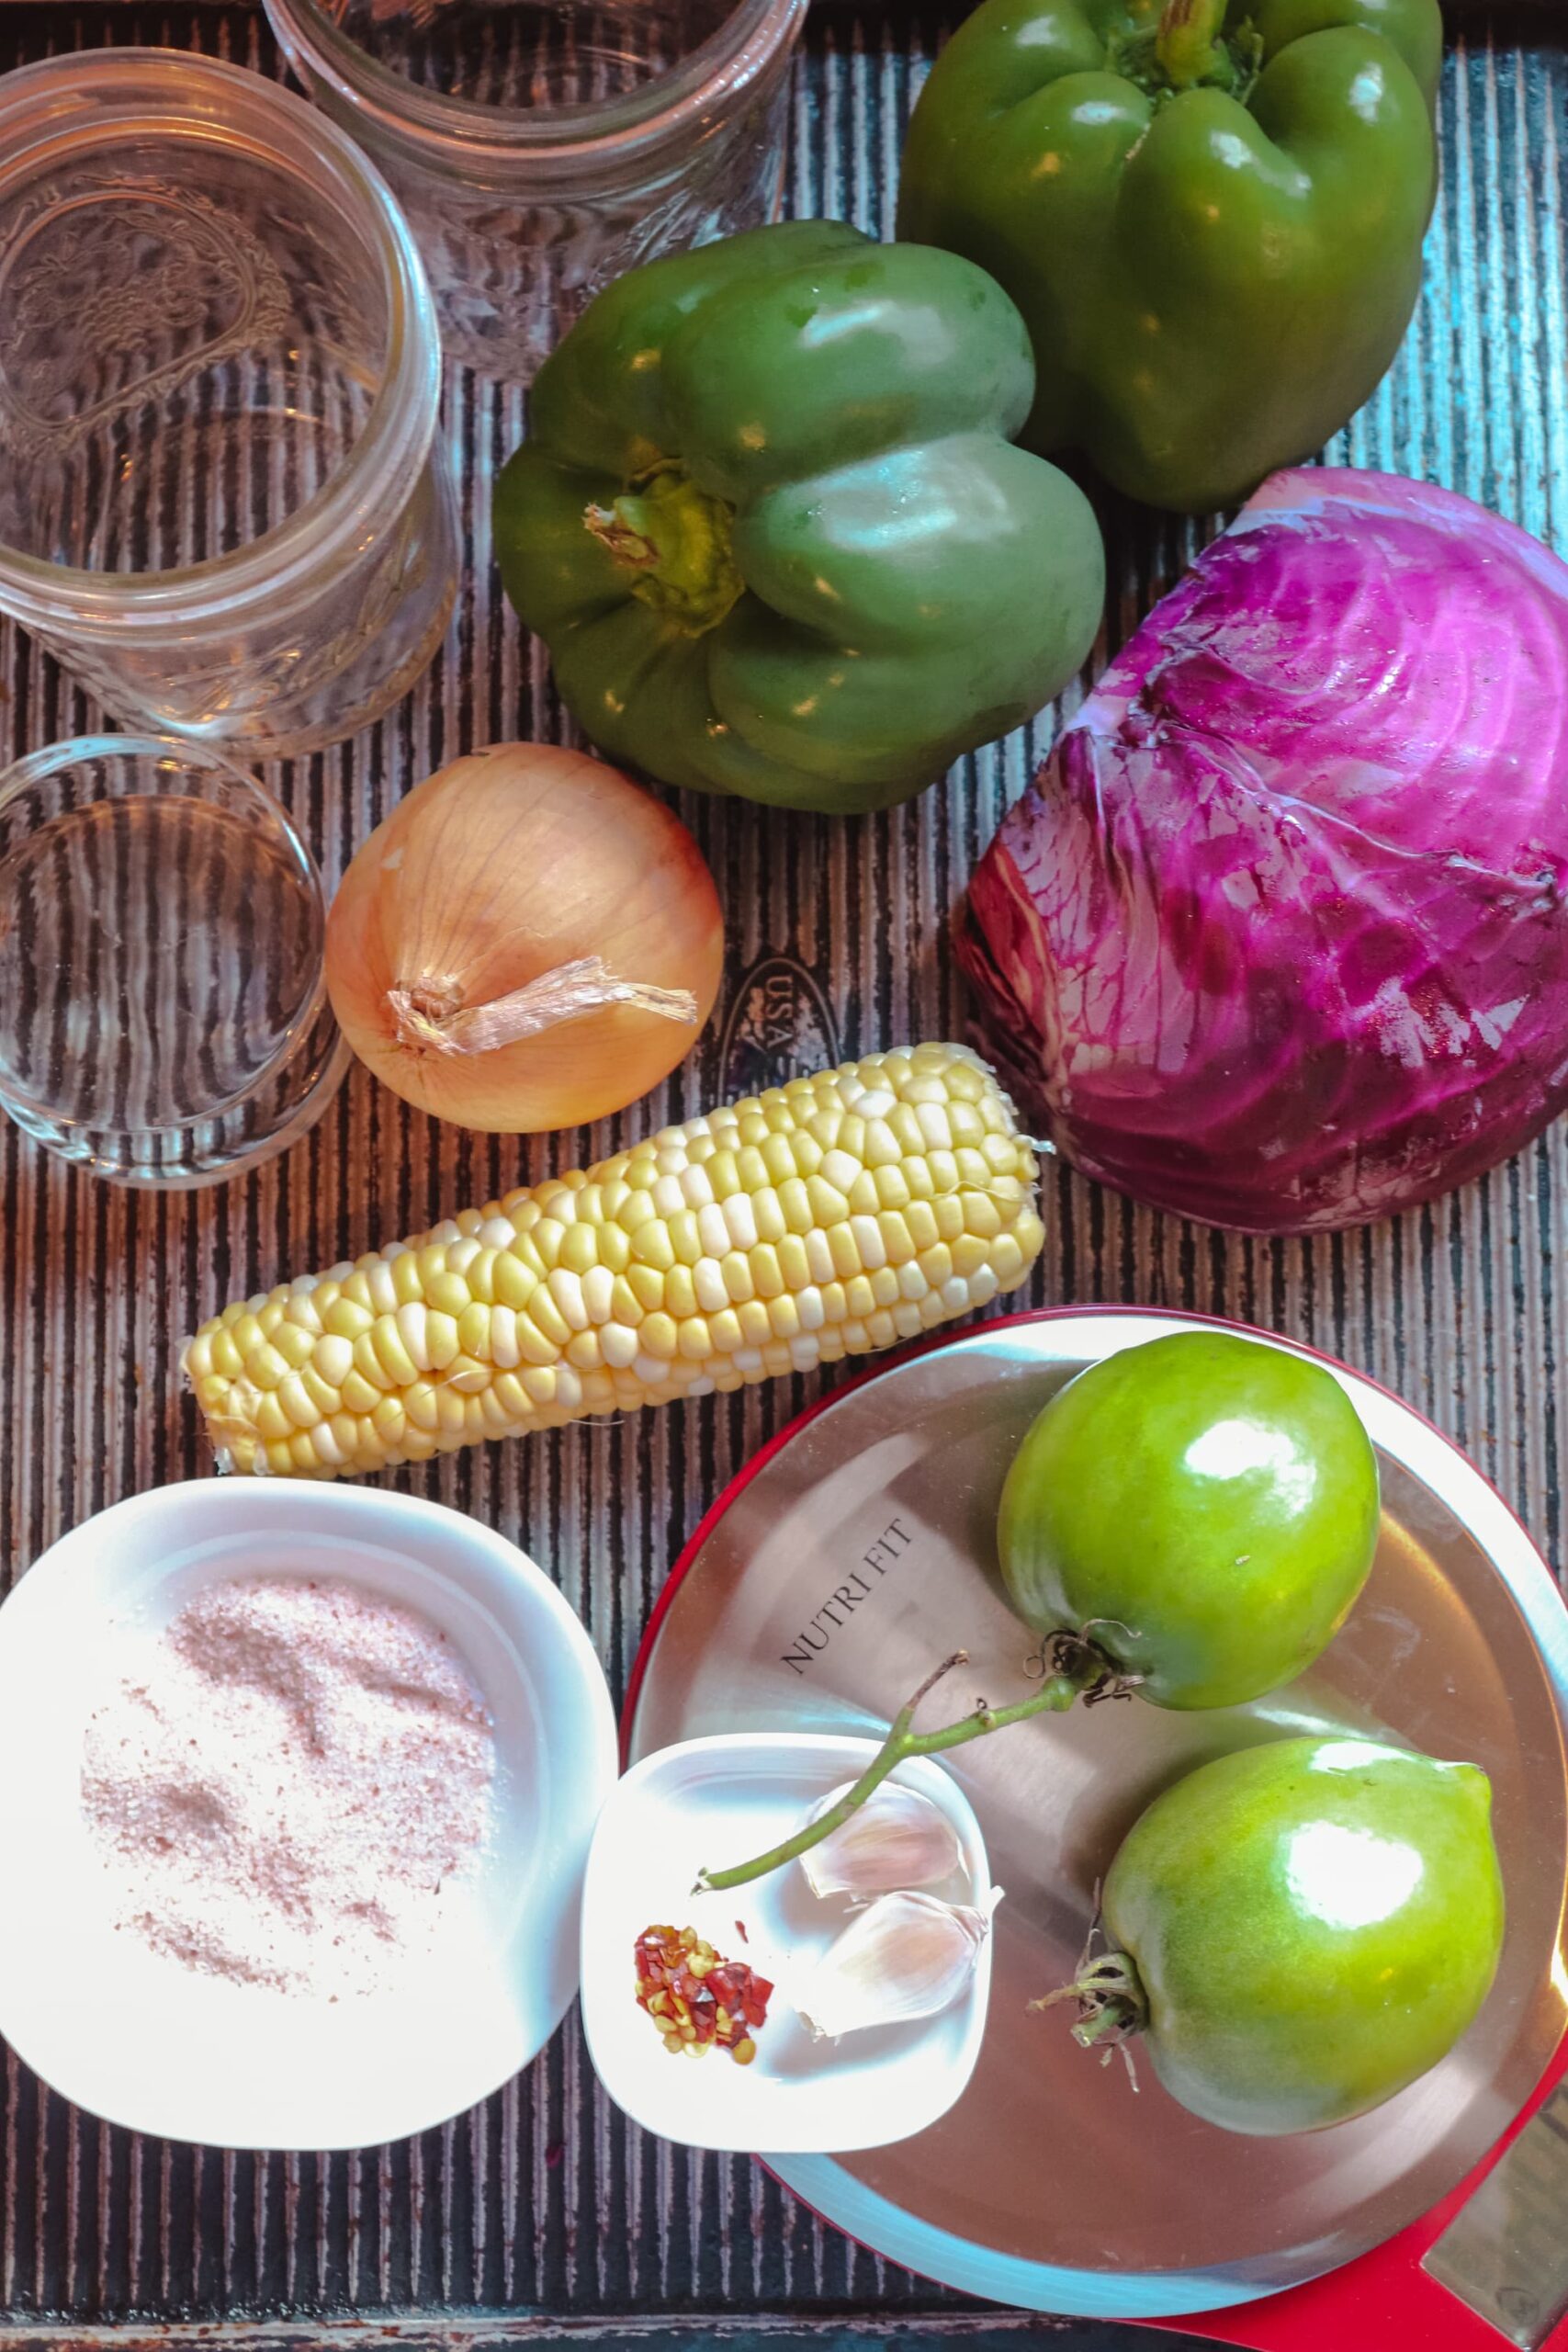
Here’s everything you need to make fermented chow chow.
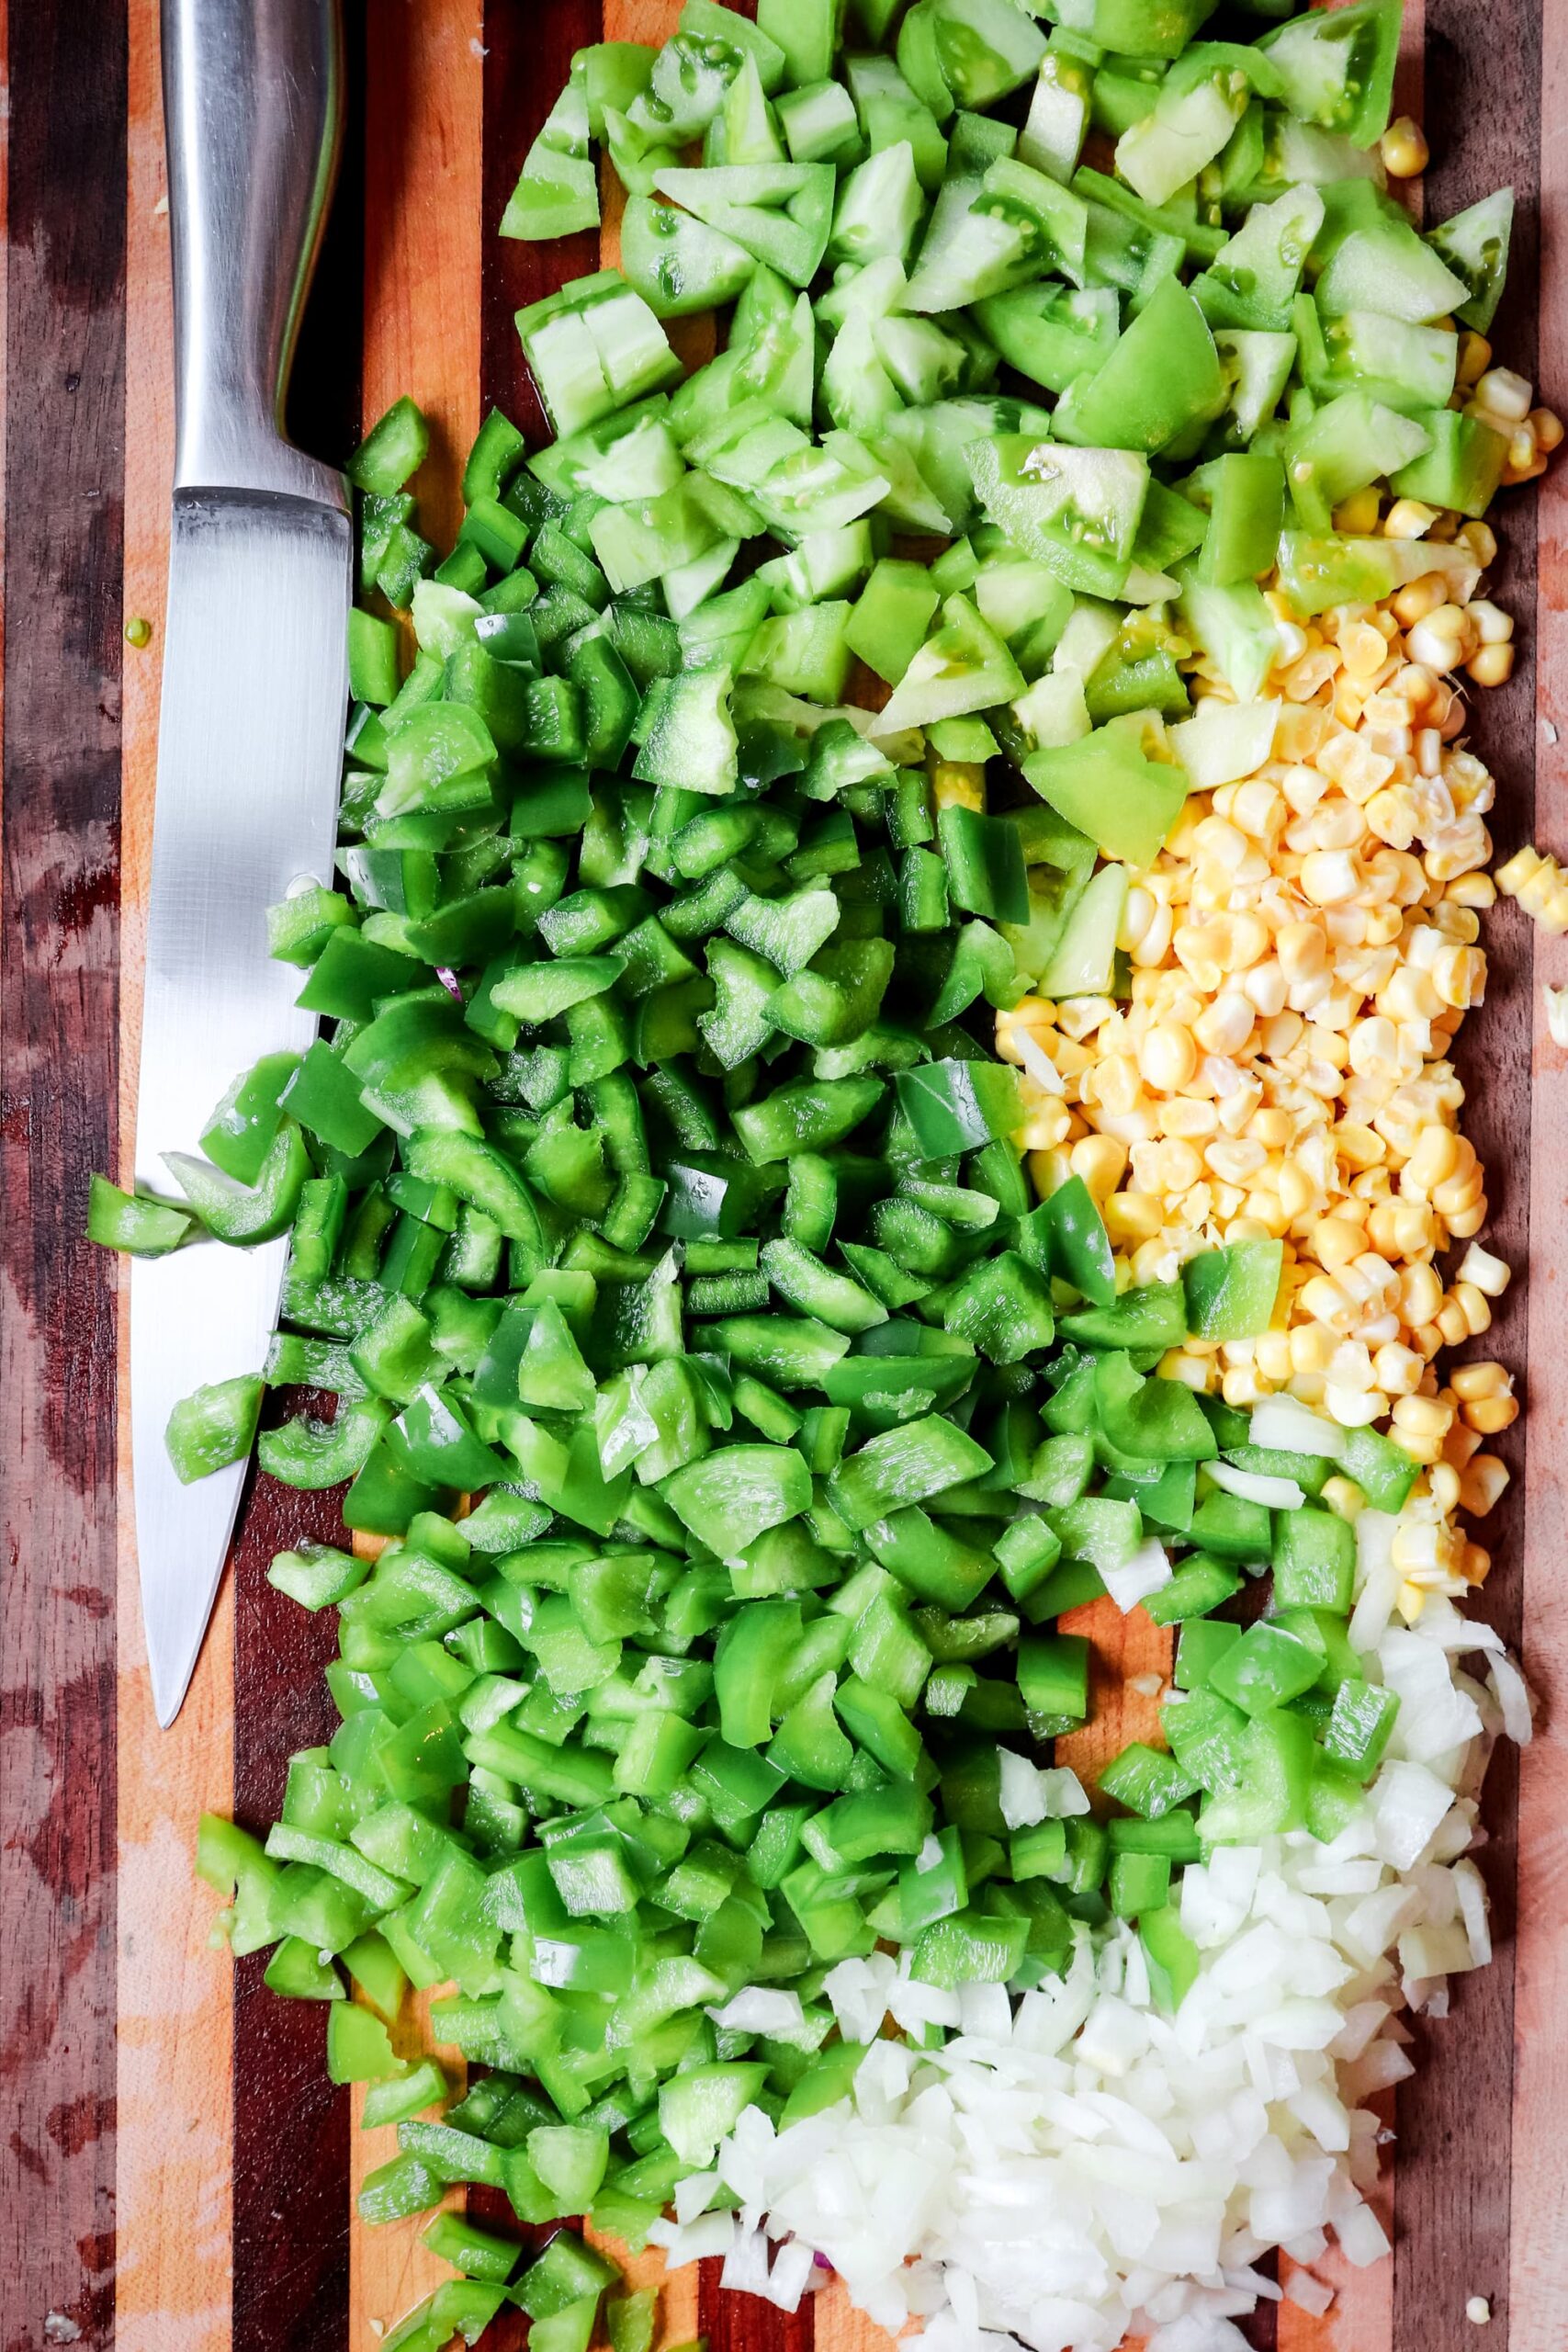
Start by chopping the red cabbage, onion, green tomato, green pepper, and garlic. Cut the corn off the cob.
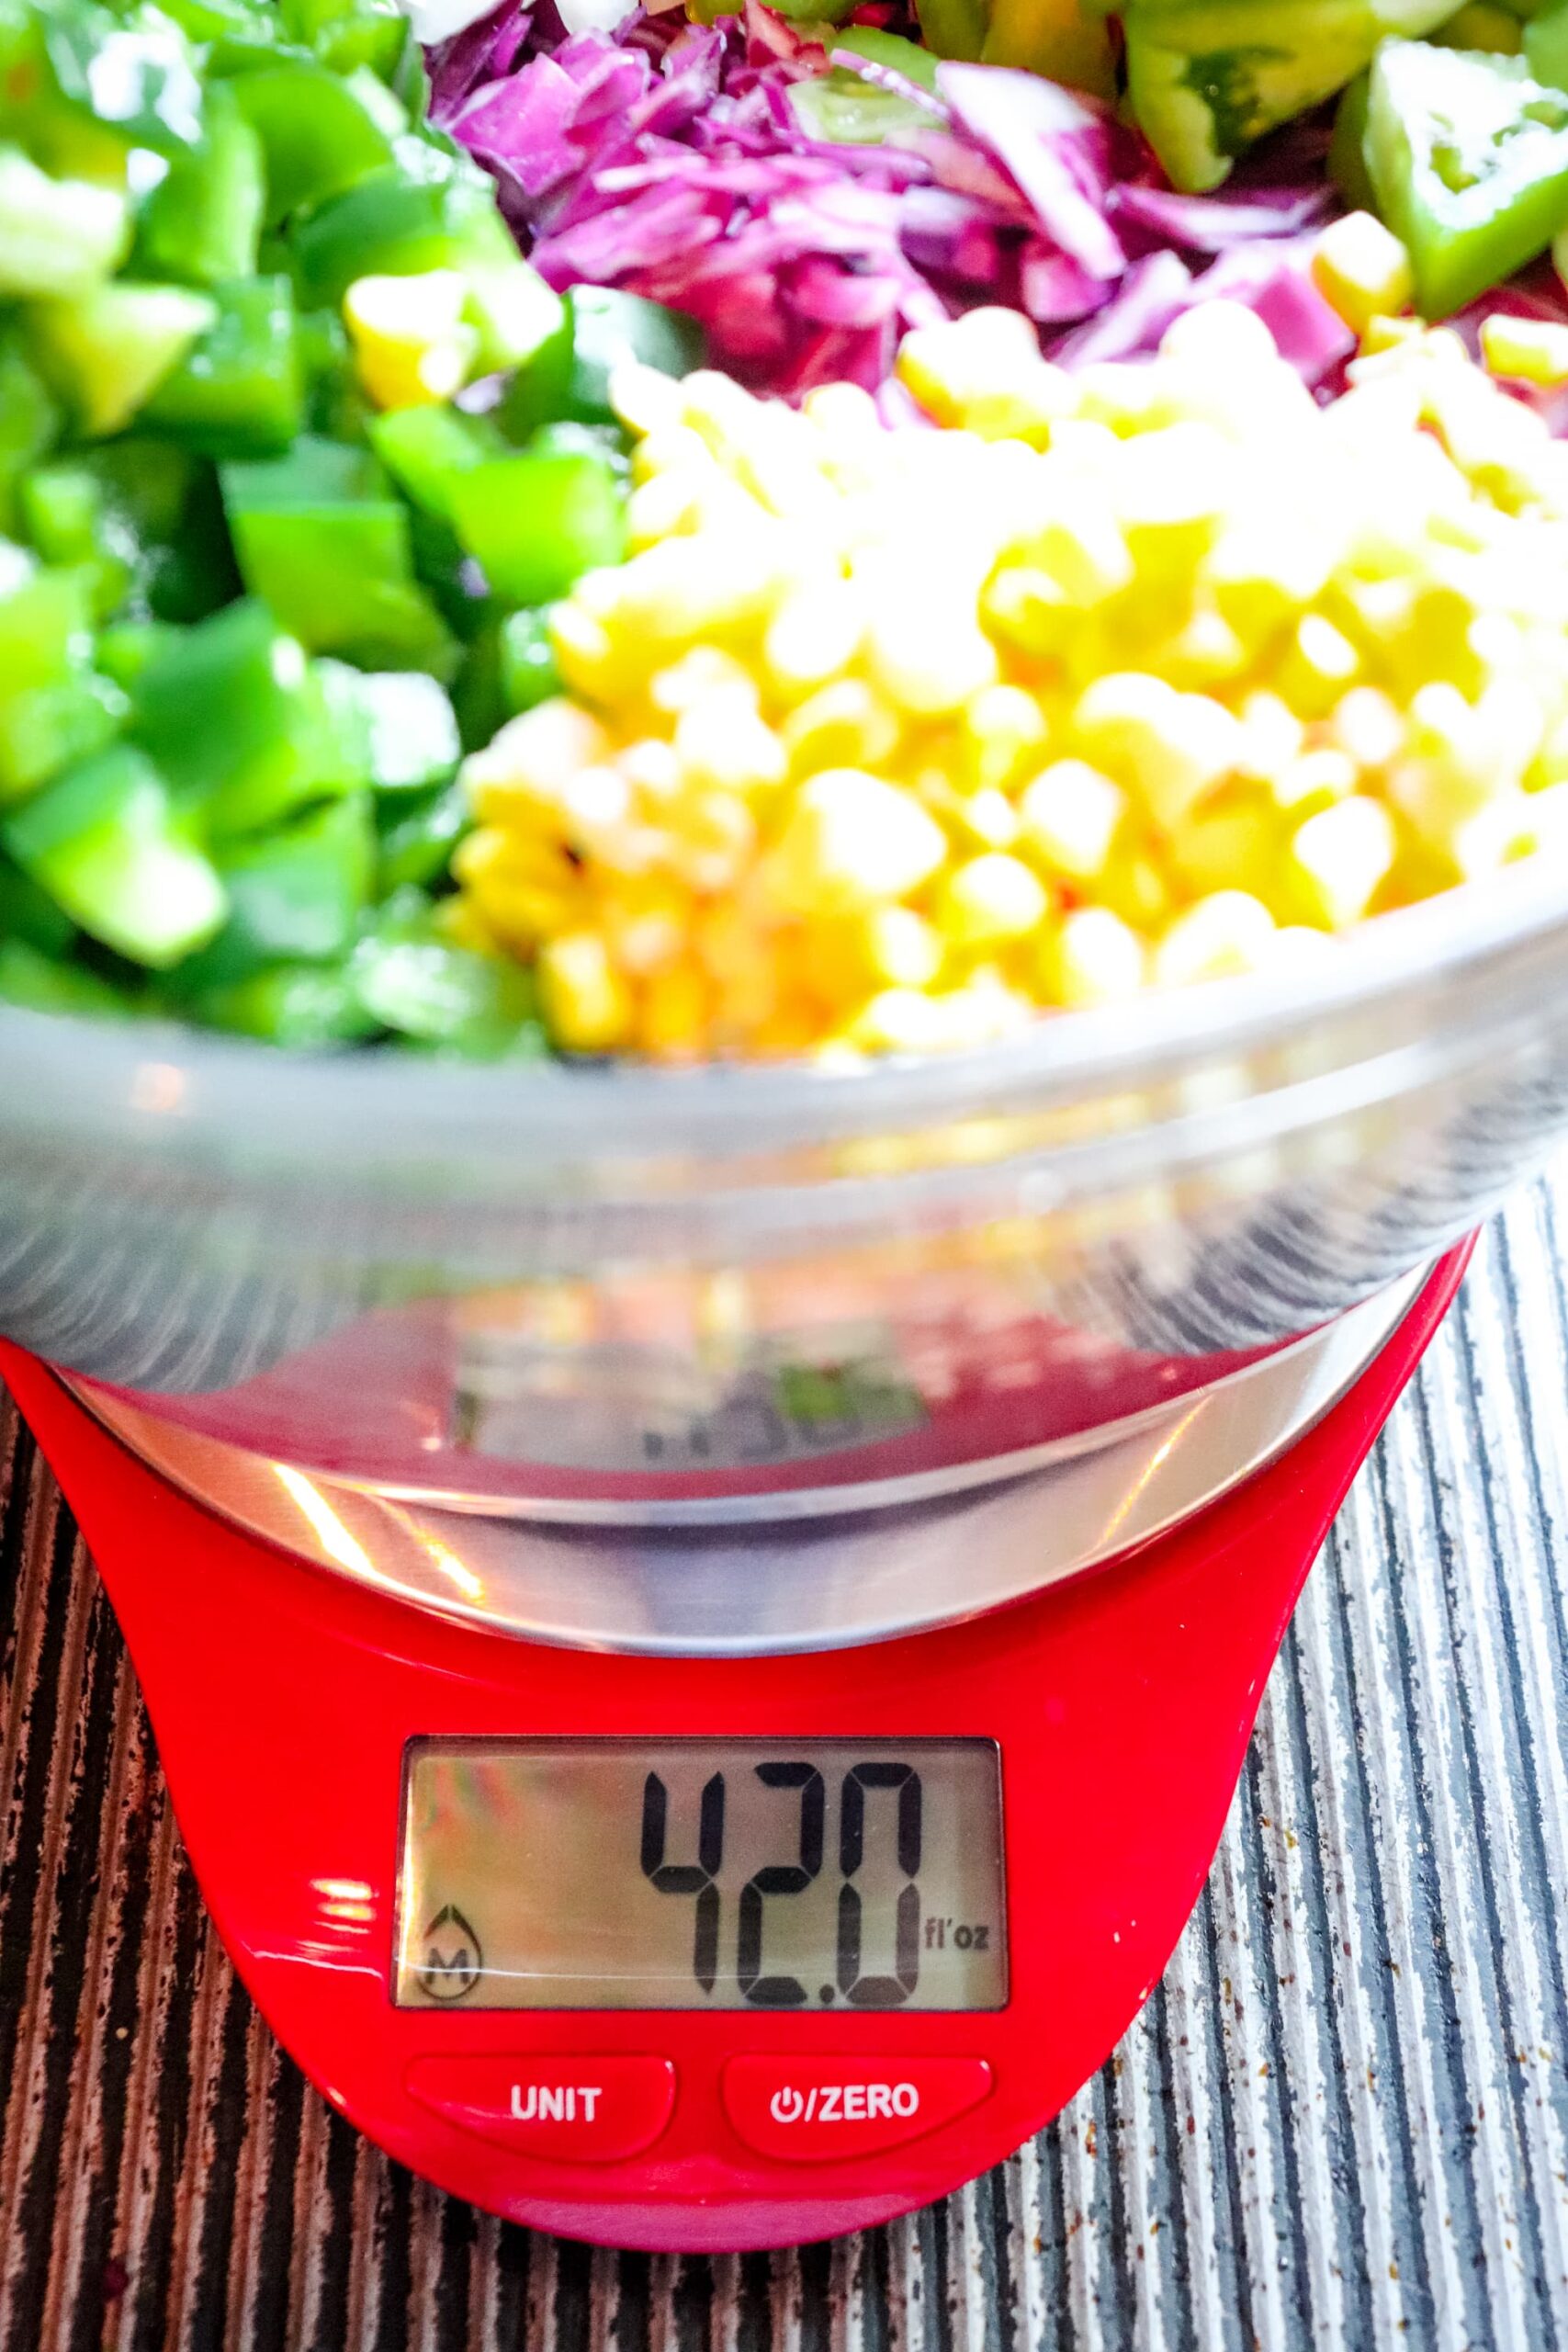
Fill a bowl with the vegetables, and note the weight.
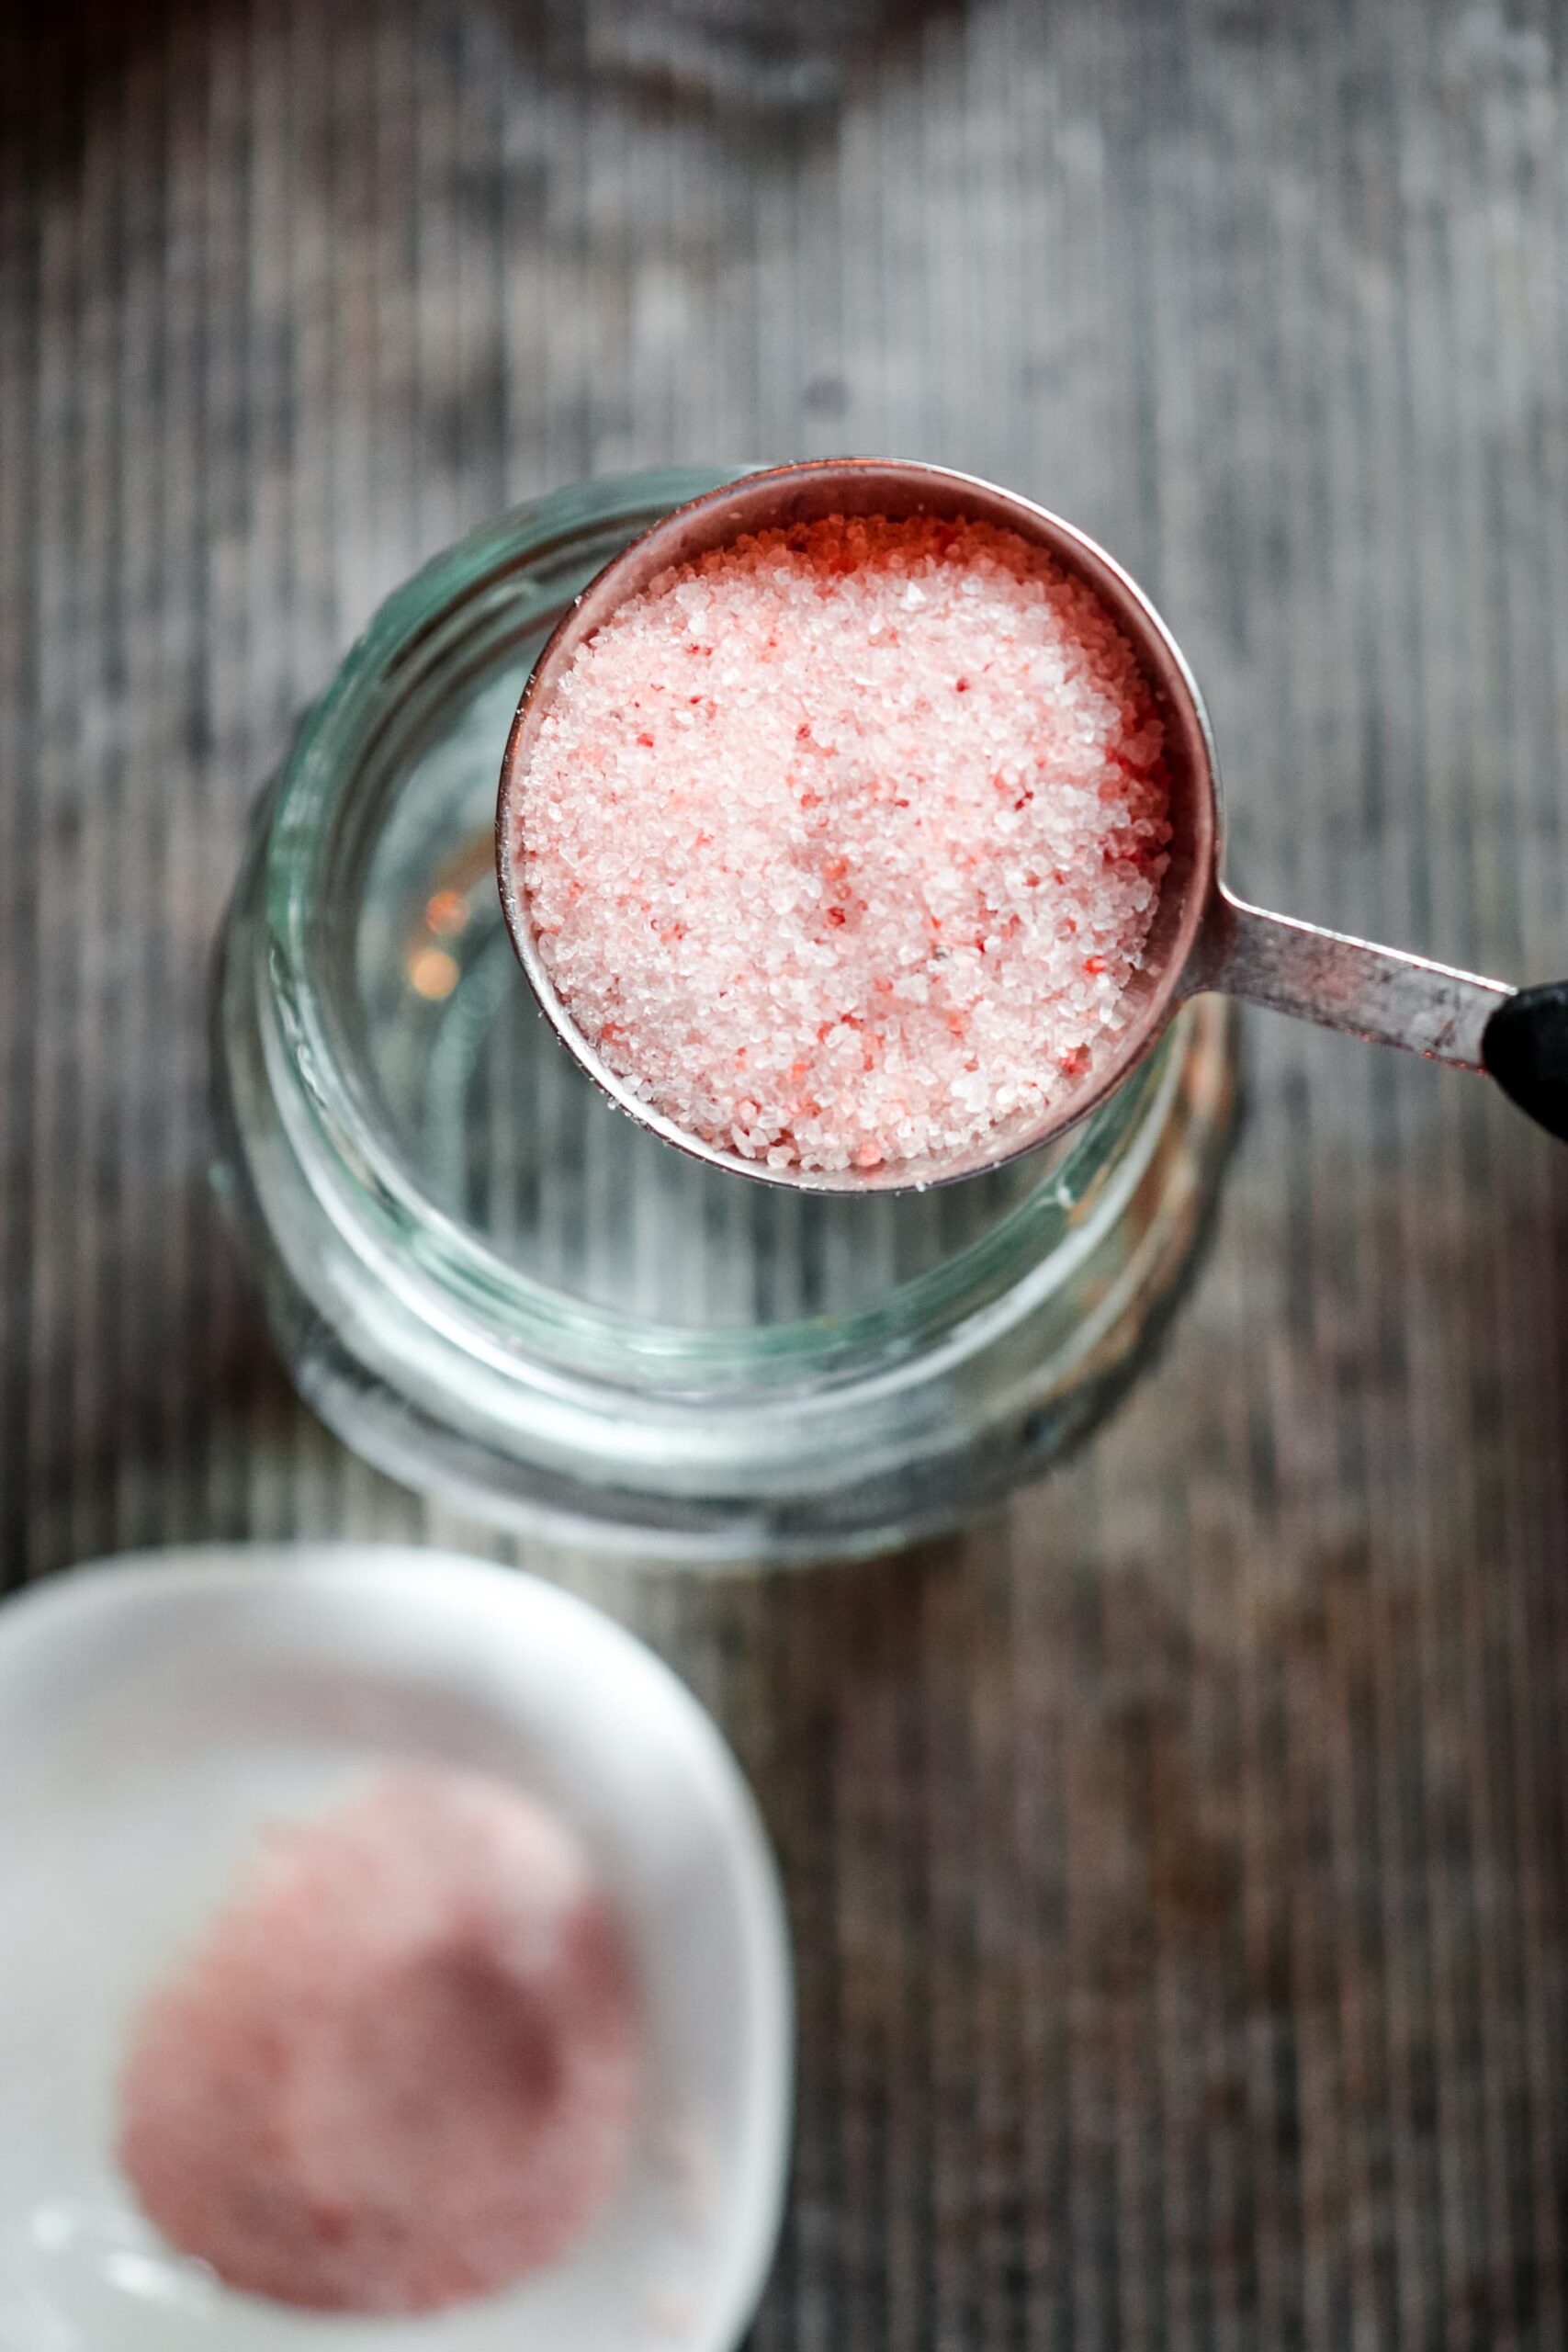
Prepare your brine by filling a quart jar with water. Add your designated amount of salt. (See the recipe below for details.)
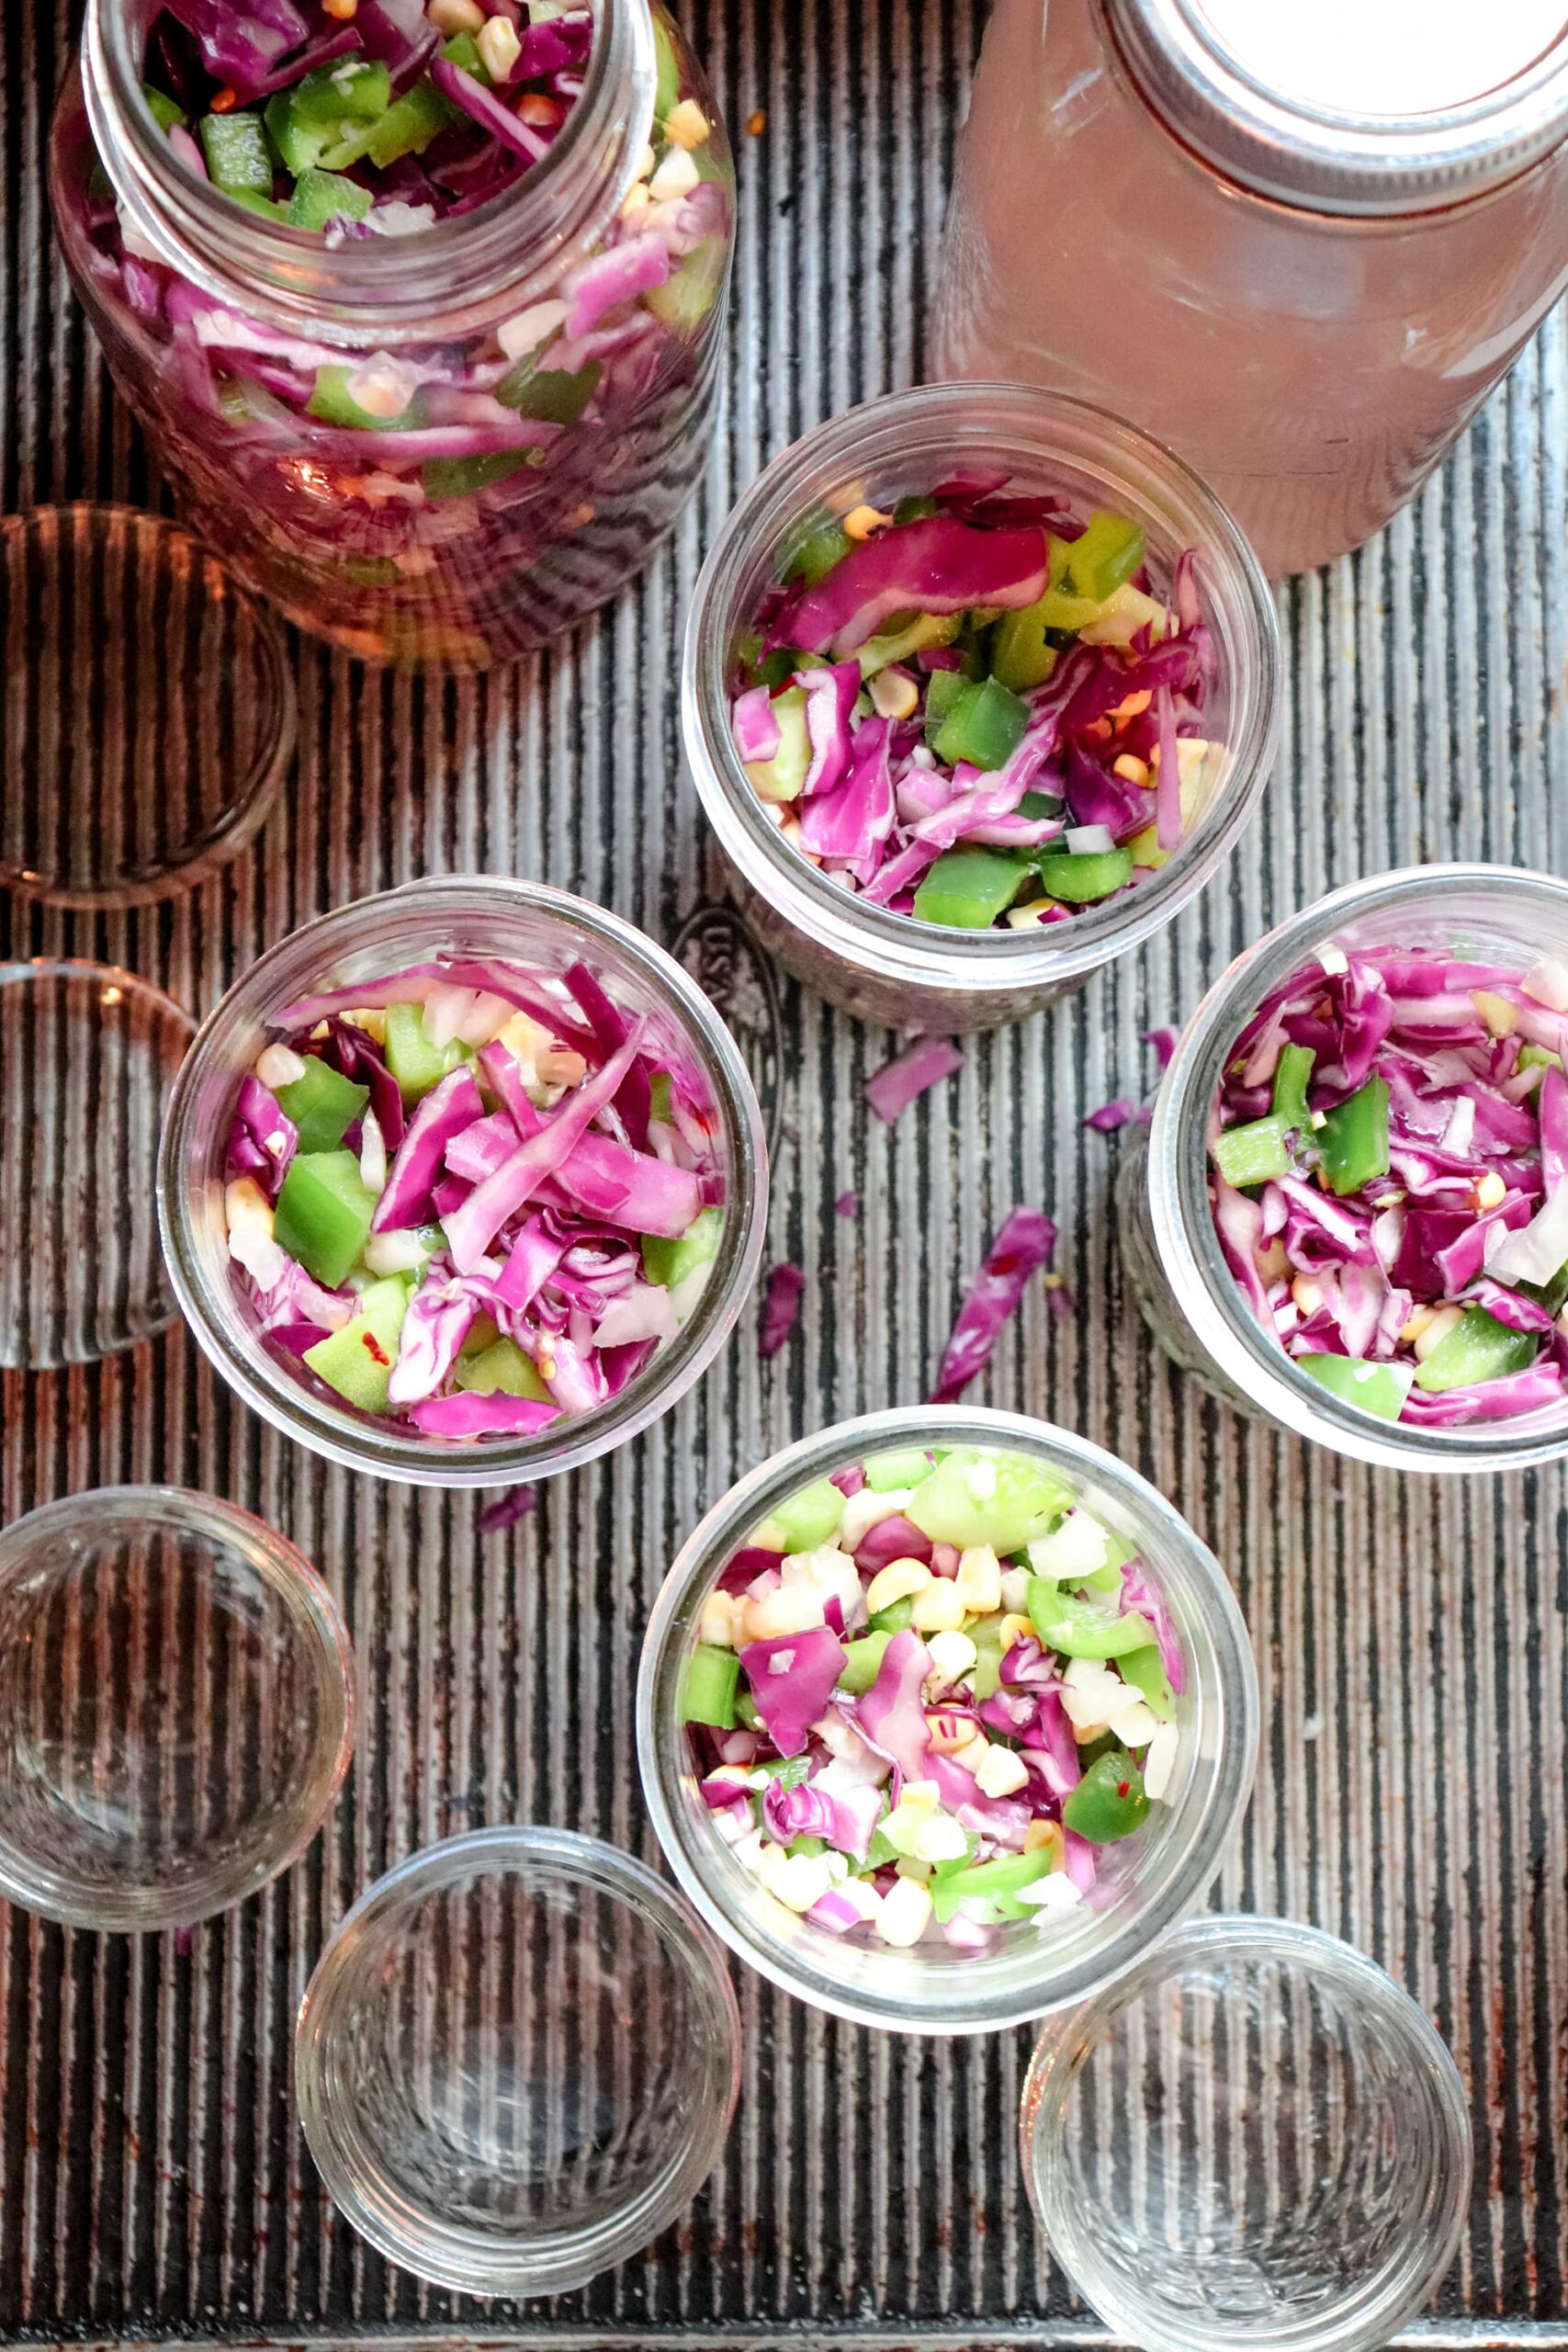
Mix the vegetables thoroughly, and fill your canning jars to ½ inch below the rings. Using a canning funnel makes this process easy and less messy.
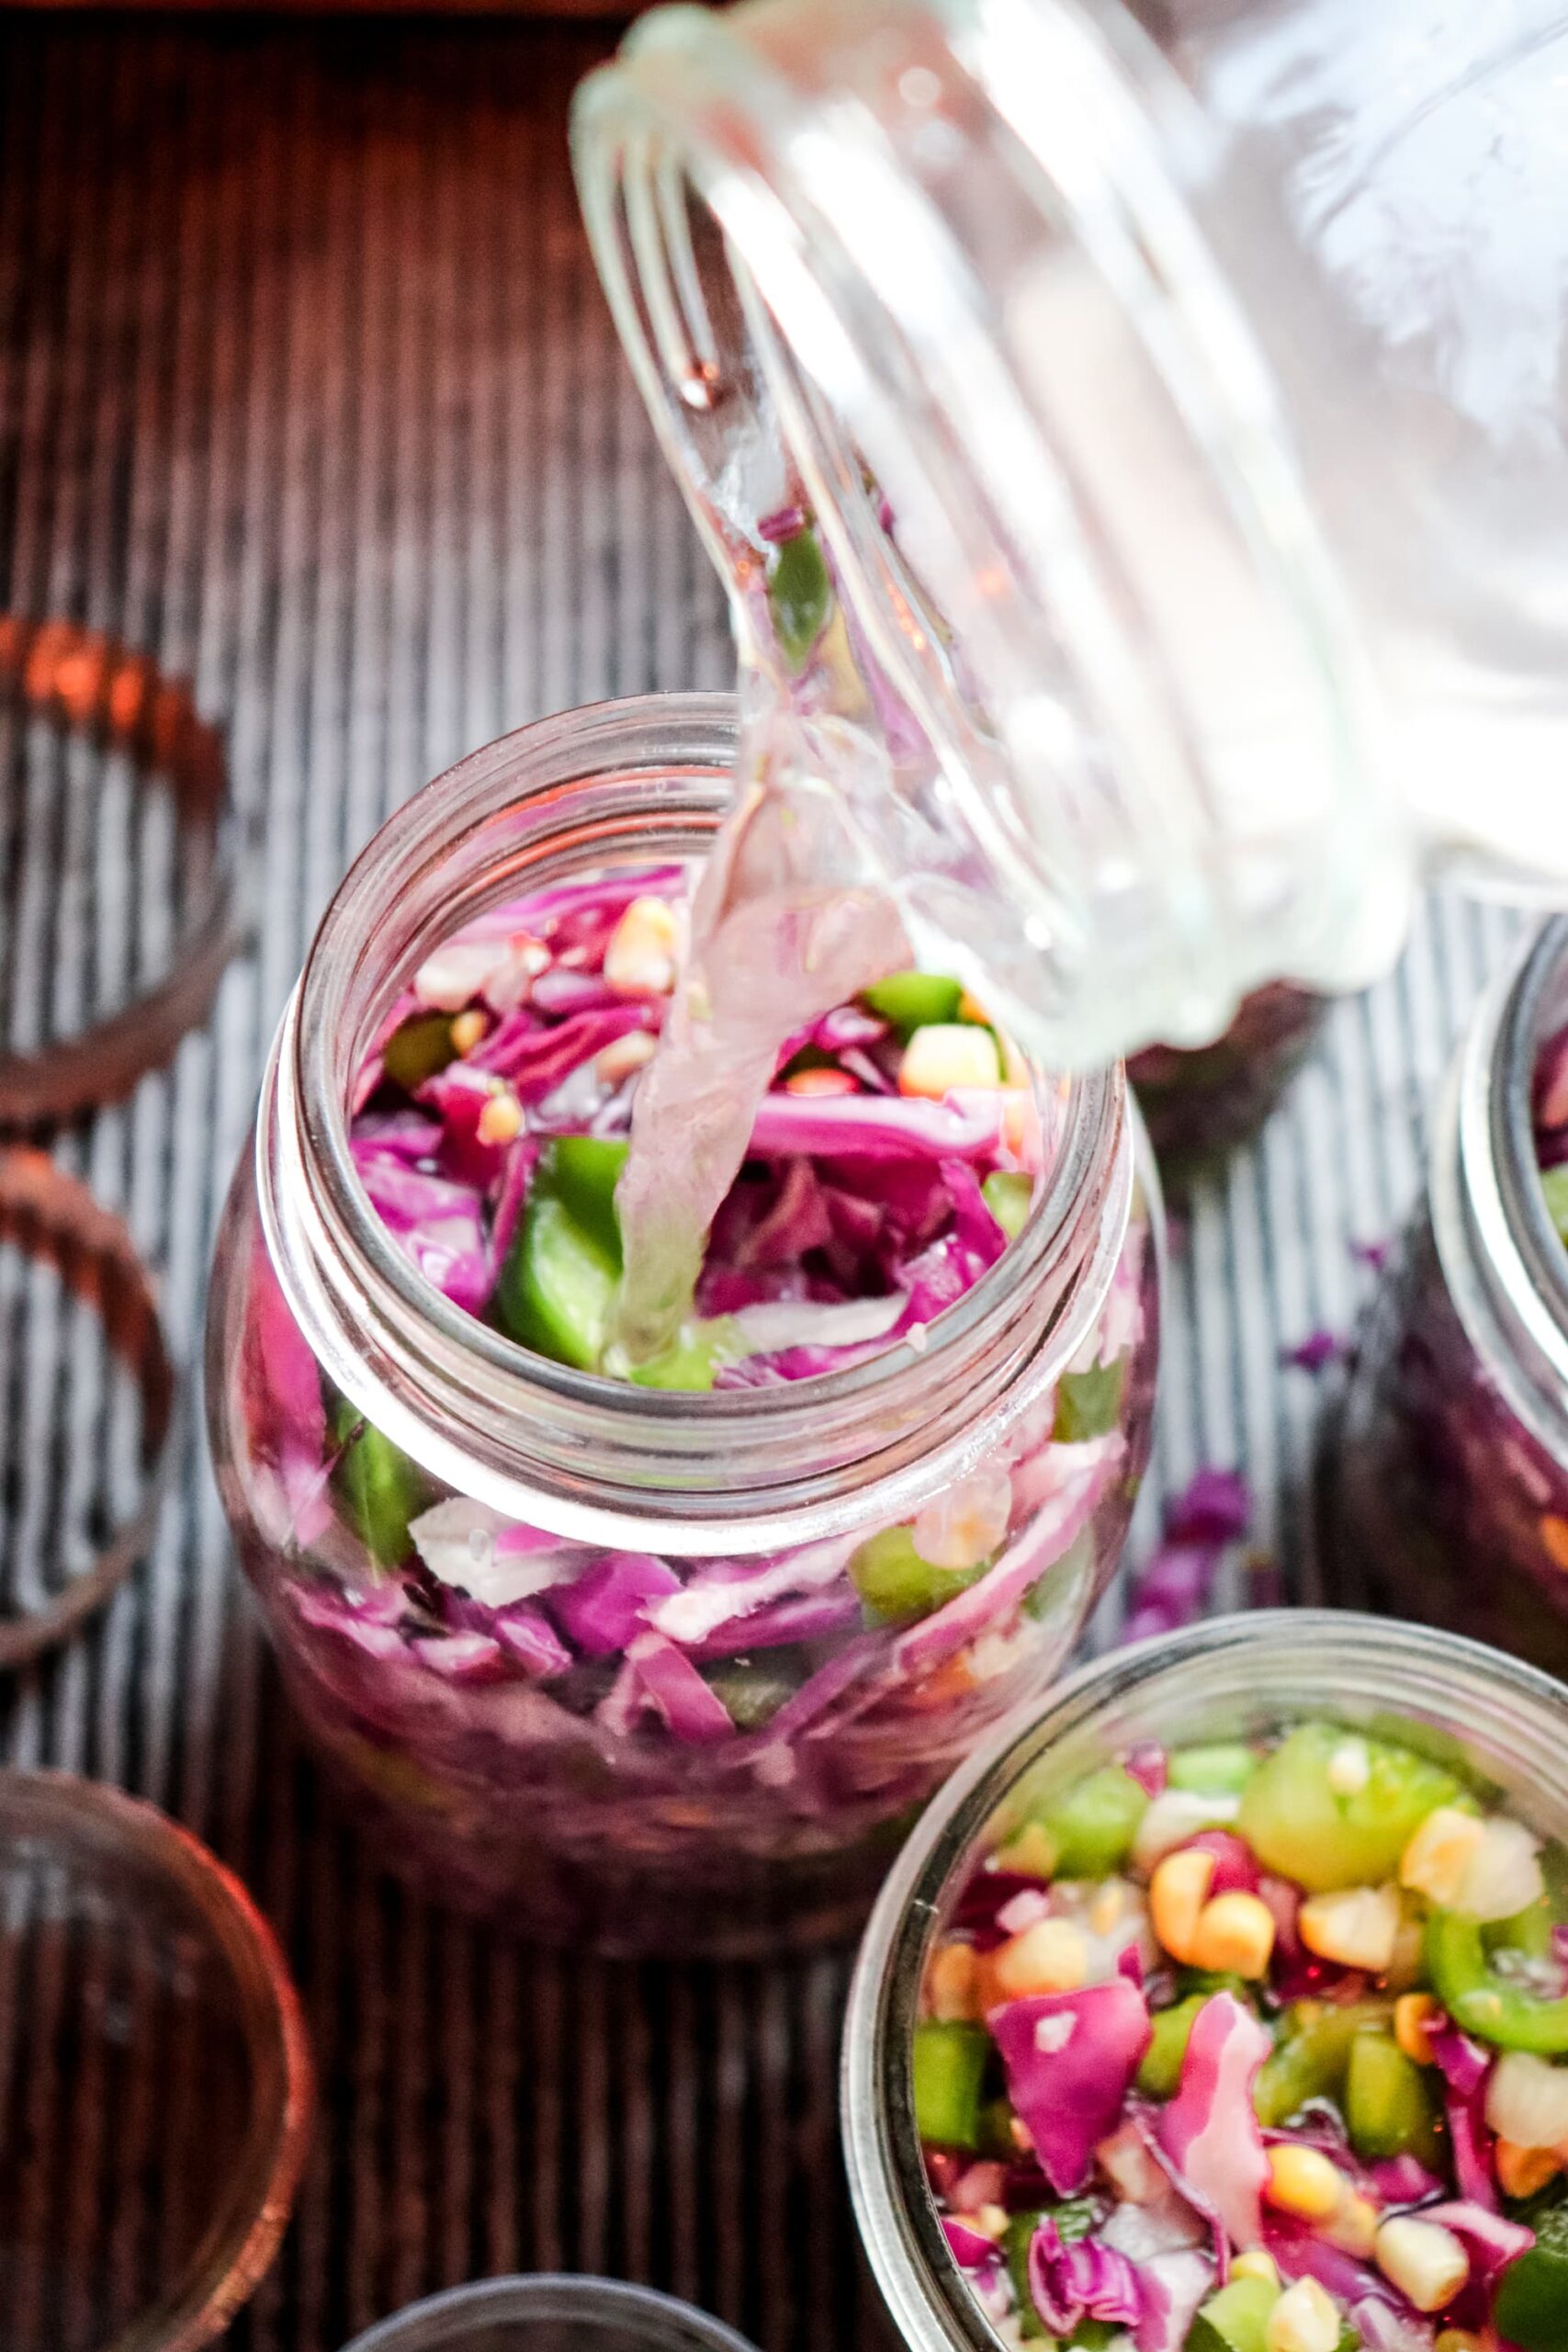
Pour the brine into the jar until the vegetables are completely covered.
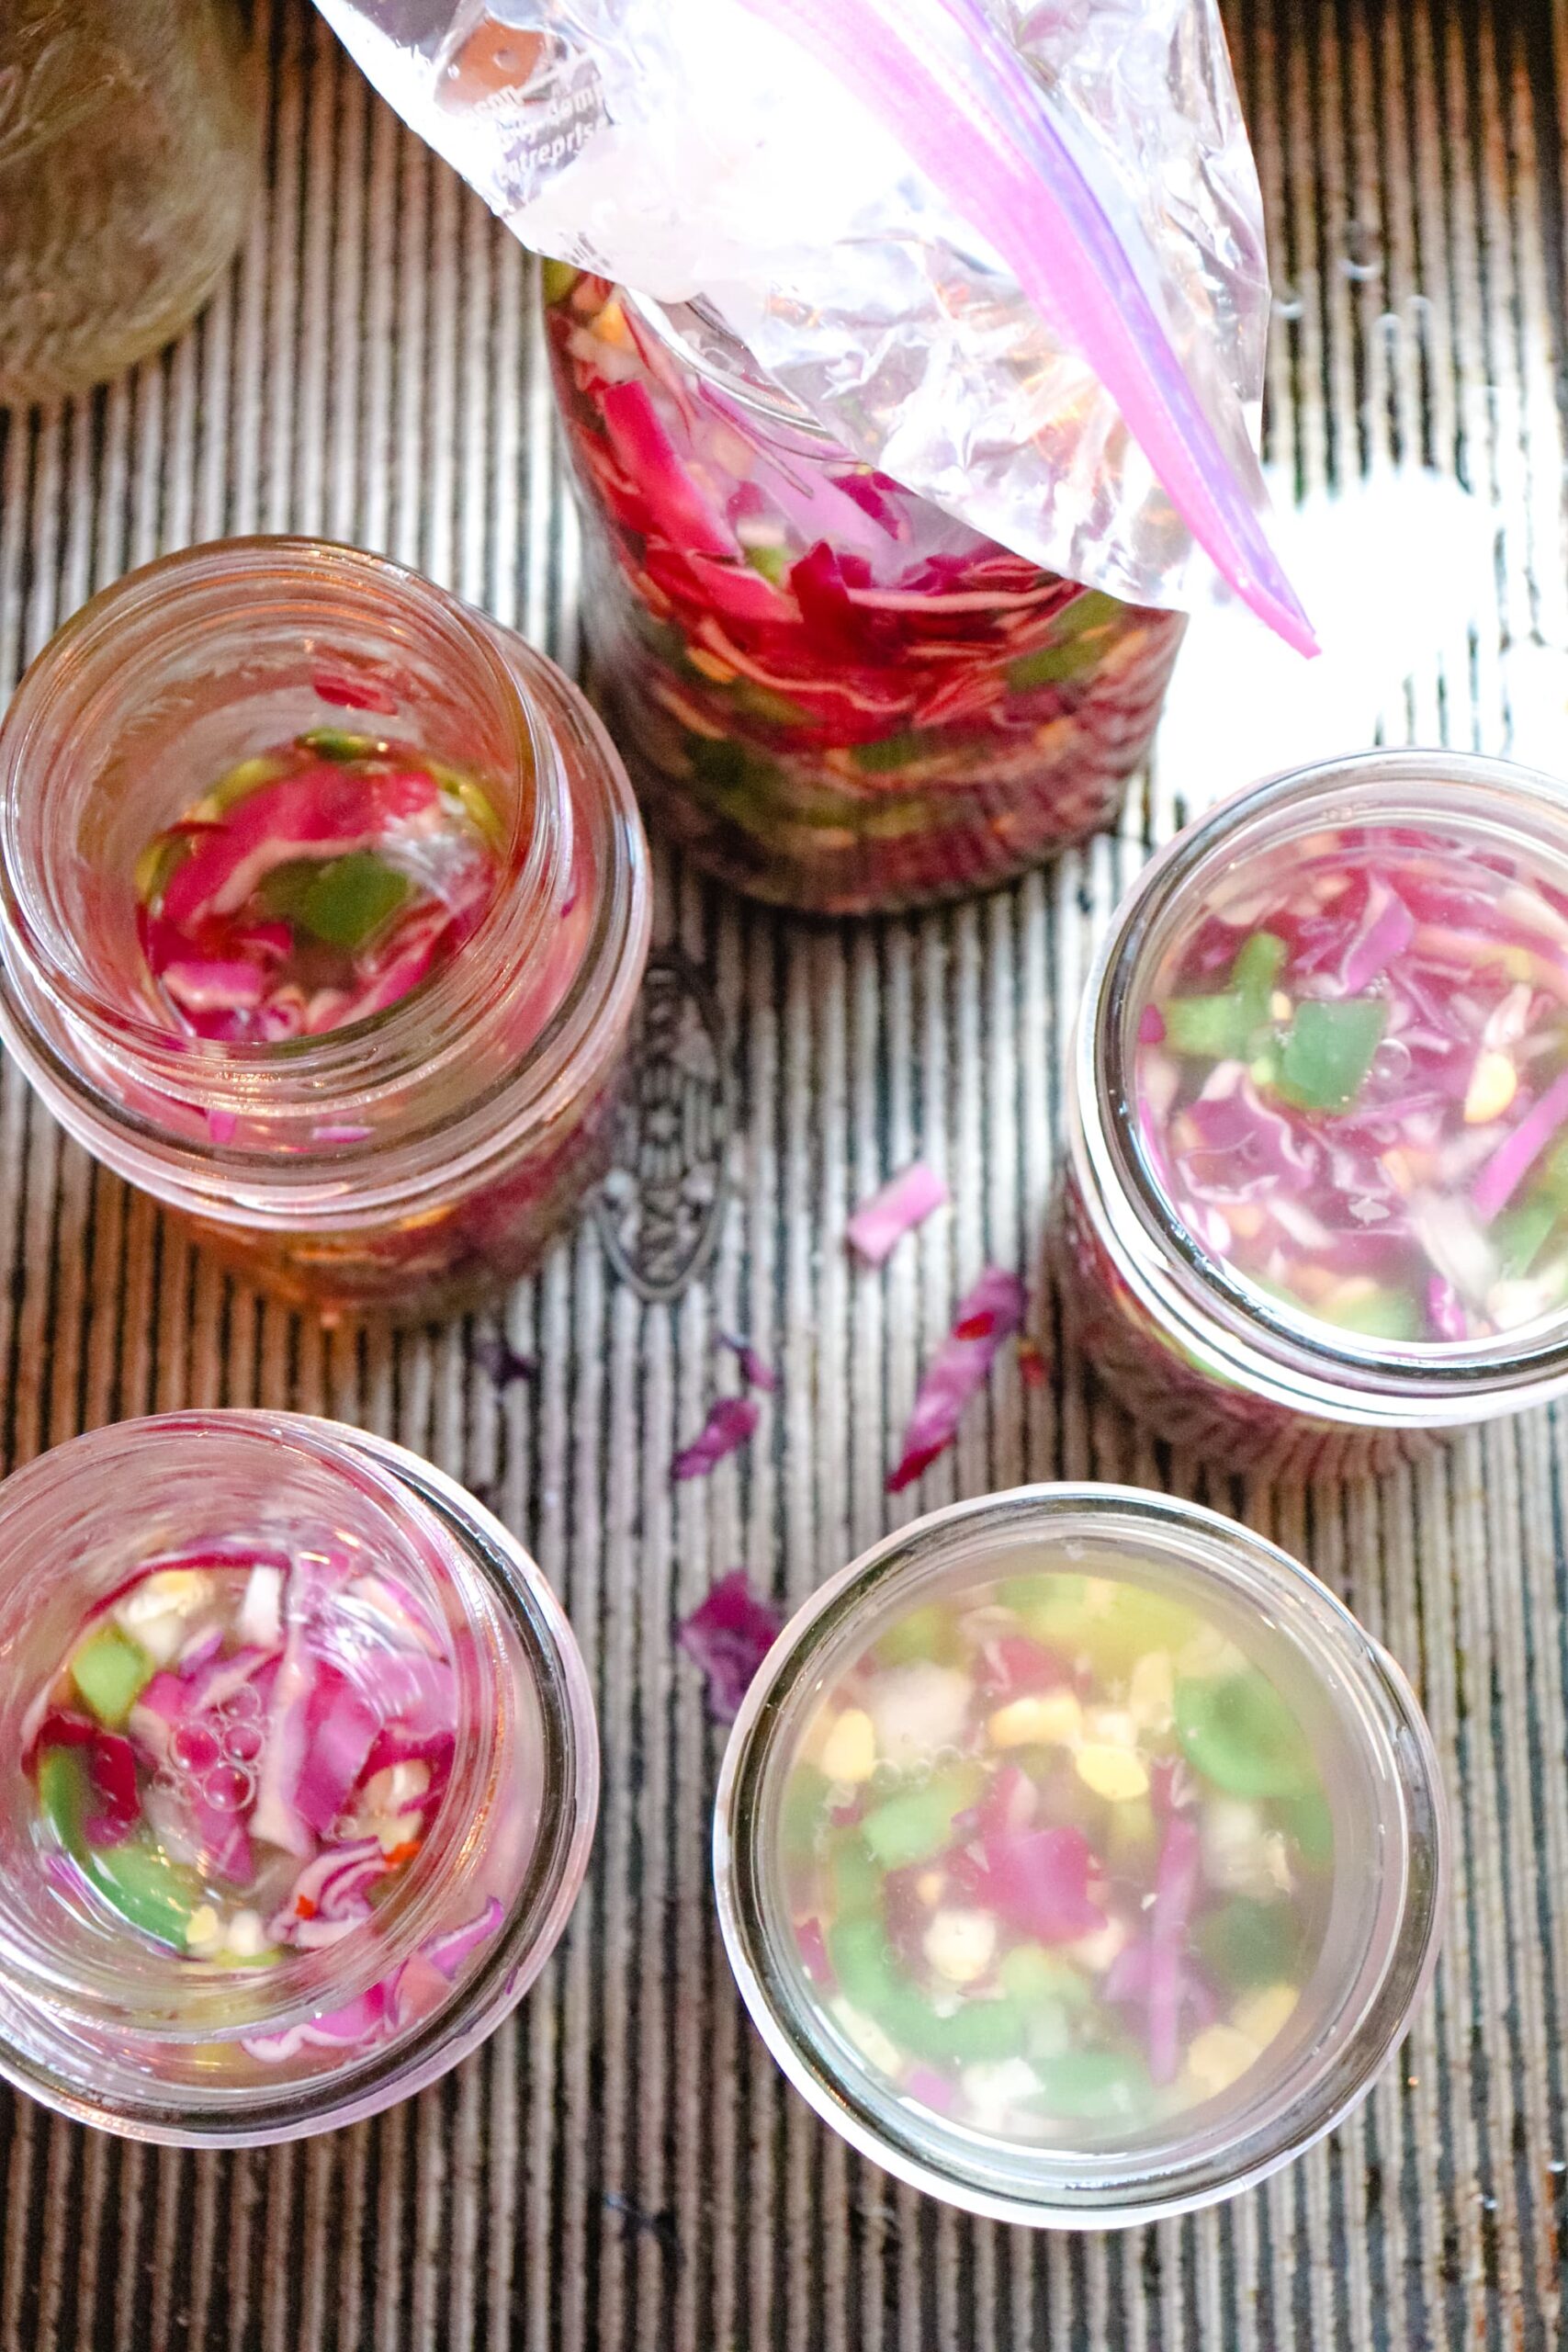
Place glass pebble fermentation weights on top of the jars to keep the vegetables under the brine. **If you don’t have glass pebbles, small jelly jars can be used or use small ziploc bags filled with water. The goal is to keep the vegetables submerged to reduce the opportunity for mold growth.
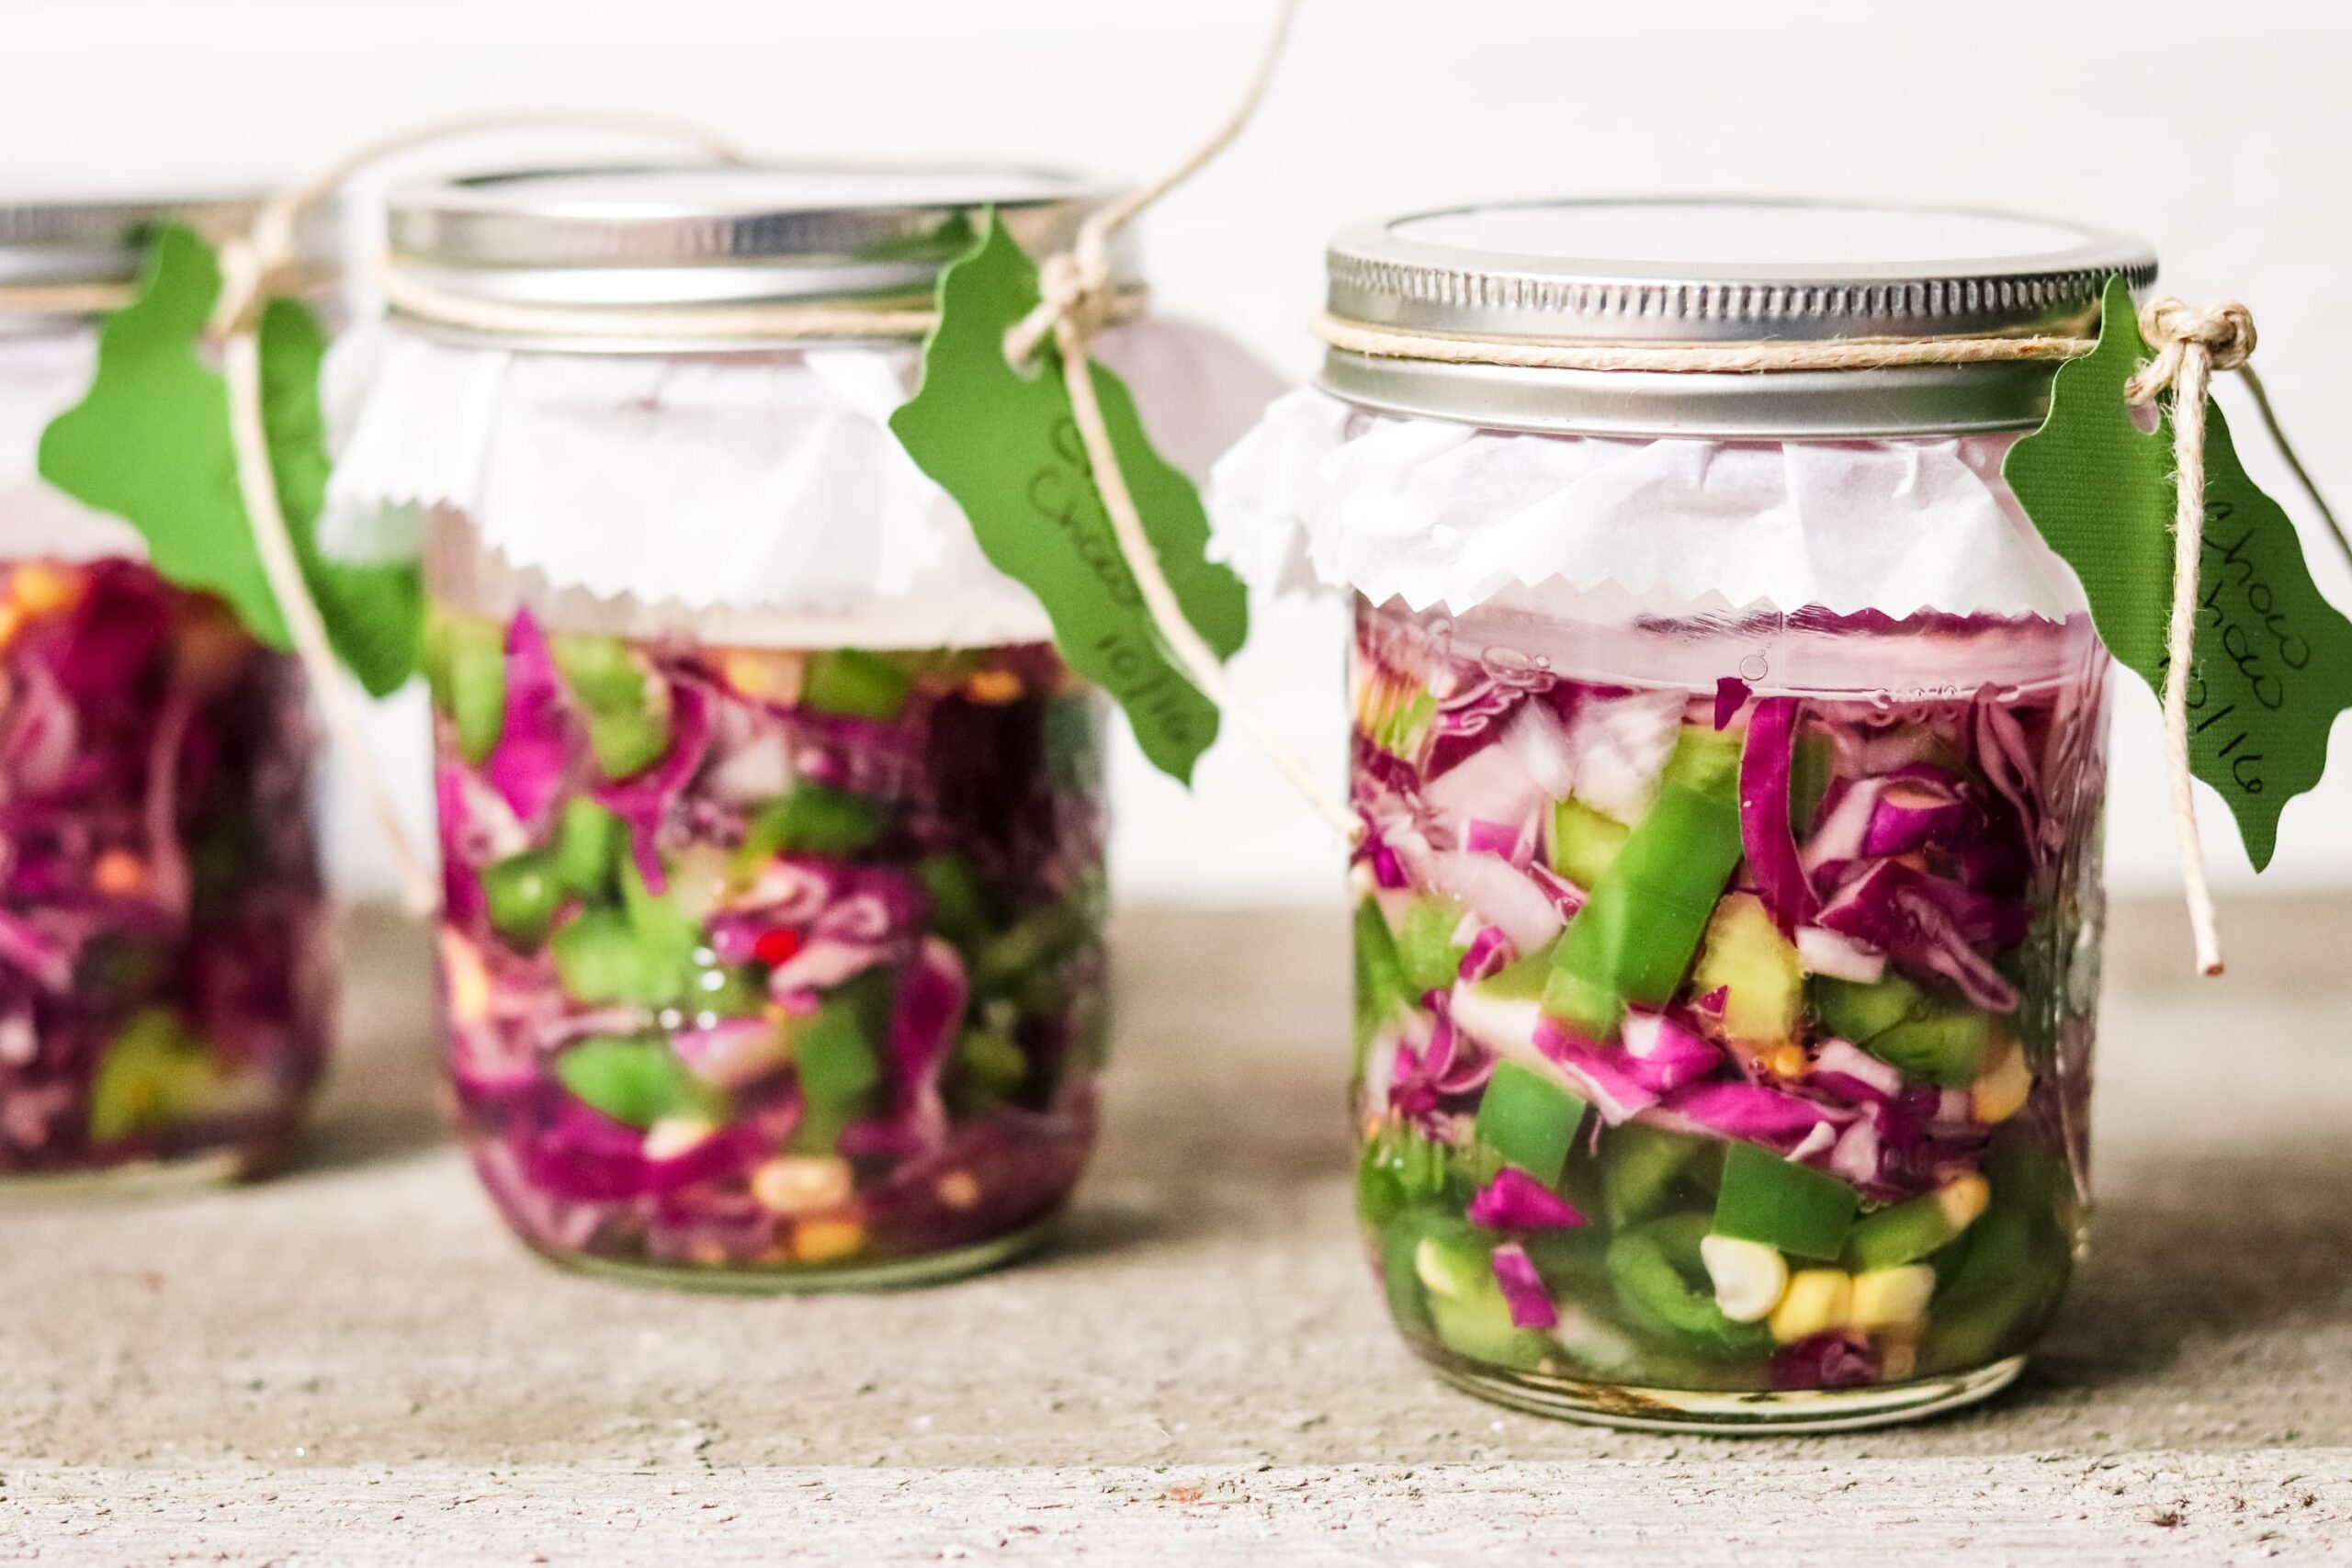
Next, put the lids loosely on your jars and label them with the date. Check on your chow chow daily, and start tasting on day three. It should be at peak taste between days three and five. Then, store it in the refrigerator.
Recipe Notes:
Salt: Fine sea salt or Himalayan sea salt is preferred for fermenting. Iodized salt will stop the fermenting process, as will any caking-type salts.
Storing Ferments: Keep the jars of fermented chow chow in a cool place between 60 and 70 degrees Fahrenheit. It does not have to be a dark place. The counter top is fine. I would avoid storing ferments in the basement, as they tend to be damp and may have mold spores present.
Fermented Chow Chow Recipe
Ingredients
- 1 lb red cabbage ½ large red cabbage
- 2 green bell peppers
- 2 medium green tomatoes equivalent amount of tomatillos may be used
- 1 medium ear of corn uncooked (3/4 cup thawed frozen corn may be used)
- ½ medium onion
- optional spices: ¼ tsp chili pepper flakes, ½ tsp mustard seeds, ¼ celery seeds. (use all or some, chili pepper flakes help dissuade mold during the fermenting process)
- 2 cloves garlic
- fine sea salt
- water: well spring, reverse osmosis preferred – if using city water, let water sit in quart jar overnight, uncovered
- parchment paper
- large bowl
- kitchen scale that zeros out
- 3 wide-mouth quart jars with rings or 6 wide-mouth pint jars
- glass weight pebbles alternative options are shared below & a link to purchase these is near the top of the post.
- canning funnel
- labels
Instructions
- Chop red cabbage, onion, green tomato, green pepper, and garlic. Cut corn off of cob.
- Place an empty bowl on a kitchen scale, and press the power/zero button.
- Fill a bowl with the vegetables, and note the weight. *IF your kitchen scale does not show grams as a unit option, you will need to use Google to to calculate how many grams your ounces of vegetables are. (You can ask Google: How many grams are 42 ounces? The answer here is 1219.029. Now use a calculator to multiply your “grams” answer by 2.5%. This will give you how many grams of salt you need. We need to ask Google to translate grams into tablespoons. (Search Google: How many tablespoons are in X amount of grams. This gives me 1 ¾ Tablespoons of salt.)
- *If you don’t have a scale, you can also use my calculations based on the ingredients and taste test after you have everything mixed together. You can add between 1 ¾ and 2 Tablespoons of salt.
- Prepare your brine by filling a quart jar with water. Add your designated amount of salt. Place a lid on the jar, and shake vigorously to incorporate the salt.
- Mix the vegetables thoroughly, and fill your canning jars to ½ inch below the rings. Using a canning funnel makes this process easy and less messy.
- Pour the brine into the jar until the vegetables are completely covered.
- Place glass pebbles weights on top of jars to keep vegetables under the brine. **If you don’t have glass pebbles, small jelly jars can be used or use small ziploc bags filled with water. The goal is to keep vegetables submerged to reduce the opportunity for mold growth.
- Cut round circles in your parchment paper, approximately six inches in circumference, and place on top of your jar. Screw the lid onto the parchment paper, leaving it loose.
- Place a label on your jar, identifying your ferment, ingredients, and date.
- Store your ferments on the counter in an area that is typically between 60 and 70 degrees Fahrenheit.
- Check on your chow chow daily, and start tasting on day three. It should be at peak taste between days three and five. Store it in the refrigerator.
Notes
Also read:
Homemade Plum Jam (Compote) Recipe
Southern Fried Okra Recipe
Air Fryer Hush Puppies Recipe (with Gluten-Free & Dairy-Free Options)
Dana Rodriguez
I have never had it but it looks good and healthy. And so colorful!