Disclosure: Articles may contain affiliate links. As an Amazon Associate, we earn from qualifying purchases (at no additional cost to you). See our full disclosure here.
Last updated on December 27th, 2023 at 09:31 pm
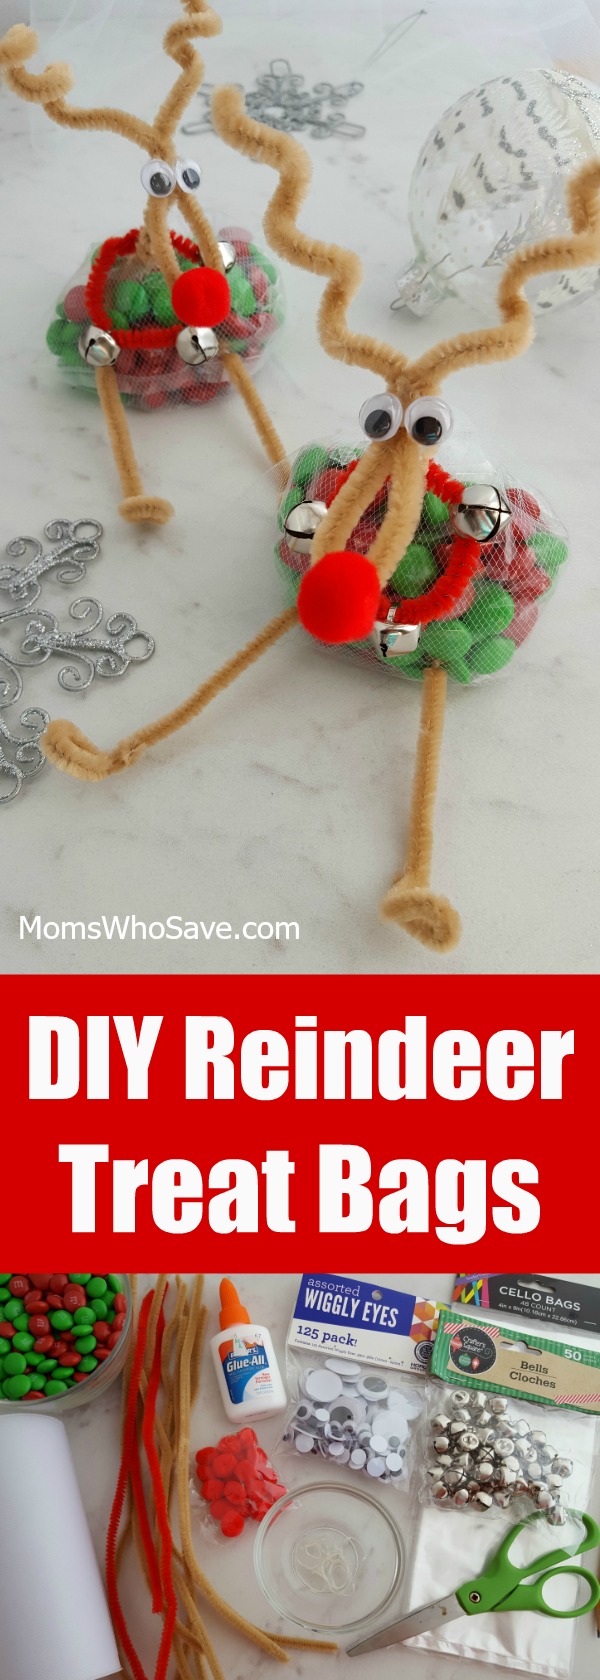
Parents, here’s a fun craft you can do with your little ones. These super cute DIY reindeer treat bags are simple to make and fun to give to neighbors or your child’s classmates.
I like using these small treats and Christmas crafts to top off small gifts too.
You can fill these reindeer treat bags with any of your favorite holiday goodies, like M&Ms, peppermints, mini candy canes, or whatever you like best.
DIY reindeer treat bags
Articles may contain affiliate links. As an Amazon Associate, we earn from qualifying purchases (at no cost to you).
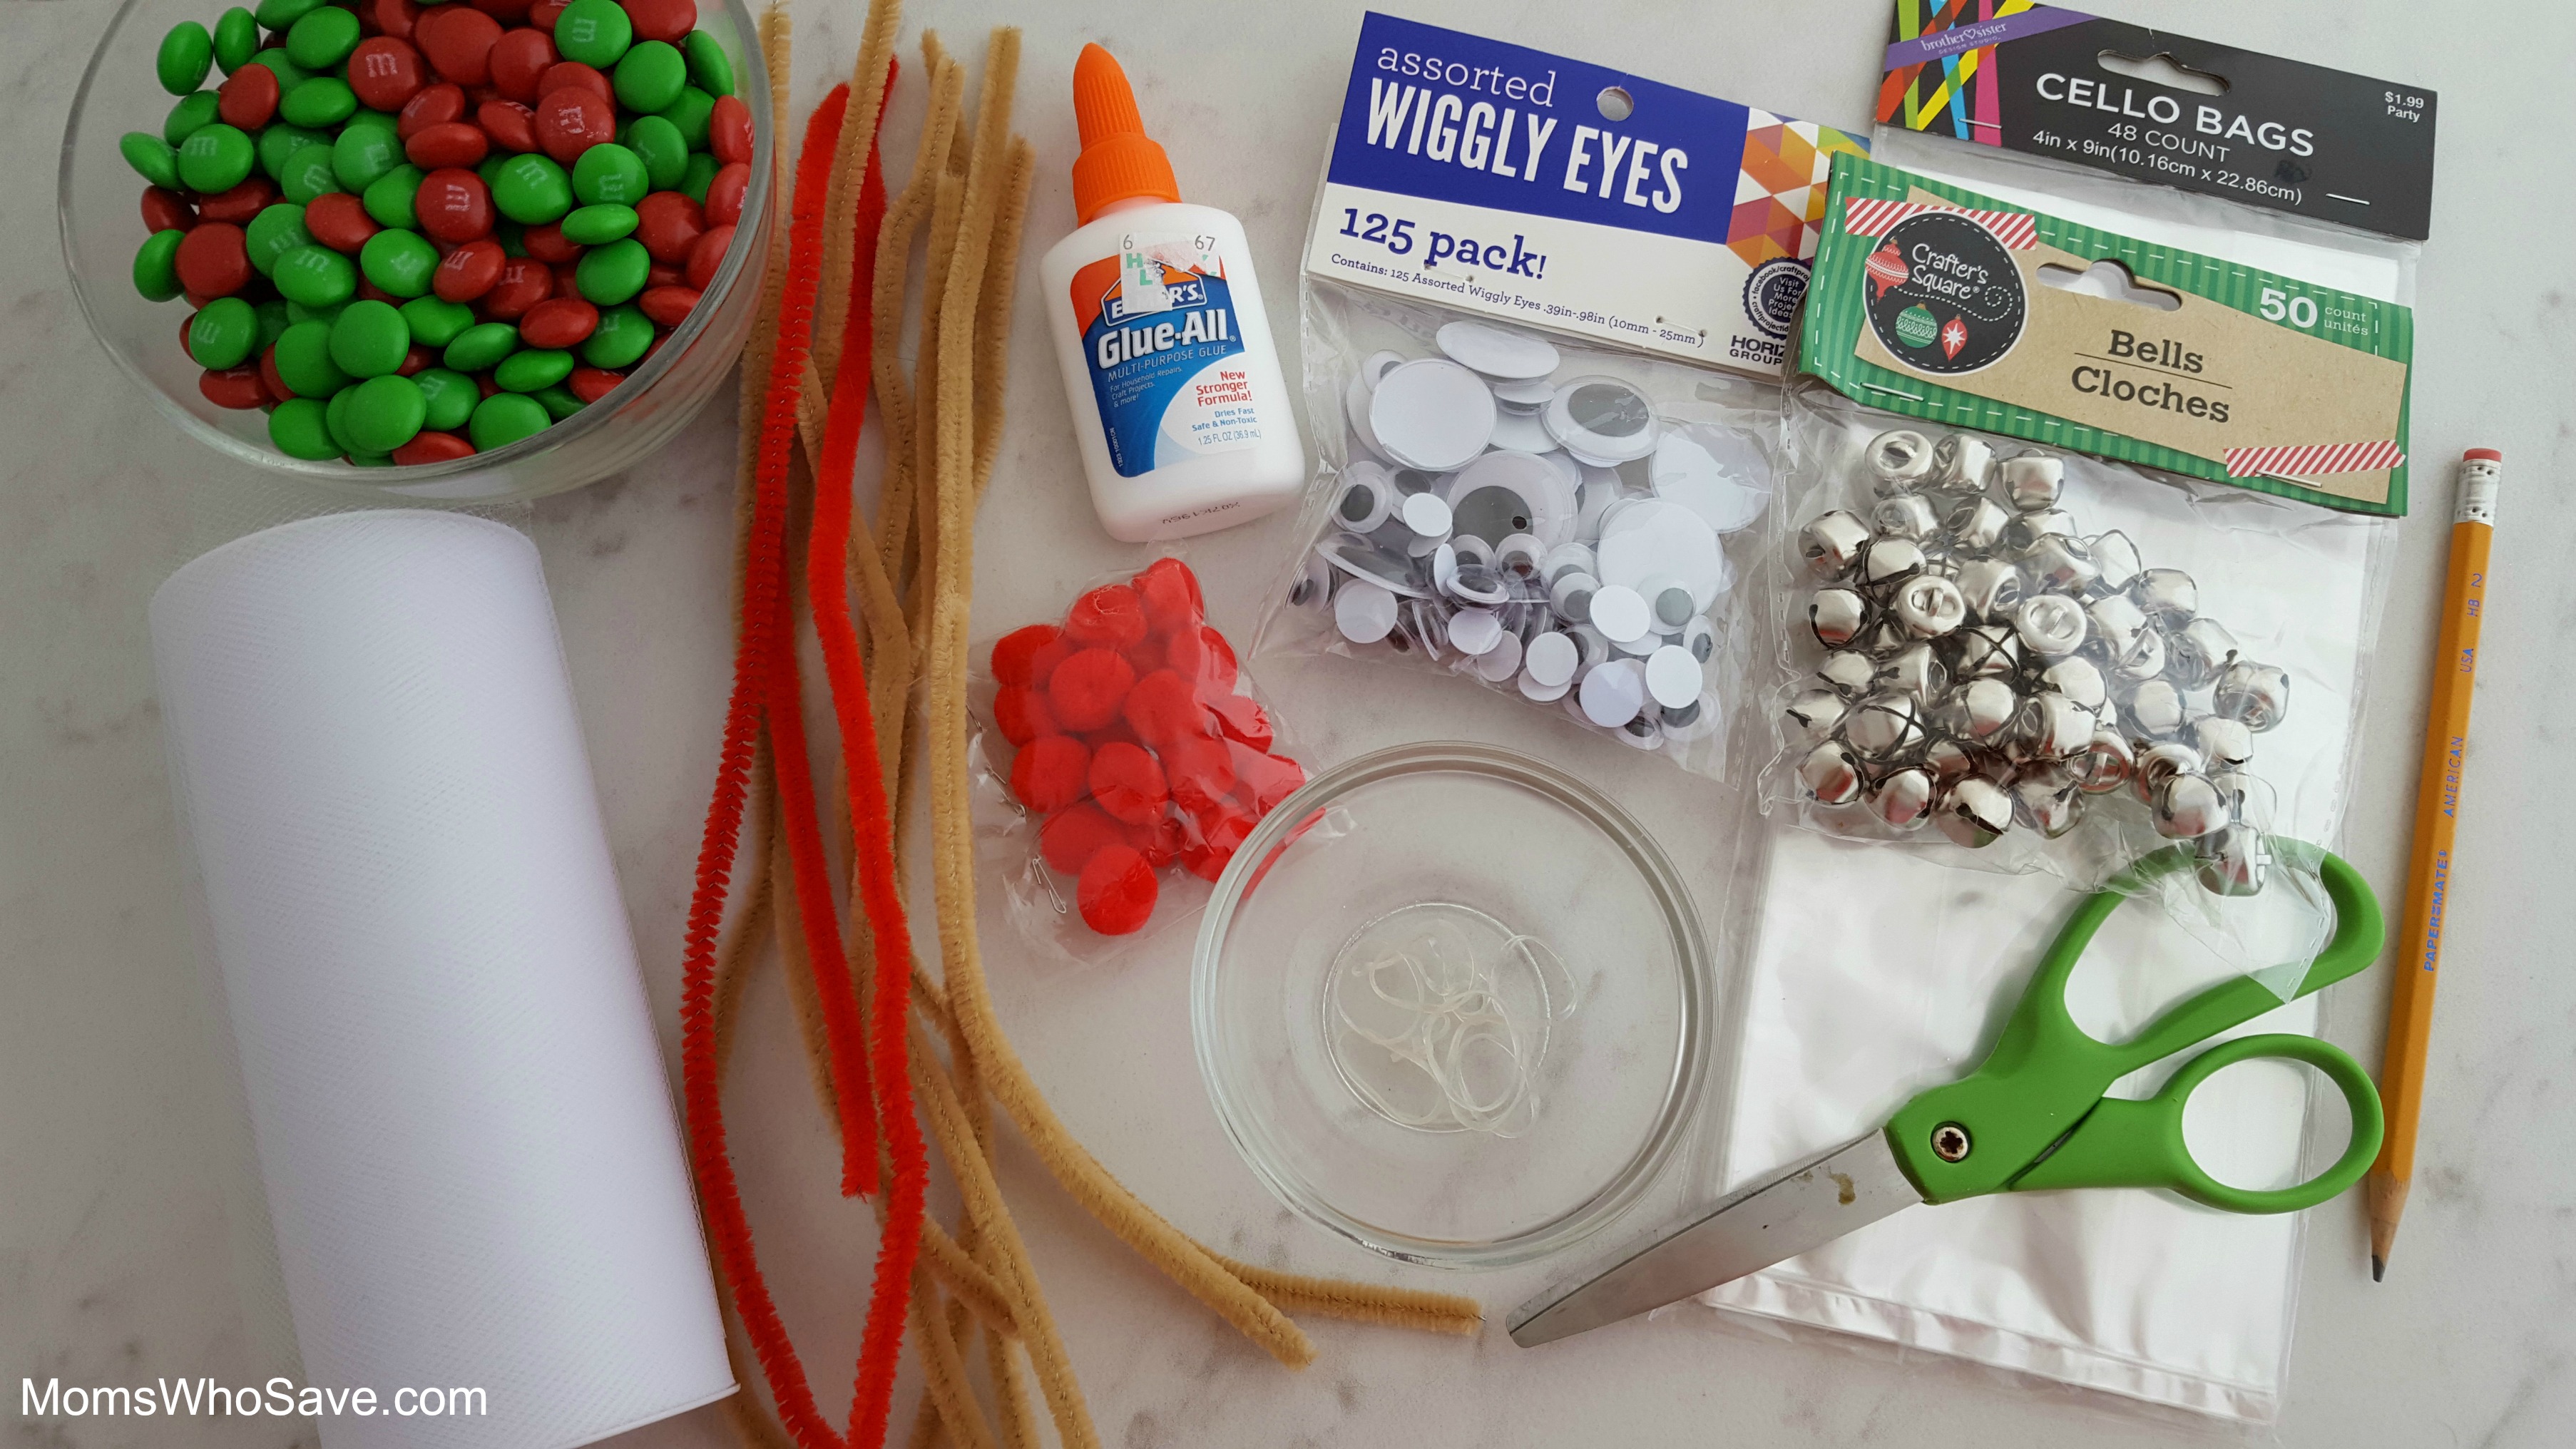
Materials:
- Tulle (Use rectangle tulle from a roll or tulle pre-cut circles)
- Red and Tan (or brown) Pipe Cleaners
- M&M’s in Red and Green (or your favorite mix of candies in holiday colors)
- Googly Eyes
- Red Pom Poms
- Silver Bells
- Glue
- Scissors
- Small clear hair elastics or rubber bands
- Optional: Clear treat bags or sandwich bags
Directions:
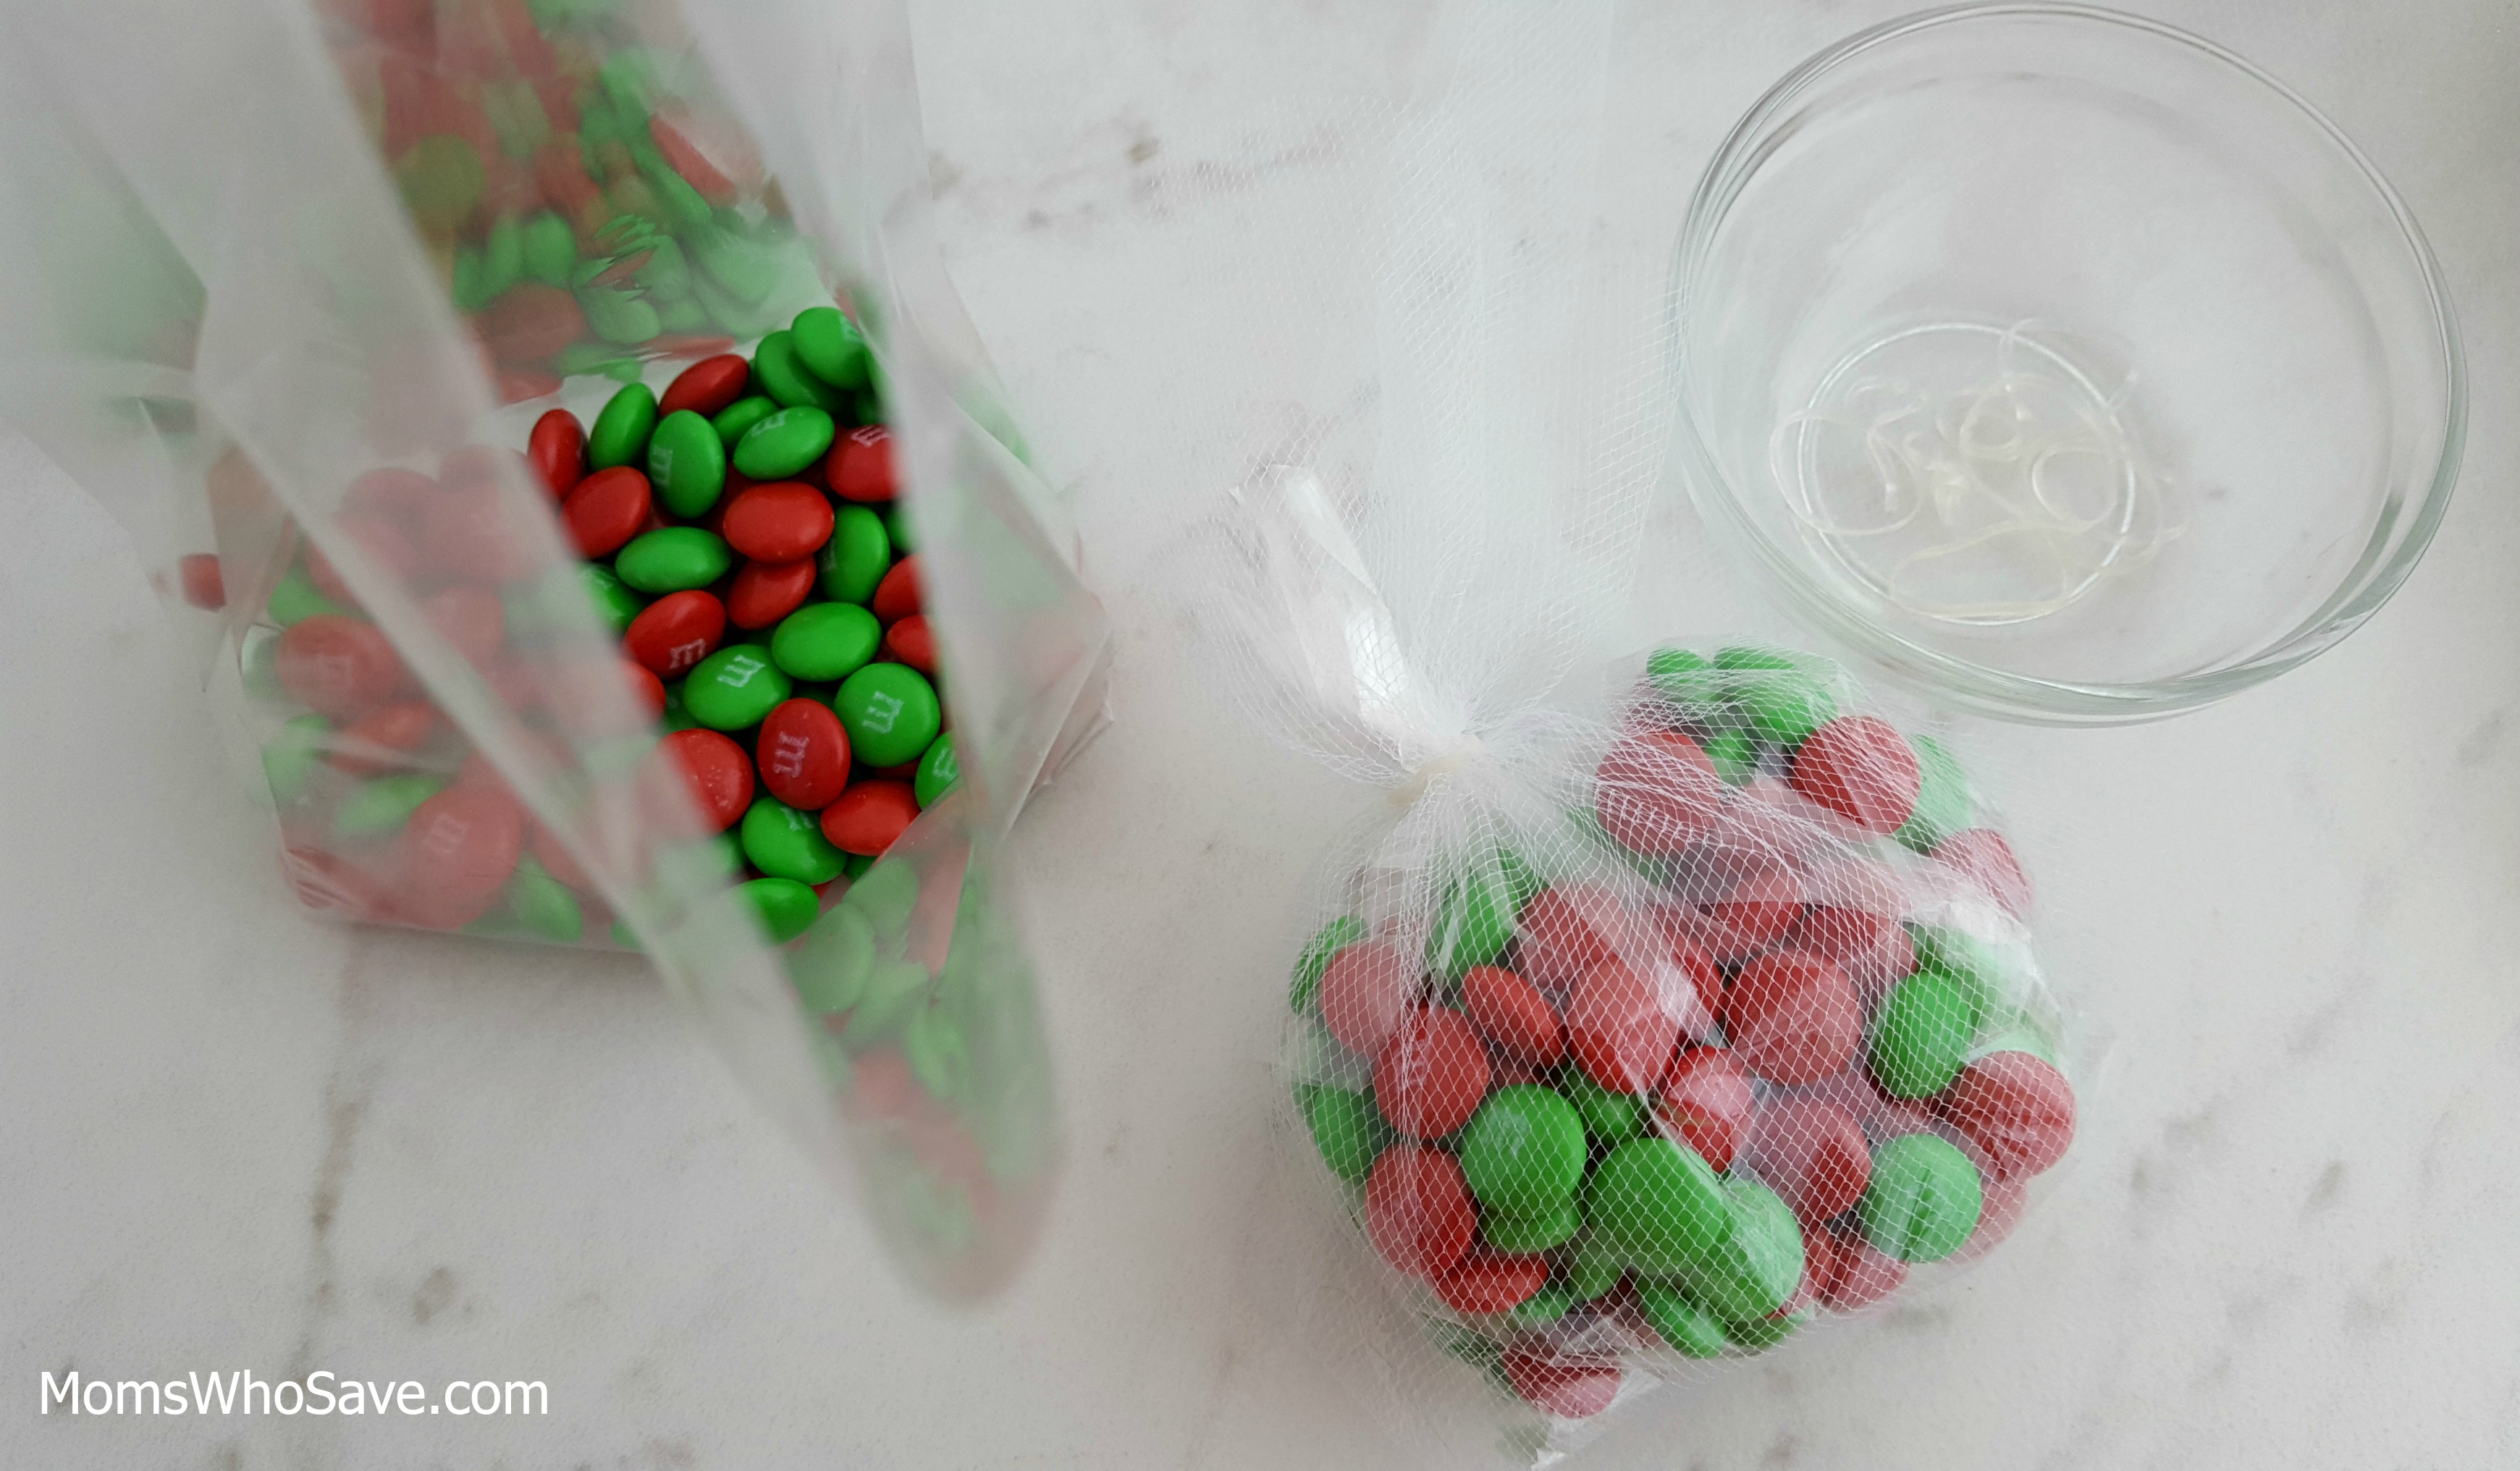
1. Place candies in treat bags. Cut tulle to 16” and wrap under and back up the treat bag. (You may use pre-cut tulle circles instead.) Secure the bag and close tulle with a clear hair elastic or rubberband. Cut off the excess.
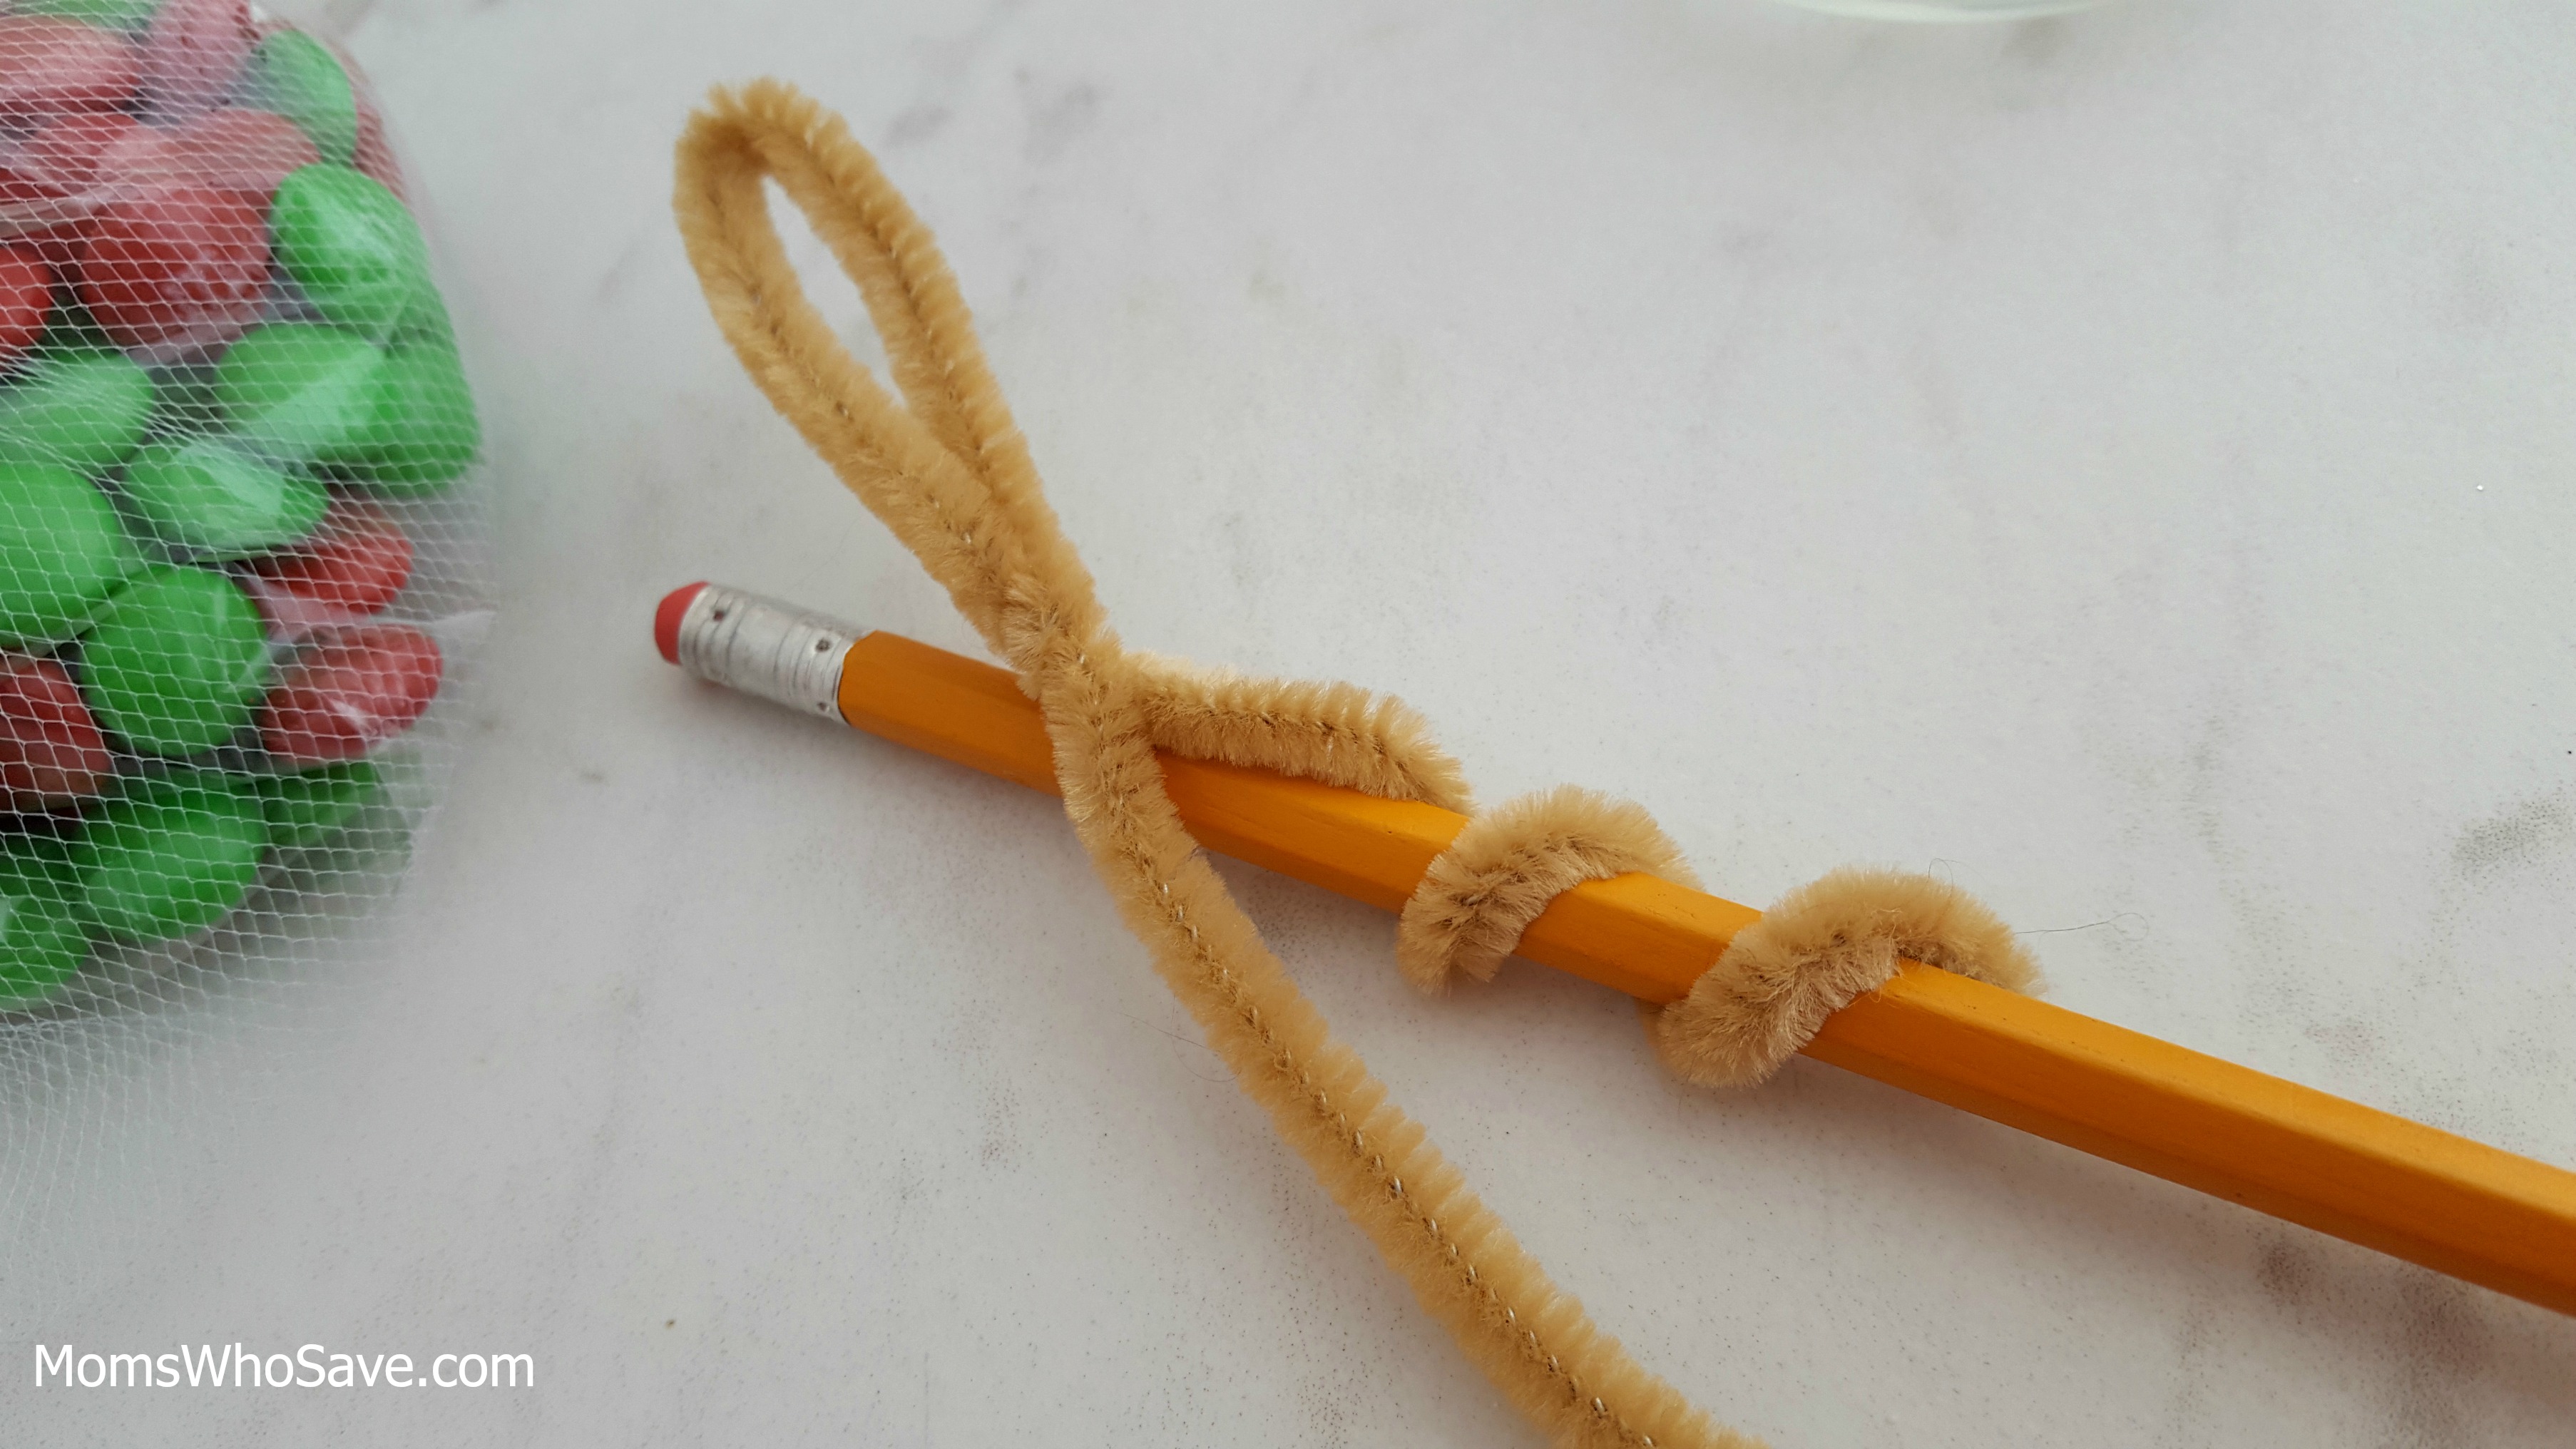
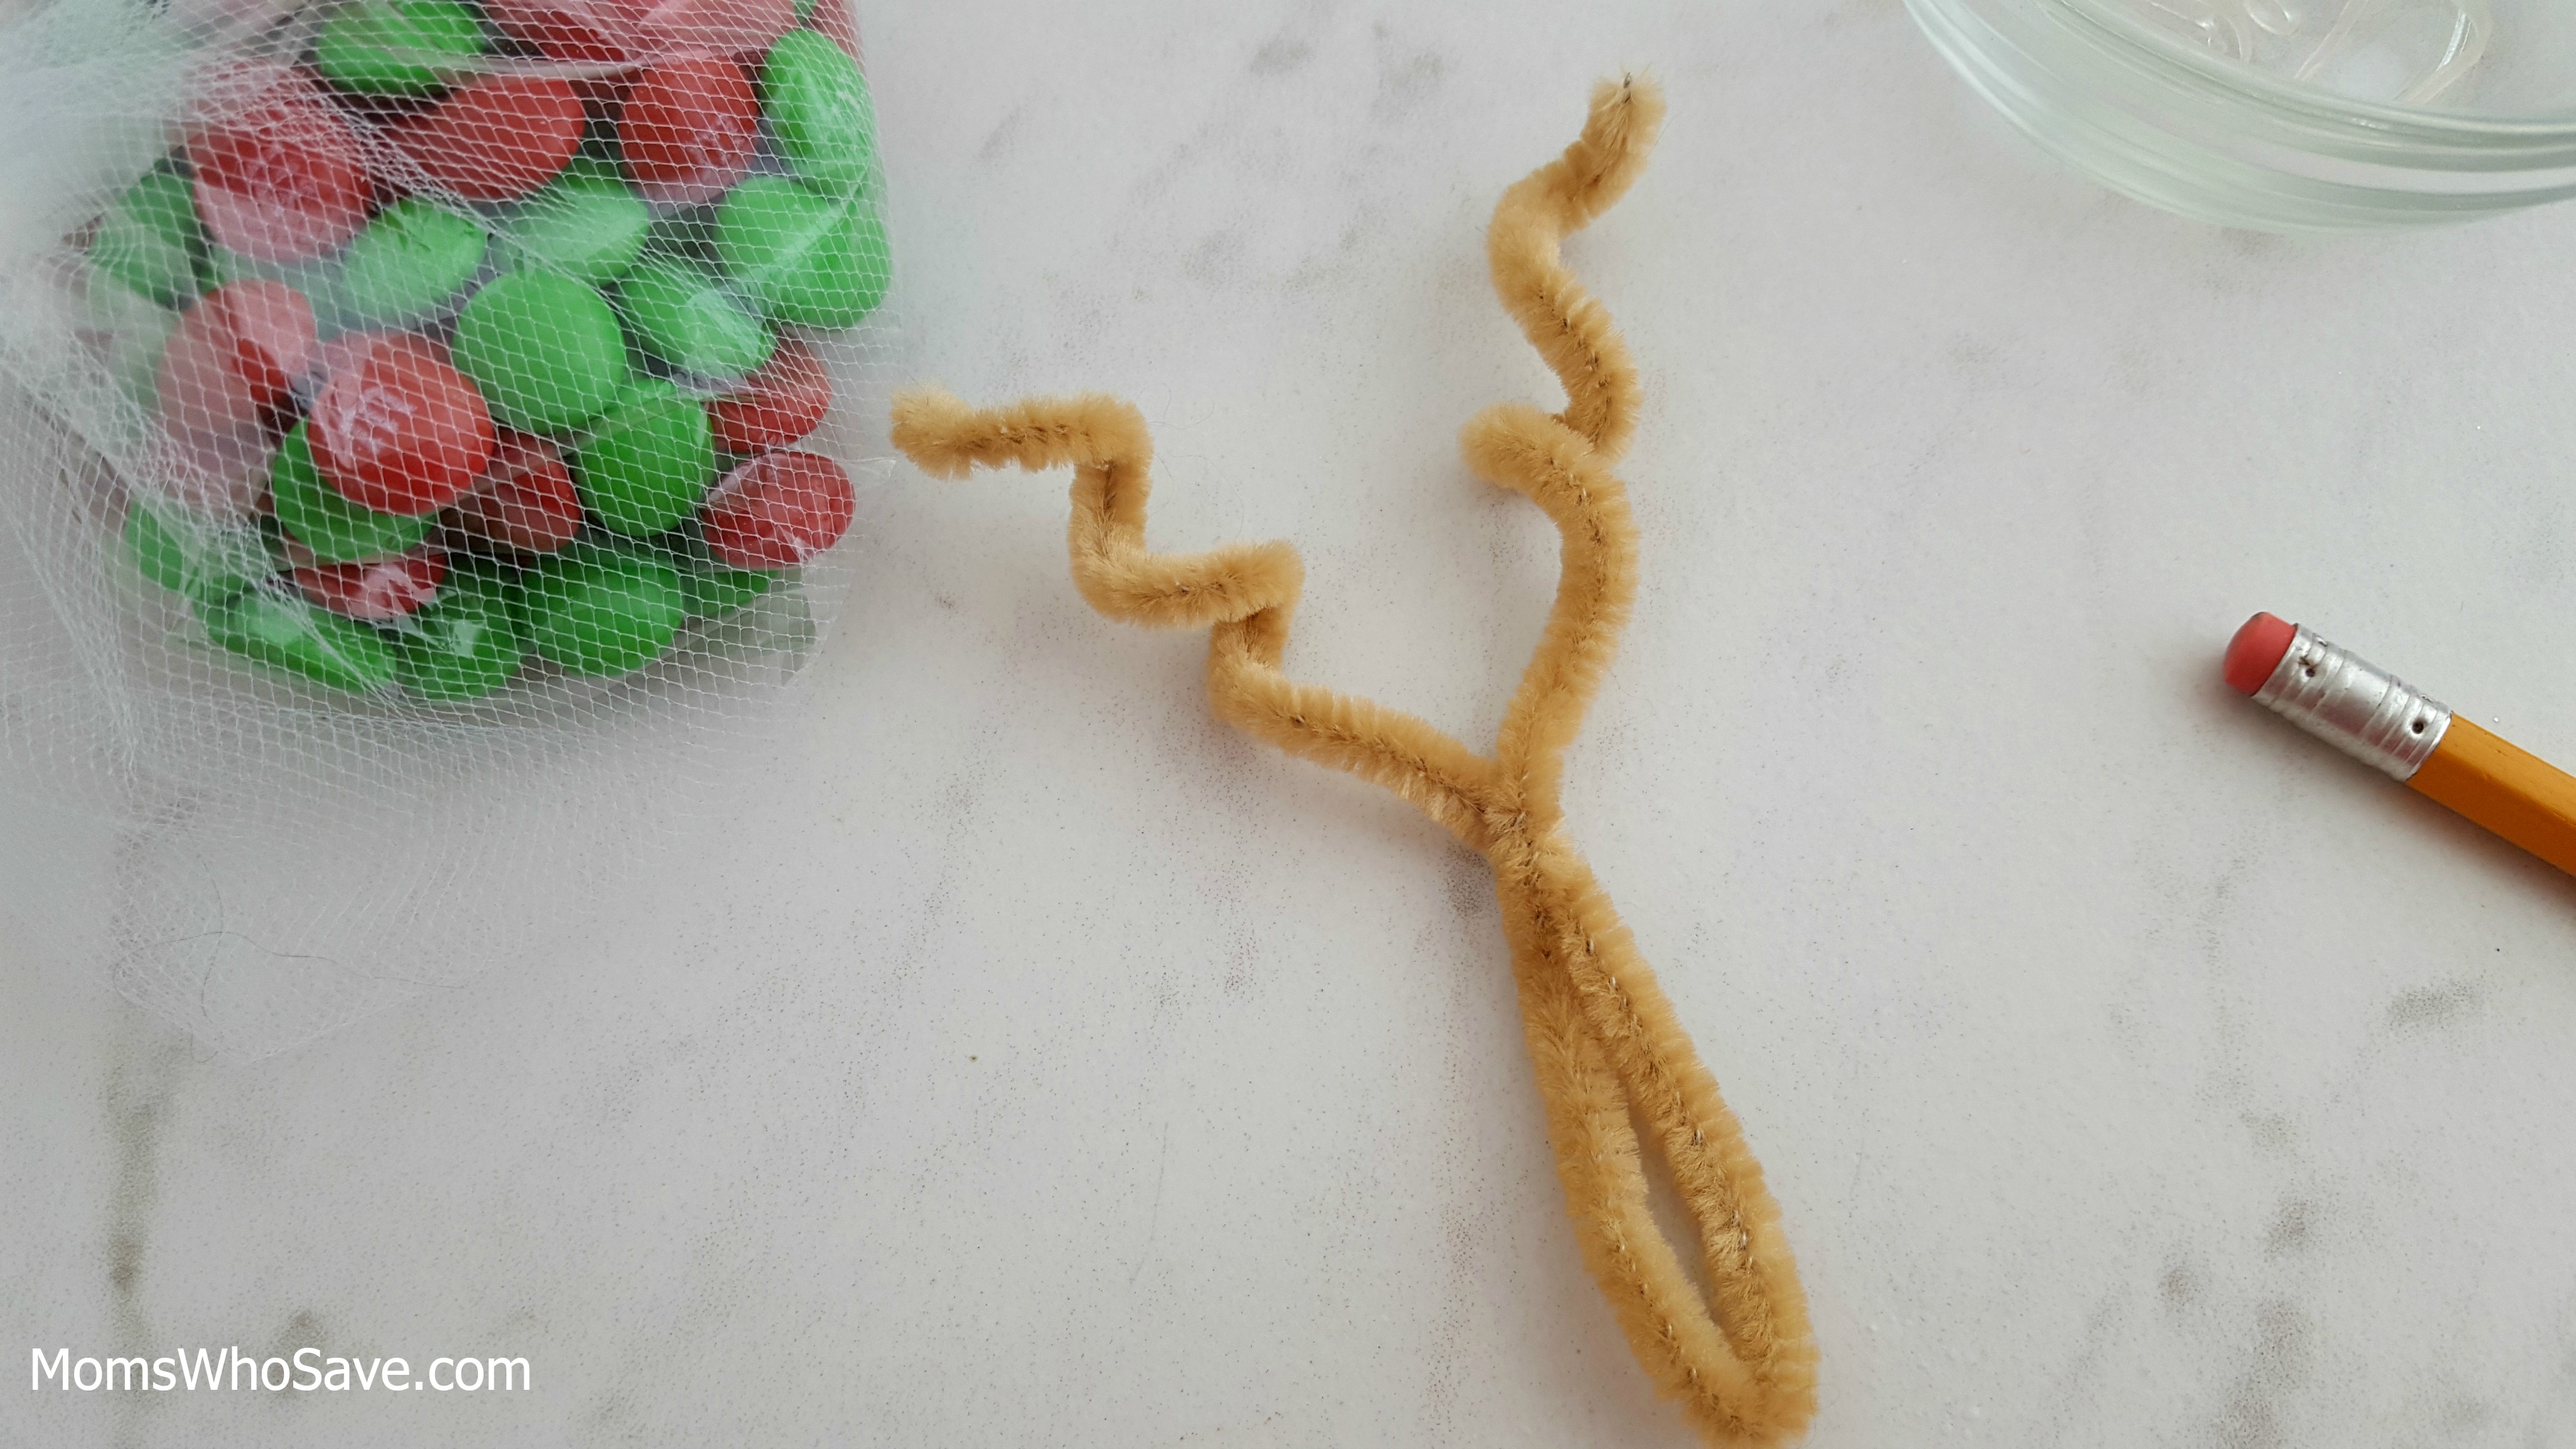
2. To form the reindeer head, fold a tan pipe cleaner in half. Twist 1 ½ inches from the top point (see photo) to create a loop.
3. To form the antlers, wrap the excess of the two ends around a pencil.
4. To create the neck, take another tan pipe cleaner and cut it in half. Wrap one of the pieces over the section where the head and antlers meet and then twist to secure it. Continue to twist the
remainder of that piece together the rest of the way.
5. Place a large dab of glue in the center of the top of head right beneath where the antlers meet. Add two googly eyes.
6. Place another dab of glue at the bottom tip of the reindeer head, and add a red pom pom for the nose.
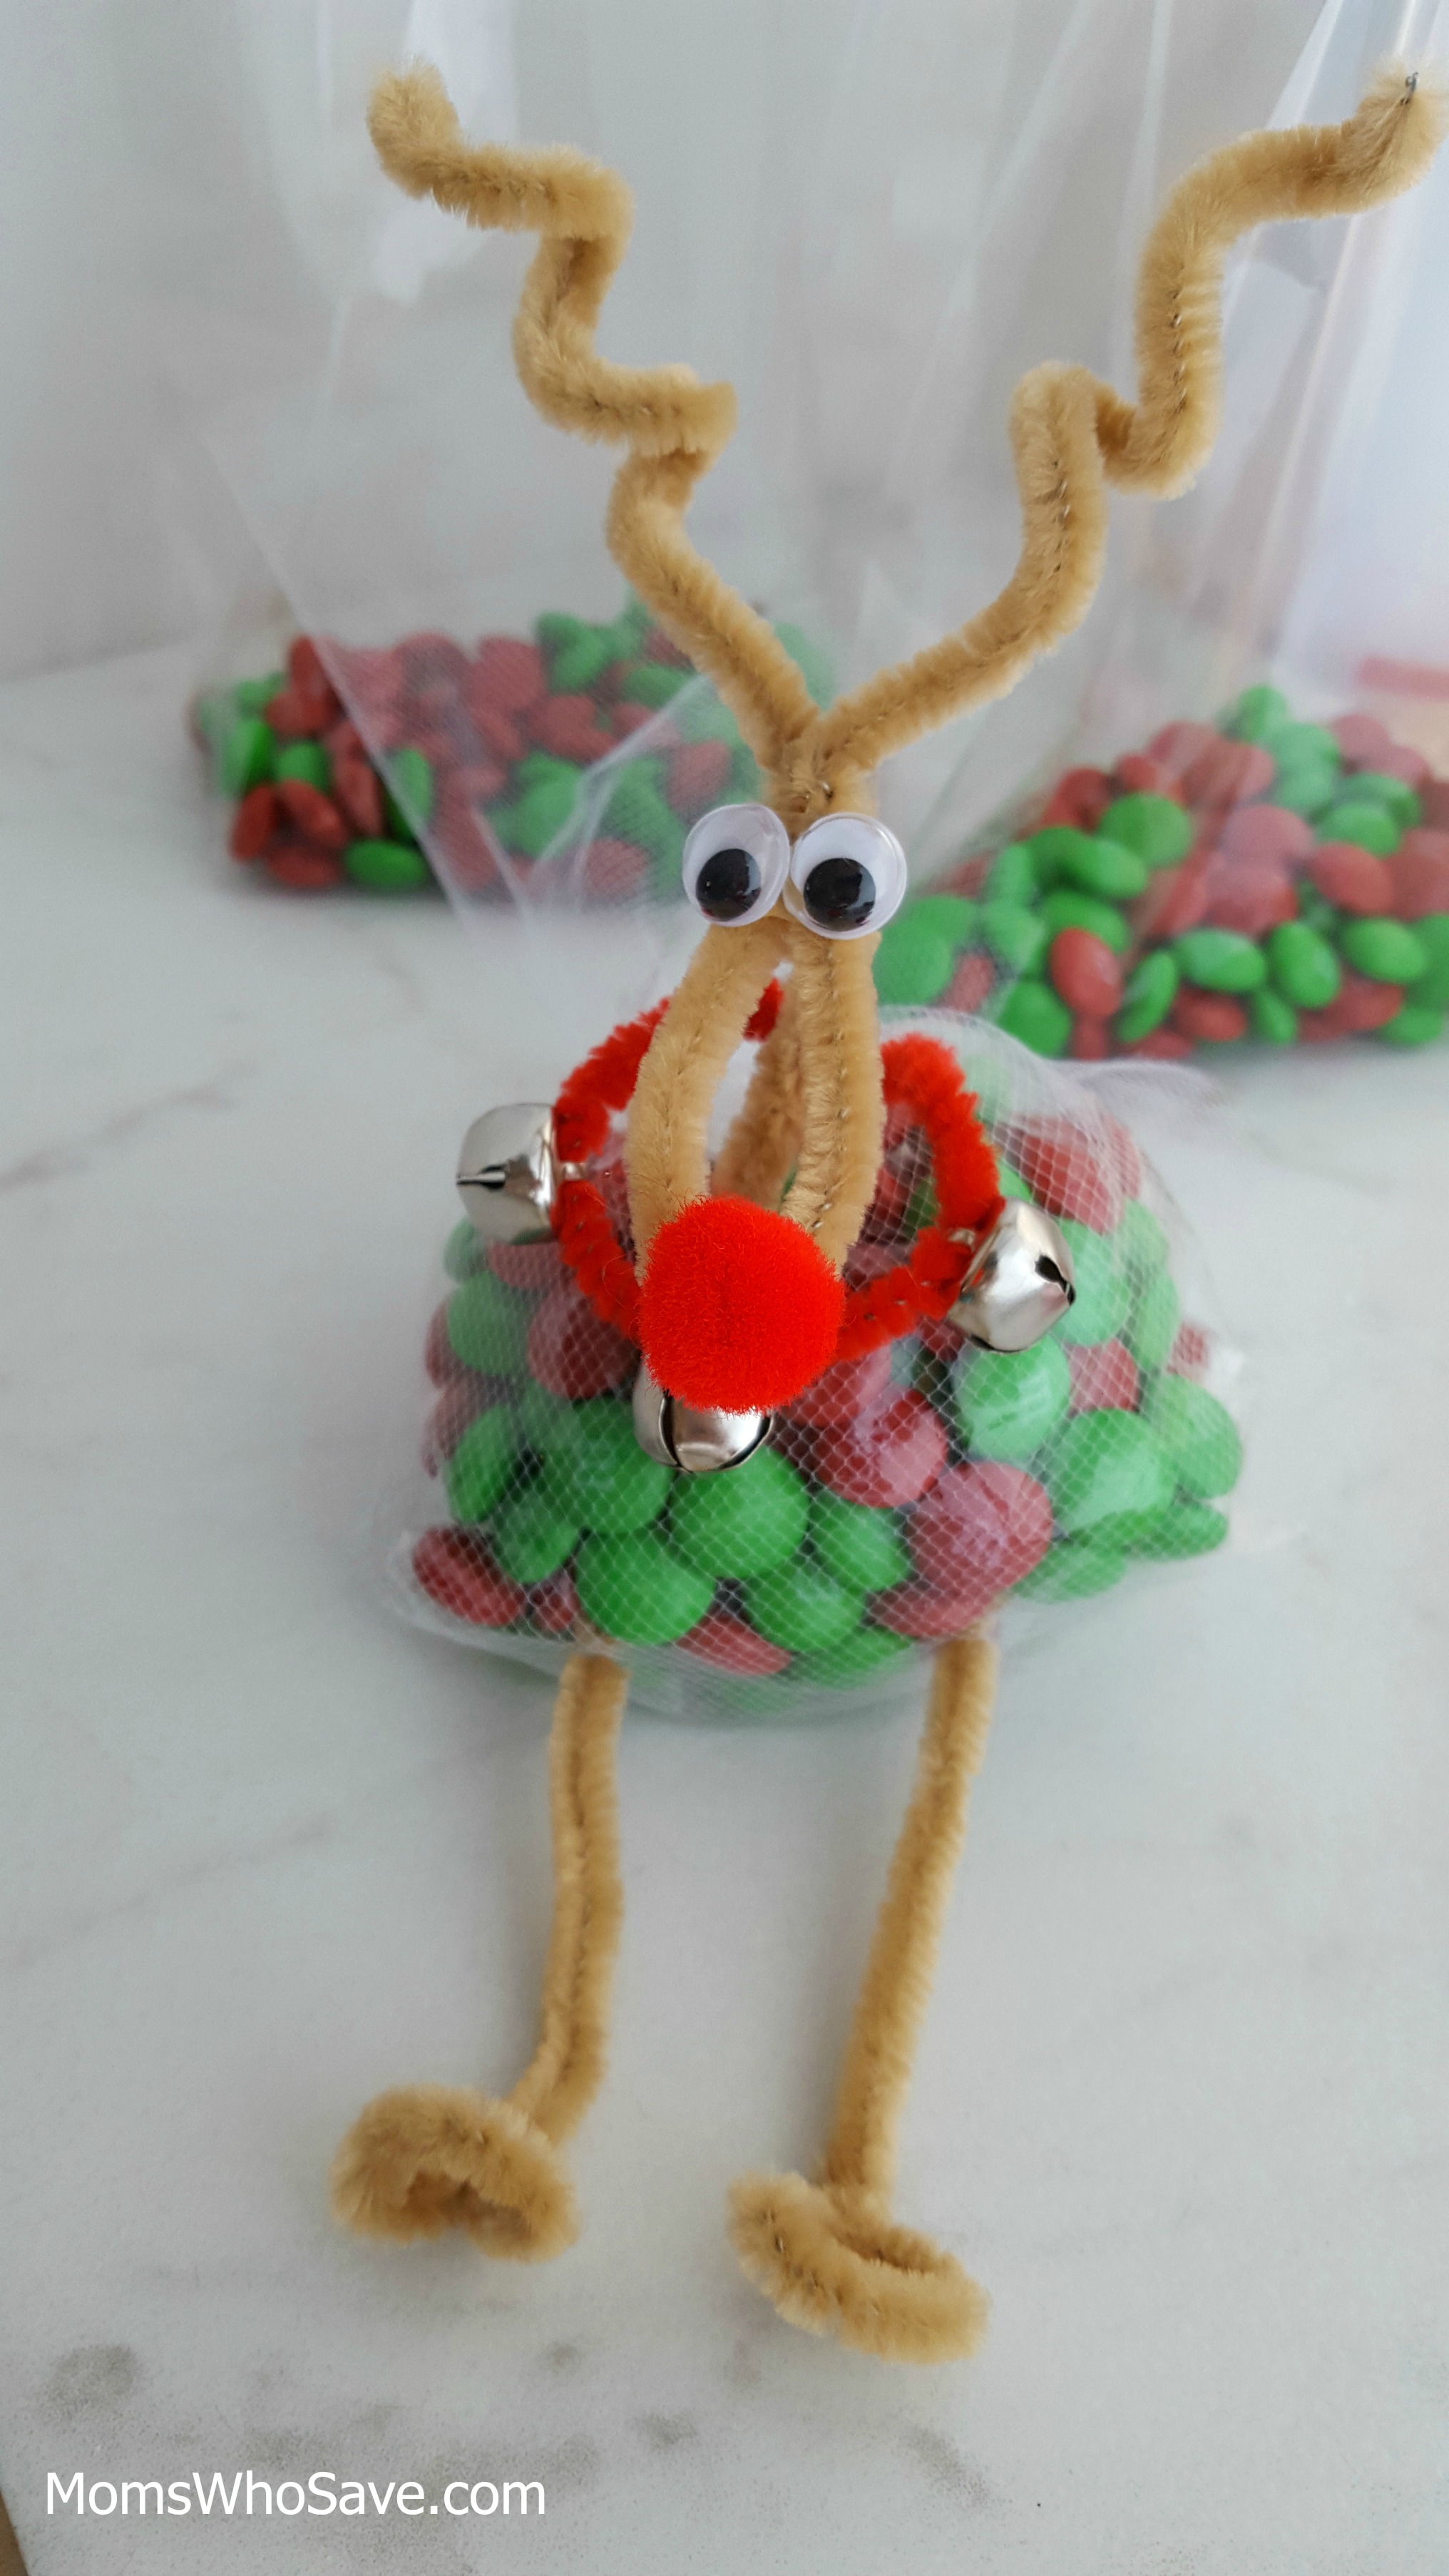
7. Press the neck through the top of the tulle/treat bag. Adjust antlers and head if necessary.
8. To form the legs and hooves, cut a tan pipe cleaner in half. Fold the end 1 ½ inches from the bottom and twist up onto the pipe cleaner to create a small triangle. Bend the triangle up to complete the hooves.
9. Lastly, cut four inches of red pipe cleaner for the collar. Simply thread on three silver bells, and secure it on the reindeer neck by twisting the back to create a circle. (See photo below.)
Let me know if you make these DIY reindeer treat bags and how you like them–leave a comment below.
Make These Fun DIY Reindeer Treat Bags | #holidays #crafts #Christmas Click To TweetAlso read:
Santa Christmas Countdown Calendar Printable (Free)
Free Holiday Treat Bag Printable
10 Silly Gingerbread Man Jokes for Kids (Free PDF Printables)
Lauryn R
This is such an adorable idea for a treat bag, they are so cute! Thank you so much for sharing!
kathy pease
omg these are adorable. I will have to pick up the supplies to make some 🙂
Mary Gardner
These are so cute! My granddaughters will have so much fun making them. Thanks for sharing!