Disclosure: Articles may contain affiliate links. As an Amazon Associate, we earn from qualifying purchases (at no additional cost to you). See our full disclosure here.
Last updated on April 14th, 2023 at 07:28 pm
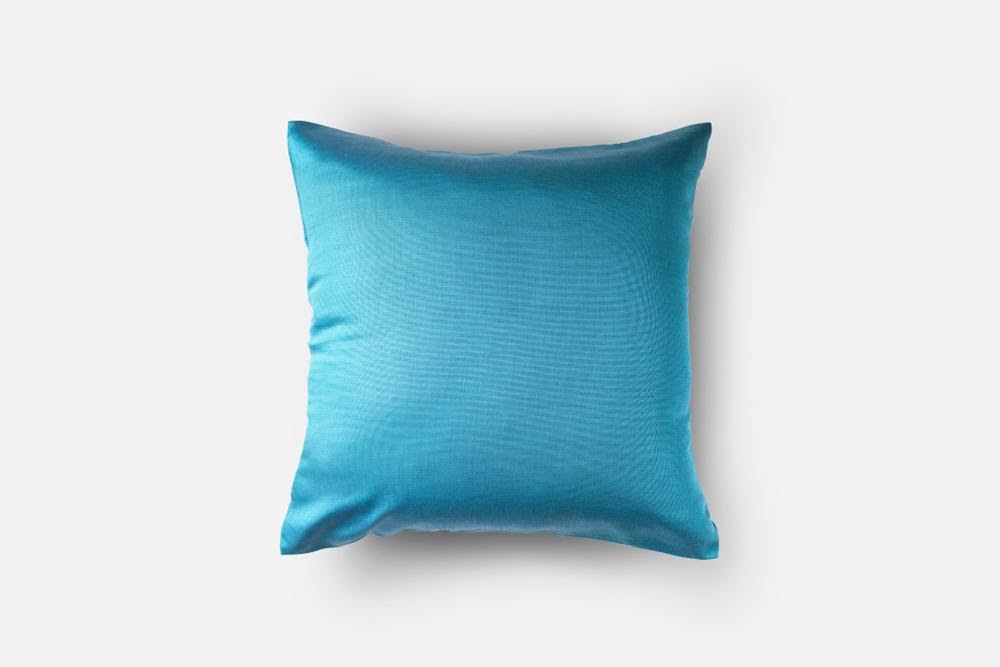
Pillows made from shirts? Yes! It’s the perfect weekend DIY project–and a great way to use some of your favorite old tees. 
Disclosure: Articles may contain affiliate links. As an Amazon Associate, we earn from qualifying purchases (at no cost to you).
Whether you’re a serious DIYer or you’re just looking for a fun project to complete over the weekend, there are plenty of easy crafts to try at home. When you’re trying to craft on a budget, though, or make use of materials you already have, it can be a bit tricky.
Turning a t-shirt into a pillow cover is a fun and easy upcycling project, and it’s a great way to turn the shirts you no longer wear (but don’t want to get rid of) into unique pieces of home décor. Whether you use old concert tees to make throw pillows for your living room sofa or you transform your little one’s favorite tops into huggable pillows for their bedroom or playroom, there’s no wrong option.
If you don’t have any old shirts you’re willing to cut up, you could buy some new tie-dye shirts to make vibrant, colorful and totally on-trend pillowcases. Brightly colored tees work great, too.
Pillows Made From Shirts: An Easy DIY Project
Gather Your Tools and Supplies
One of the best things about this project is that it doesn’t really require much in terms of tools and supplies. You’ll need a t-shirt, of course. Larger sizes are your best bet if you plan on making a standard-sized pillow cover. Smaller shirts work, but keep in mind that the finished product may turn out to be quite small. You’ll also need a pillow or pillow form.
You don’t absolutely need a sewing machine for the project, but it will make things a bit easier. Whether you decide to sew by hand or use a machine, you’ll also need thread in a color that works with the t-shirt. You’ll also need scissors and pins. A tape measure is optional, but it can help ensure your finished pillow cover is just the right size. Since t-shirts stretch, though, being a tiny bit off usually is not a major issue.
Cut the Back Pieces
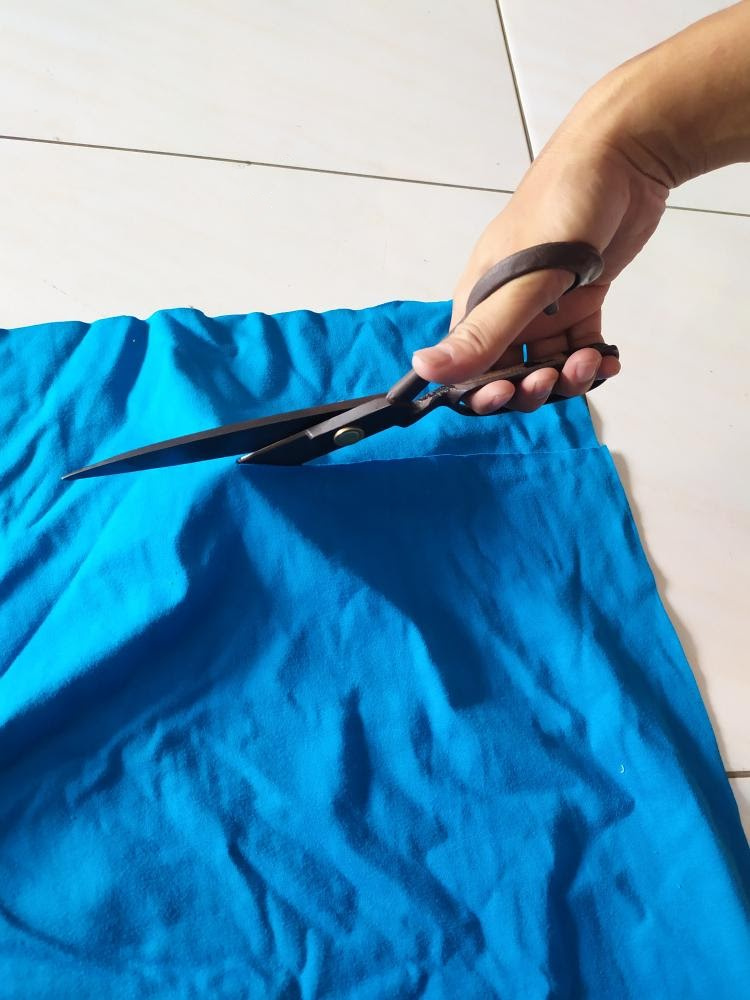
Lay the t-shirt out on a flat surface and prepare to cut the back pieces. Since this is an envelope-style pillow cover, there will be two pieces of fabric overlapping in the center of the pillow on the back. The hem on the bottom of the shirt will be the ends of the back opening of the completed project. If you want to add some flair to your pillow, consider attaching embroidery patches to the fabric before cutting. Starting at the bottom, cut a rectangle from the front and back of the shirt that is three-quarters the length of your pillow and the same as its width.
Cut the Front Piece

Cut out the piece of the shirt that will serve as the front of your pillow from the chest area. It should be the exact same size as your pillow or a tiny bit larger. Remember: T-shirts stretch so there is no reason to stress about absolute perfection.
Pin the Pieces Together
You should now have three pieces of fabric that you cut out from the shirt. You should have the front piece as well as the two back pieces cut from the bottom hems.
Lay the front piece on a flat surface with the right side facing you. Next, position one of the back pieces on top of it with the right side down with the bottom hem at the bottom. Make sure the three raw edges are lined up. The hemmed edge should be positioned about three-quarters of the way down the front piece.
Place the other back piece on top of the other two pieces with the opposite raw edges lined up with the right side facing down. It should overlap the first back piece, and the hemmed edge should face upward about three-quarters of the way up from the bottom of the shirt.
When you are finished, all three right sides should be facing each other, and the two back pieces should be overlapping. Pin around all outside edges.
Sew

Sew the raw edges together by hand or using a sewing machine. If you are using a machine, use a zigzag stitch to prevent the knitted fabric from stretching. Only sew around the outside edges. Do not sew the hemmed edge.
Pillows Made From Shirts? Yes! Try This Easy DIY | #crafts #homedecor #upcycle #sewing Click To TweetFlip Around and Place on Pillow
When you’ve finished sewing, turn the pillow cover inside out. If you’d like to ensure the edges are nice and crisp, feel free to iron the case–though this isn’t necessary. Stuff the pillow into the cover between the two flaps on the back. Try to line up the corners as evenly as possible.
Once you have inserted the pillow, pull both of the back pieces over, and smooth them out. Your pillow form should now be snugly tucked inside the cover. Flip your pillow over so the front side is facing you. Adjust and smooth out as desired until it looks just right.

Display and Admire

Congratulations! You now have a unique pillow to display in your home. Place it on your living room sofa as a decorative item your guests will love, put it in your child’s room to give them something soft to cuddle, or place it on your own bed.
One of the great things about this pillows made from shirts DIY is that the end result is soft and comfy. If you love your favorite t-shirts because of how great they feel against your skin, just wait until you experience how amazing it feels to lay your head on one that’s wrapped around a pillow!
You might also like this DIY: Pom Pom & Tassel Throw Pillows

You can find MomsWhoSave on Pinterest, Facebook, Instagram, and Twitter. Join us for updates.
Don’t miss a thing! Subscribe to MomsWhoSave’s newsletter.
Leave a Reply