Disclosure: Articles may contain affiliate links. As an Amazon Associate, we earn from qualifying purchases (at no additional cost to you). See our full disclosure here.
Last updated on January 20th, 2023 at 03:52 am
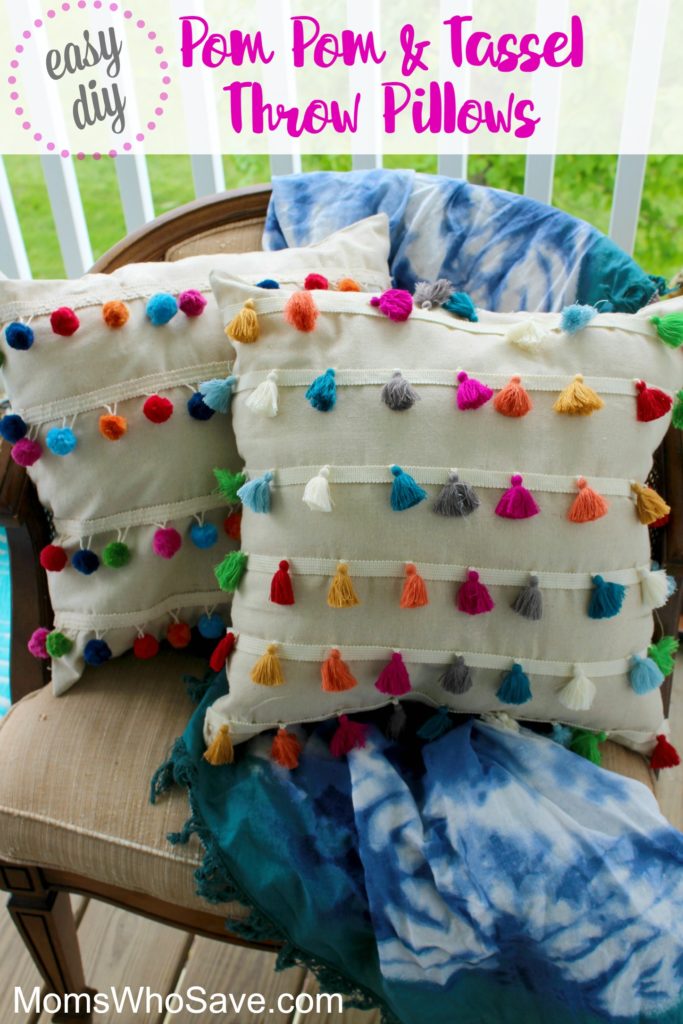
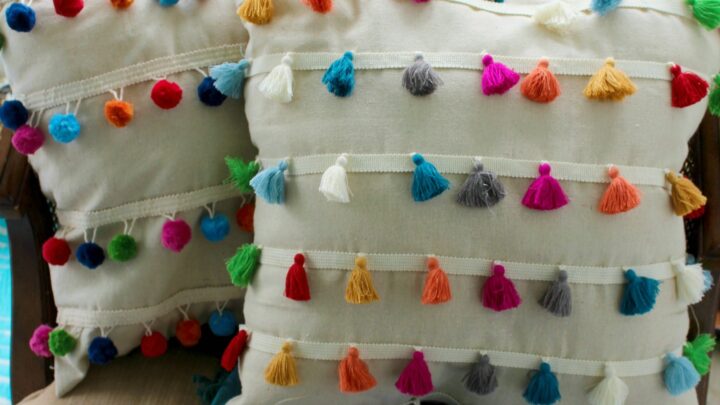
We love this no-sew project! You can make a colorful tassel or pom pom trim pillow to freshen up any room in your house. It’s so easy!

Here’s a really easy DIY project that doesn’t take too long to make. And, this project is “no-sew”, which is great if you’re like me and don’t own a sewing machine.
These colorful throw pillows can be made with tassels or pom poms. They’re fun for a child or teen’s room, on a sun porch, or any area you want to give a bright burst of color. There are so many possibilities!
DIY Pom Pom Trim Pillow and Tassel Throw Pillow
Articles may contain affiliate links. As an Amazon Associate, we earn from qualifying purchases (at no cost to you).
You will need:
-
Pillow forms or poly-fil if you want to stuff it yourself
-
Pillow covers (I used 18 x 18. If you wanted to, you could easily make these yourself.) Here’s a link to a 4-pack or to individual pillows.
-
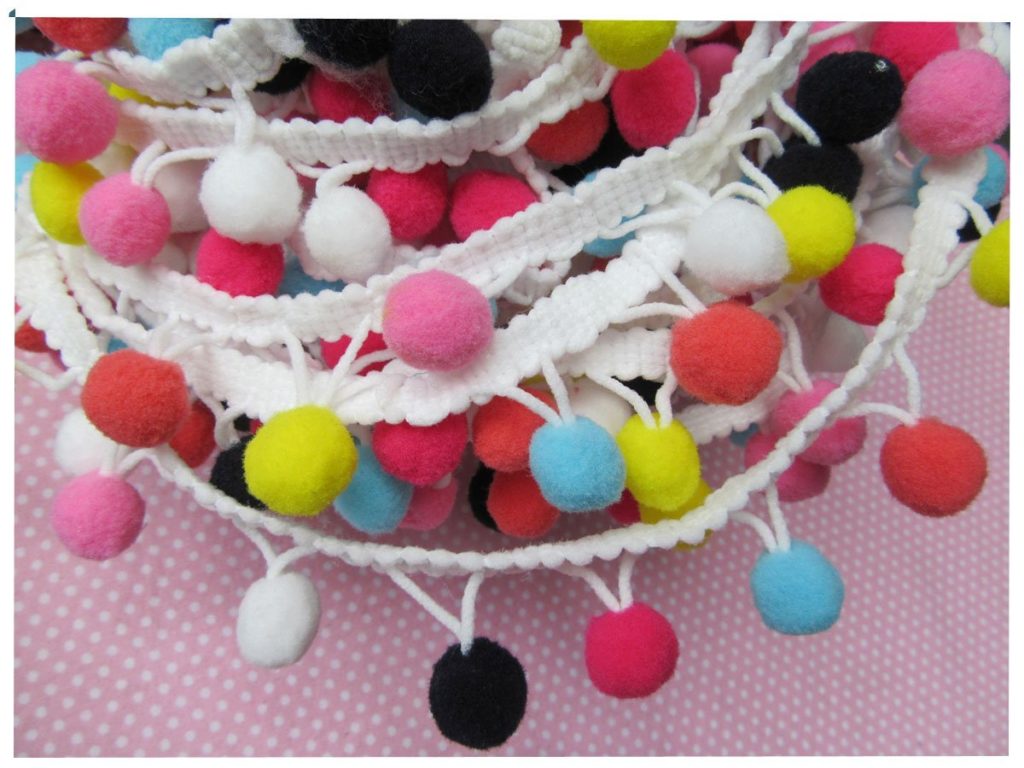
Pom Pom trim — You can use multi-colored or solid colors to match a particular color theme (I used two yards of pom pom trim for the pillow shown. You can use more or less based on how many you want on the pillow.) Here are two links to the pom pom trim (here and here). I recommend getting this from Amazon. Hobby Lobby is selling it for $10+ a yard. Amazon typically has this for $8.99+ for FIVE yards. You can buy multicolored like I did or solid colors.
-
Tassel trim (I used three yards of trim on this pillow.)
-
Sealant (optional, but recommended!)
This is a no-sew project! There are several ways you can attach the fabric. All three work well, so it’s up to you. (Of course, if you’d prefer to sew this, go right ahead.)
Choose between:
- Steam-a-Seam (This is like an adhesive ‘tape’ that you iron on and it adheres.)
- Fabric glue
- Hot glue/Hot glue gun

Instructions for your Pom Pom Trim Pillow and Tassel Throw Pillow:
- Wash and dry your pillow cover as instructed before you get started.
- Lay your pillow cover flat, and measure out your trims. Cut them to your desired length. Two yards gave me four rows, and three yards gave me six. How much you decide to put on your pillows is all about personal preference.
- Arrange your rows of trim on your pillow cover. You will want to leave a few inches between the top of your pillow and your first row as well as a few inches from the bottom of your pillow to the last row.
- Using your choice of adhesive/glue, attach your rows to the pillow form. You can use Steam-a-Seam (just follow the package instructions) and iron, or you can use glue. I did one pillow in fabric glue and another in hot glue. Both came out great!
- The edges of the trim will unravel a bit. I like to use a liquid seal sealant on my edges, but if you are using glue, then you can always dab a bit of glue on the edges, and that will also work.
- Let your everything dry.
- Insert your pillow form or fill with poly-fil.
- Enjoy your new tassel or pom pom trim pillow!

If you like these tassel and pom pom trim pillows, check out these DIY home projects too —
Gorgeous DIY Agate Slice Coasters (With Gilded-Edges)
Easy DIY Bead and Ribbon Bookmarks
DIY Decoupage Tile Coasters
Leave a Reply