Disclosure: Articles may contain affiliate links. As an Amazon Associate, we earn from qualifying purchases (at no additional cost to you). See our full disclosure here.
Last updated on March 1st, 2023 at 02:38 pm
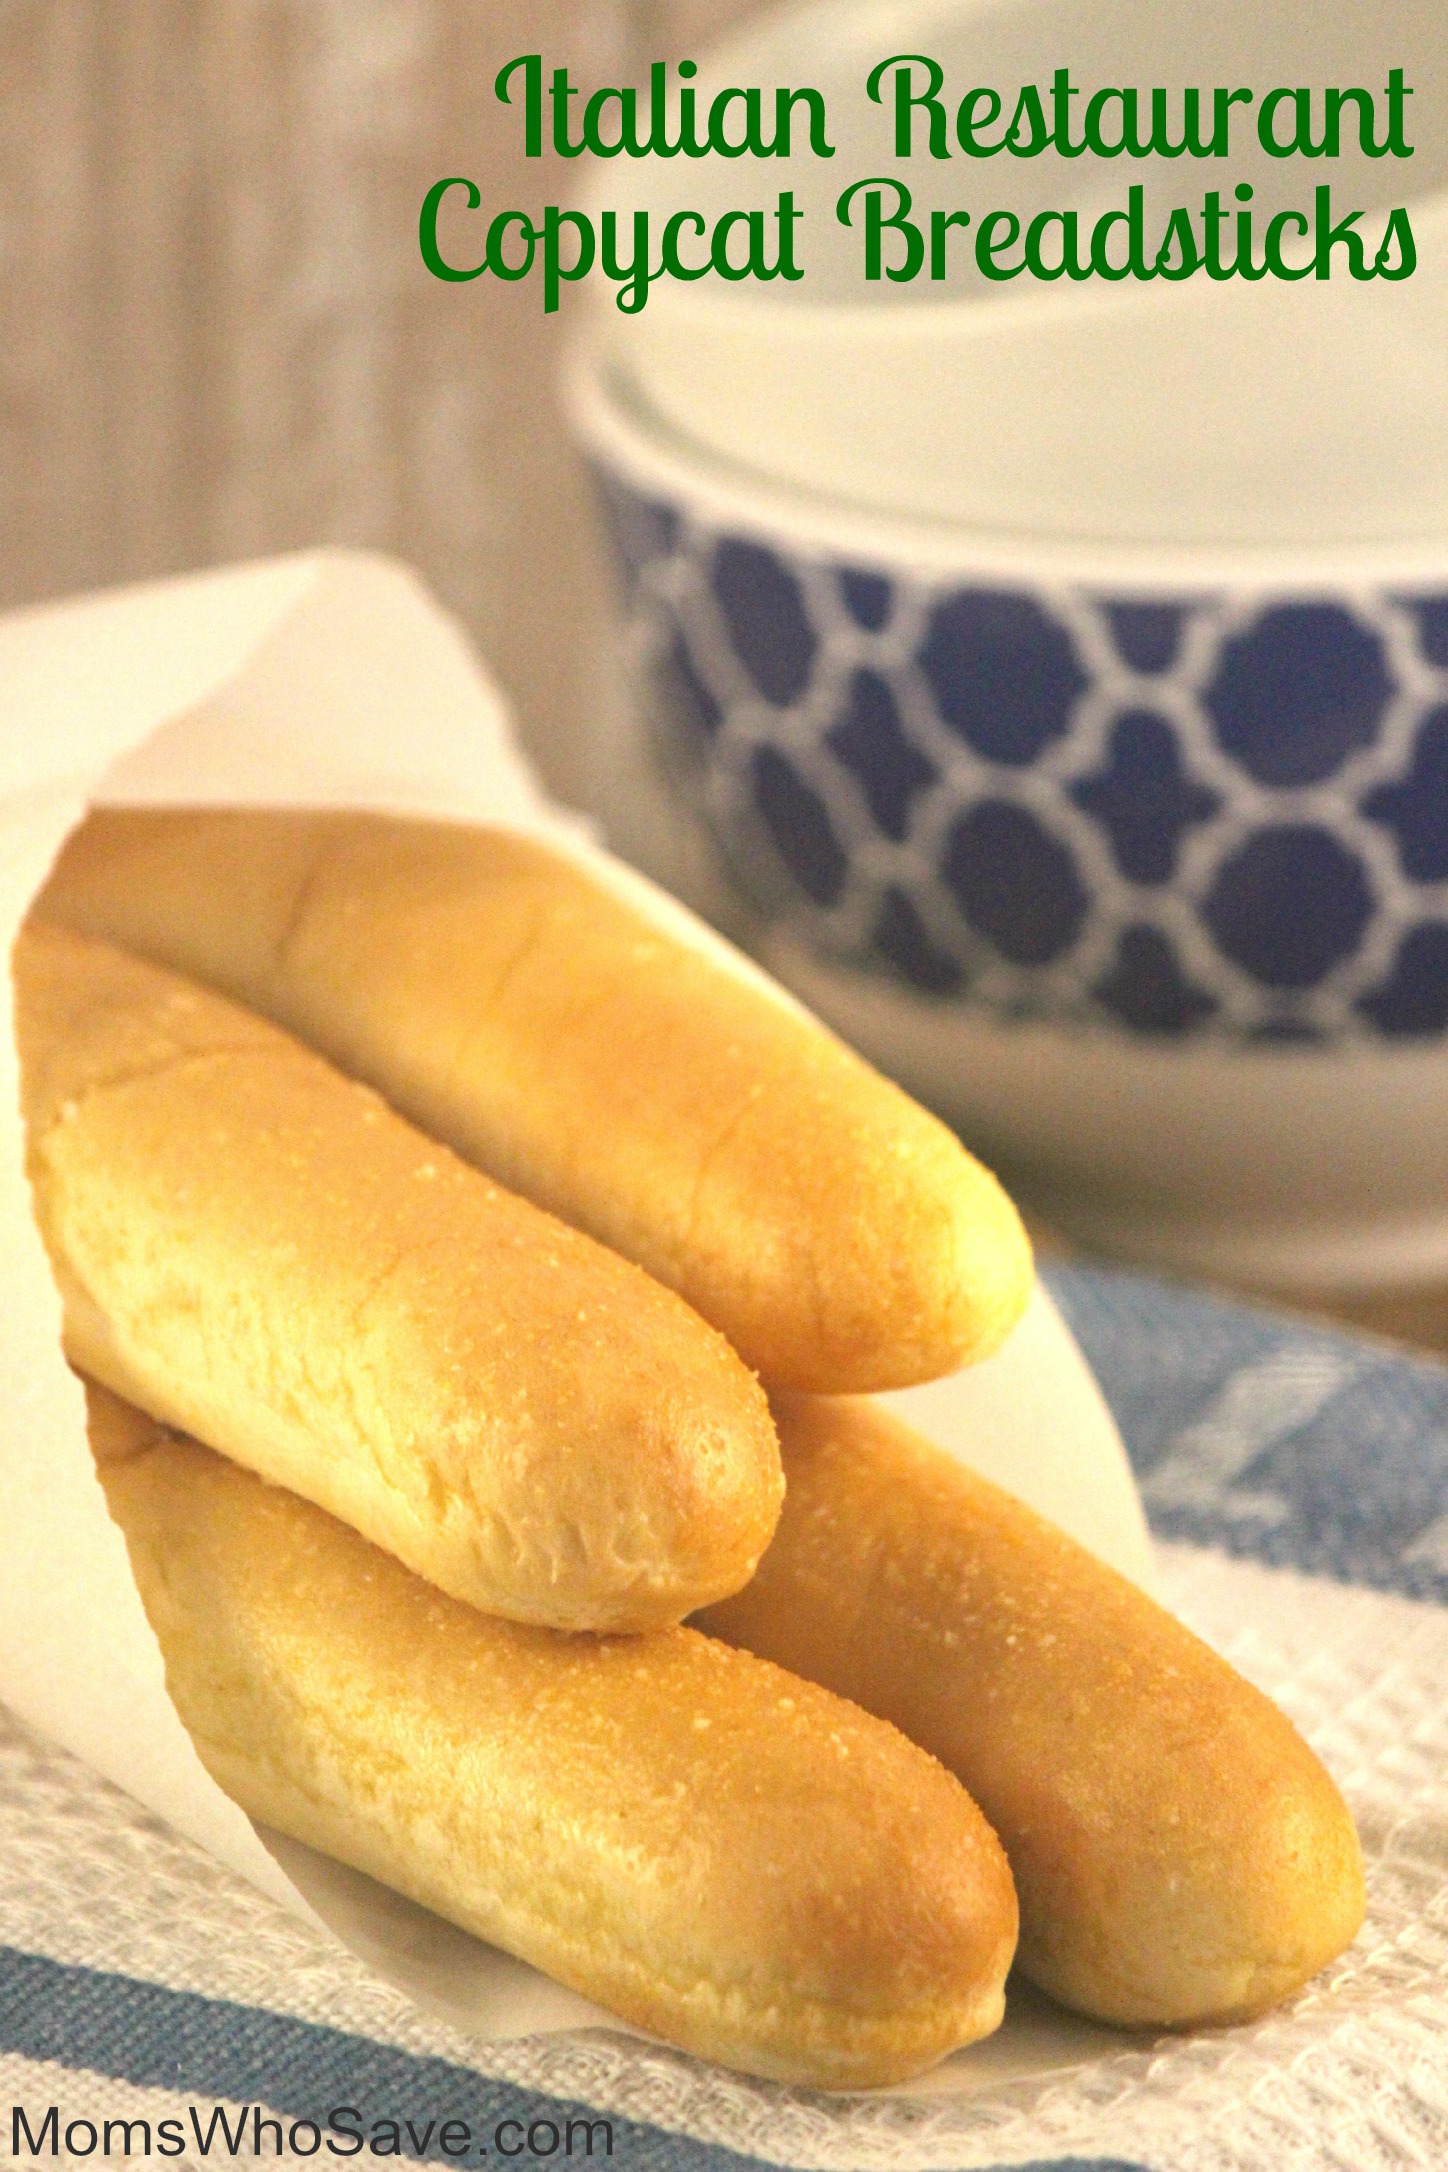
You’re going to love these Olive Garden Copycat Breadsticks. Now you can make the tasty breadsticks you love at home anytime!
Our family loves the breadsticks at Olive Garden. If you do too, now you can make your own at home.
These would be perfect with my easy 20-Minute Bow Tie Pasta Alfredo. Or, serve them with any of your favorite pastas, soups, or salads.
These breadsticks are the perfect side to just about any meal. You can even serve them as a little appetizer with some marinara sauce!
Olive Garden copycat breadsticks
To make your Olive Garden copycat breadsticks, you only need some basic ingredients you most likely have in your pantry.
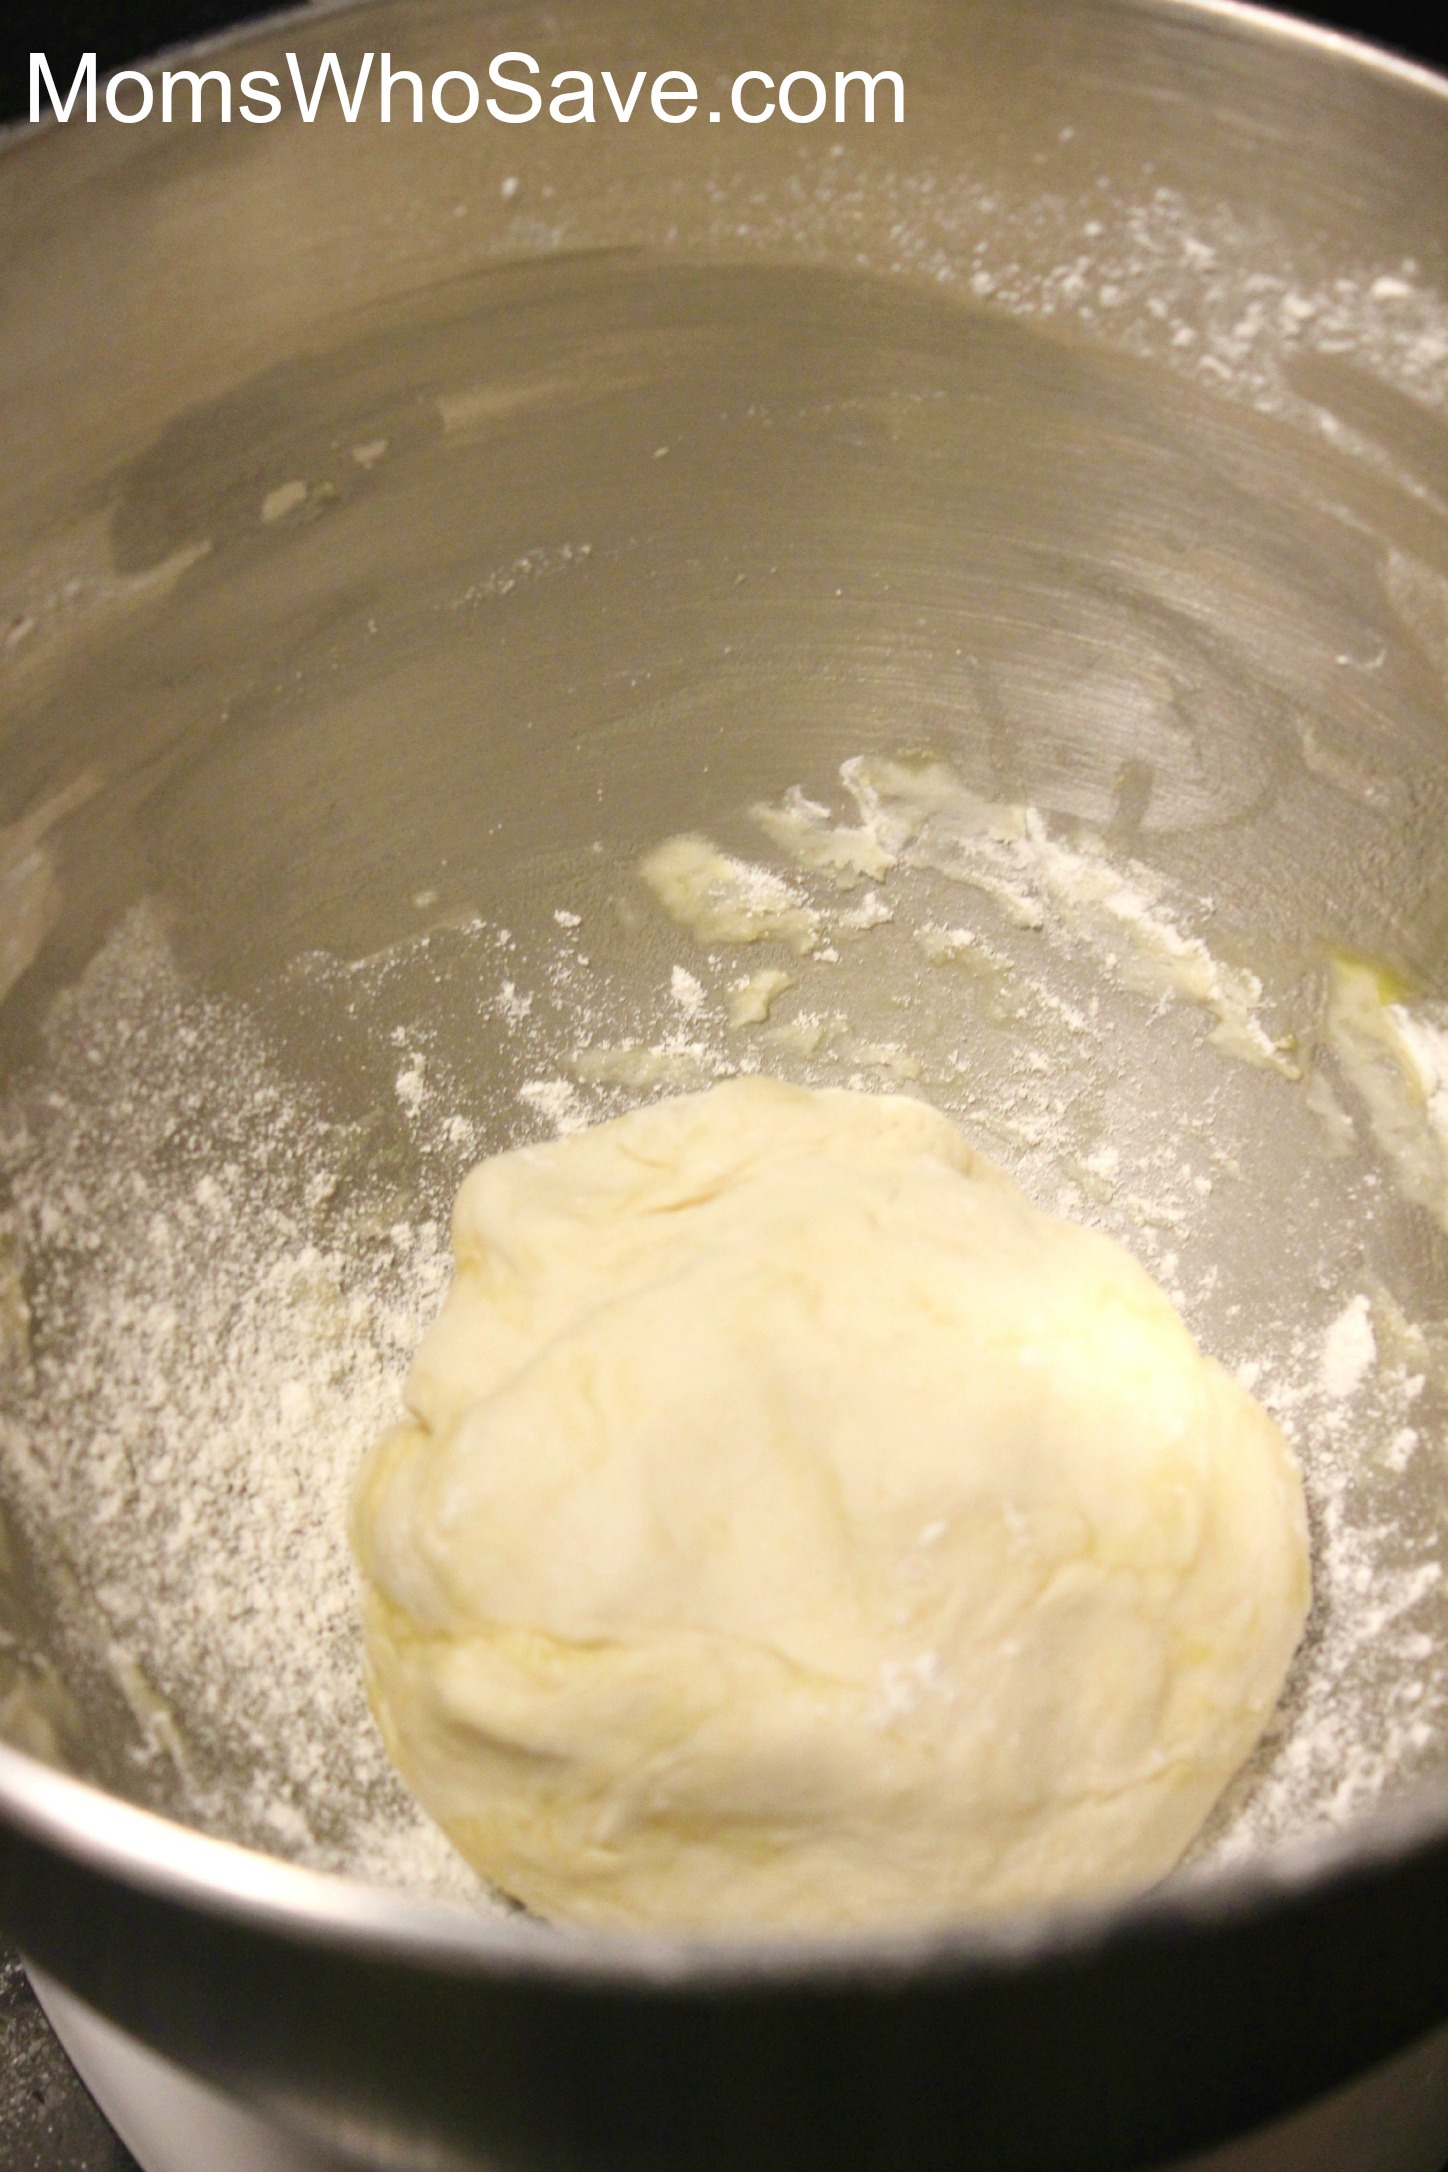
After mixing and forming a dough ball, you’ll let the dough rise for about a half hour.
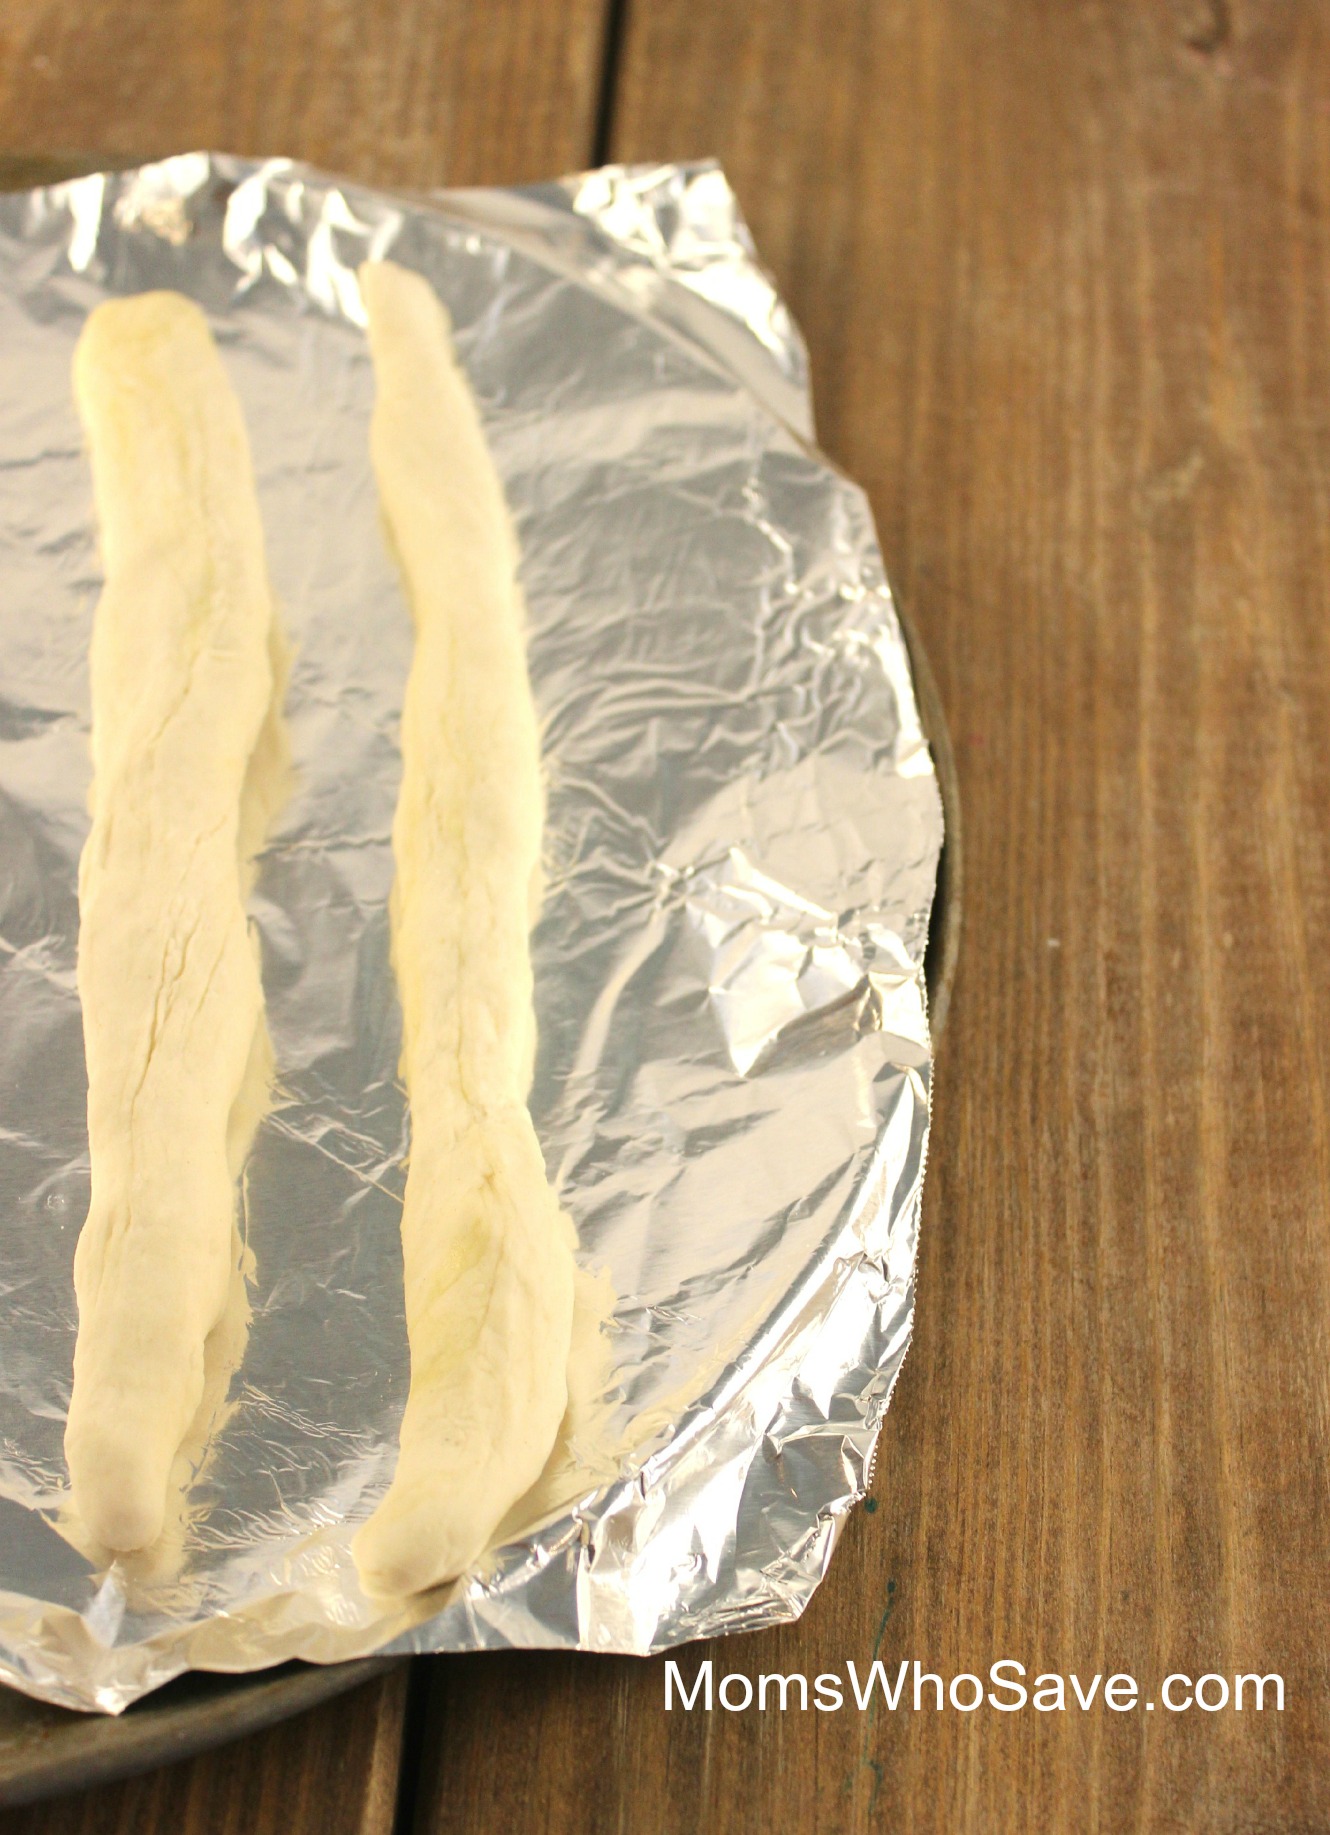
Next, you’ll roll the dough into one long “tube” shape and then cut it into strips of about sevent to eight inches.
After brushing with butter and salt, bake the breadsticks for about 15 minutes or until golden brown. Garlic butter is brushed on top after they come out of the oven.
Doesn’t that sound delicious? There’s nothing better than fresh, warm breadsticks!
Italian Restaurant Copycat Breadsticks
Ingredients
- 4-5 cups of flour
- 1 ½ cups of warm water
- 2 Tablespoons of sugar
- 2 Tablespoons olive oil
- 1 Tablespoon of yeast
- 1 Tablespoon of salt
Topping
- 3 Tablespoons of melted butter
- sea salt
- 1 teaspoon of garlic powder
Instructions
- Preheat oven to 400 degrees.
- In a large mixing bowl, pour in water, sugar, and yeast. Let stand for 10 minutes.
- Mix in salt, olive oil, and 2 cups of flour until thoroughly mixed.
- Add in the rest of the flour while continuously mixing until dough comes off the side of the bowl clean.
- Cover and let the dough rise for 30 minutes.
- Roll dough into one long tube (about ¾ inch in diameter).
- Cut dough tube into seven to eight-inch pieces.
- Place dough sticks on sprayed (cooking oil spray) cookie sheets, and let sit for 15 minutes.
- Brush dough sticks with ½ of the melted butter, and sprinkle with salt.
- Bake for 13-15 minutes until golden brown.
- Mix remaining butter and garlic powder, and brush on top of breadsticks after removing from oven.
You might also like…
38 Frugal Meals for Your Family
10 Grown-Up Grilled Cheese Sandwiches
10 Must-Make Mac and Cheese Recipes
You can also find MomsWhoSave on Pinterest, Facebook, Instagram, and Twitter. Join us for updates!
Don’t miss a thing! Subscribe to MomsWhoSave’s newsletter.


Leave a Reply