Disclosure: Articles may contain affiliate links. As an Amazon Associate, we earn from qualifying purchases (at no additional cost to you). See our full disclosure here.
Last updated on December 21st, 2023 at 08:24 pm
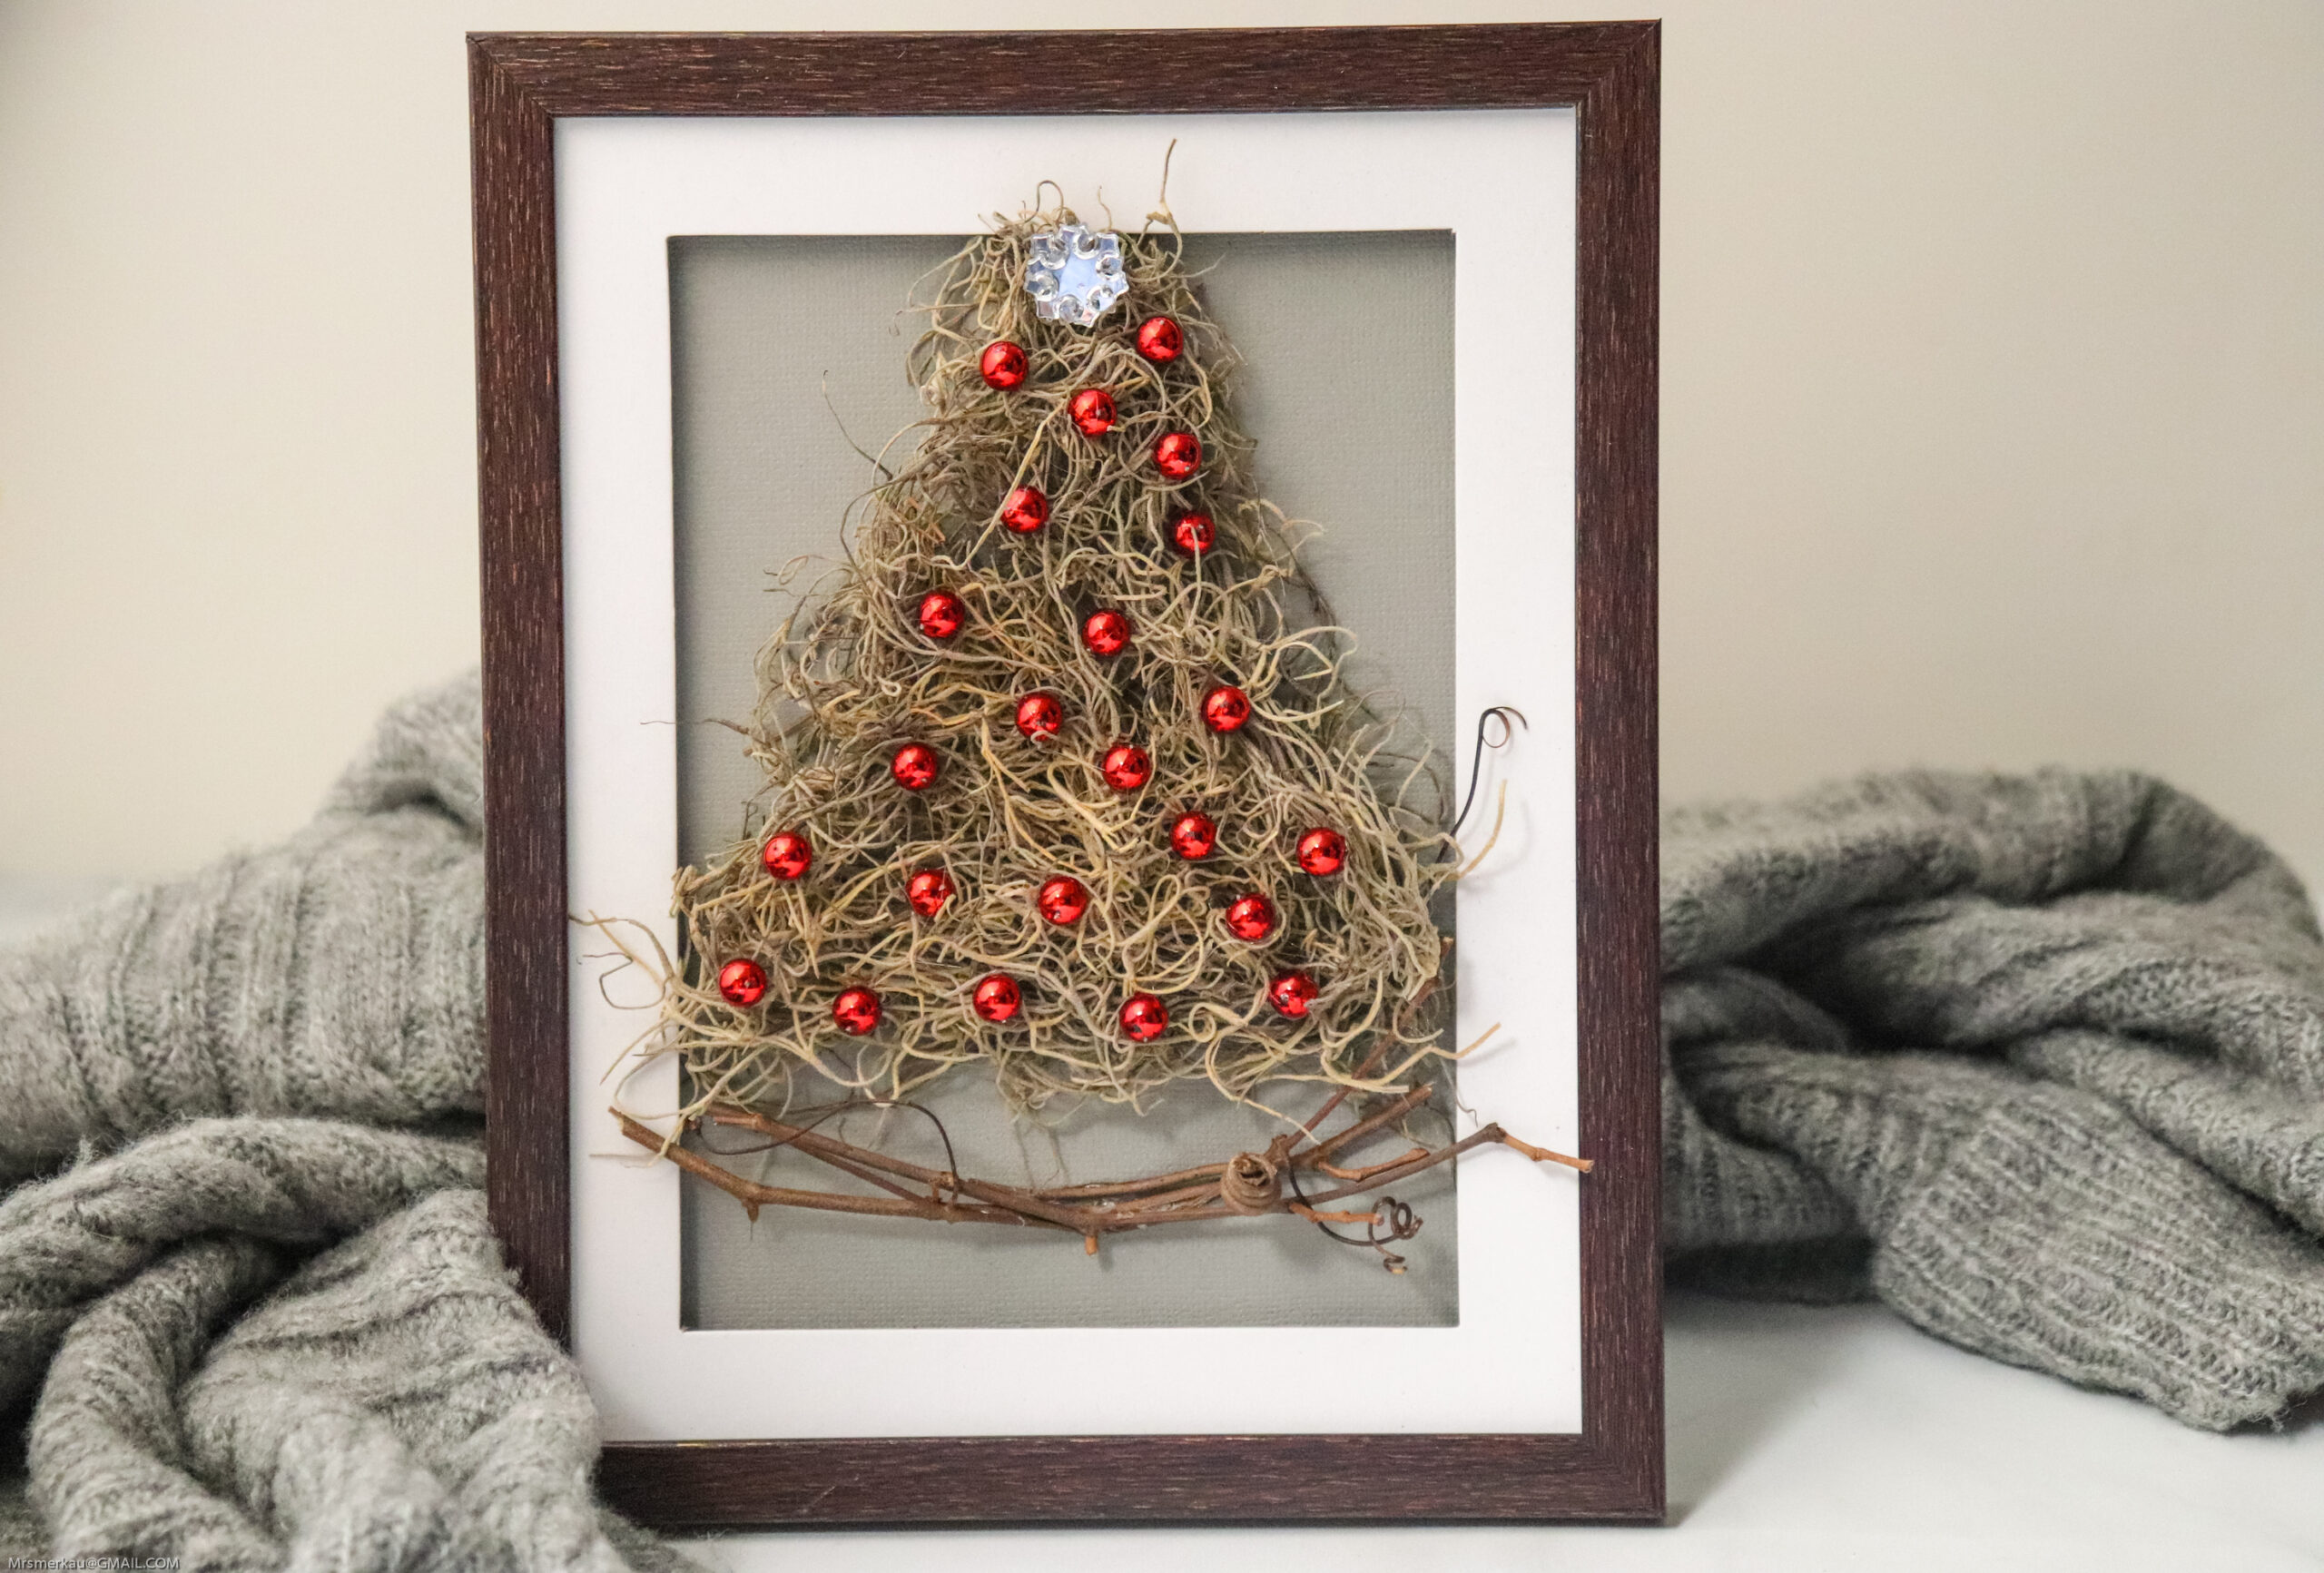
Ready to decorate your home for Christmas? Here’s an easy and fun-to-make framed Christmas tree craft anyone can make. It makes a nice little gift too.
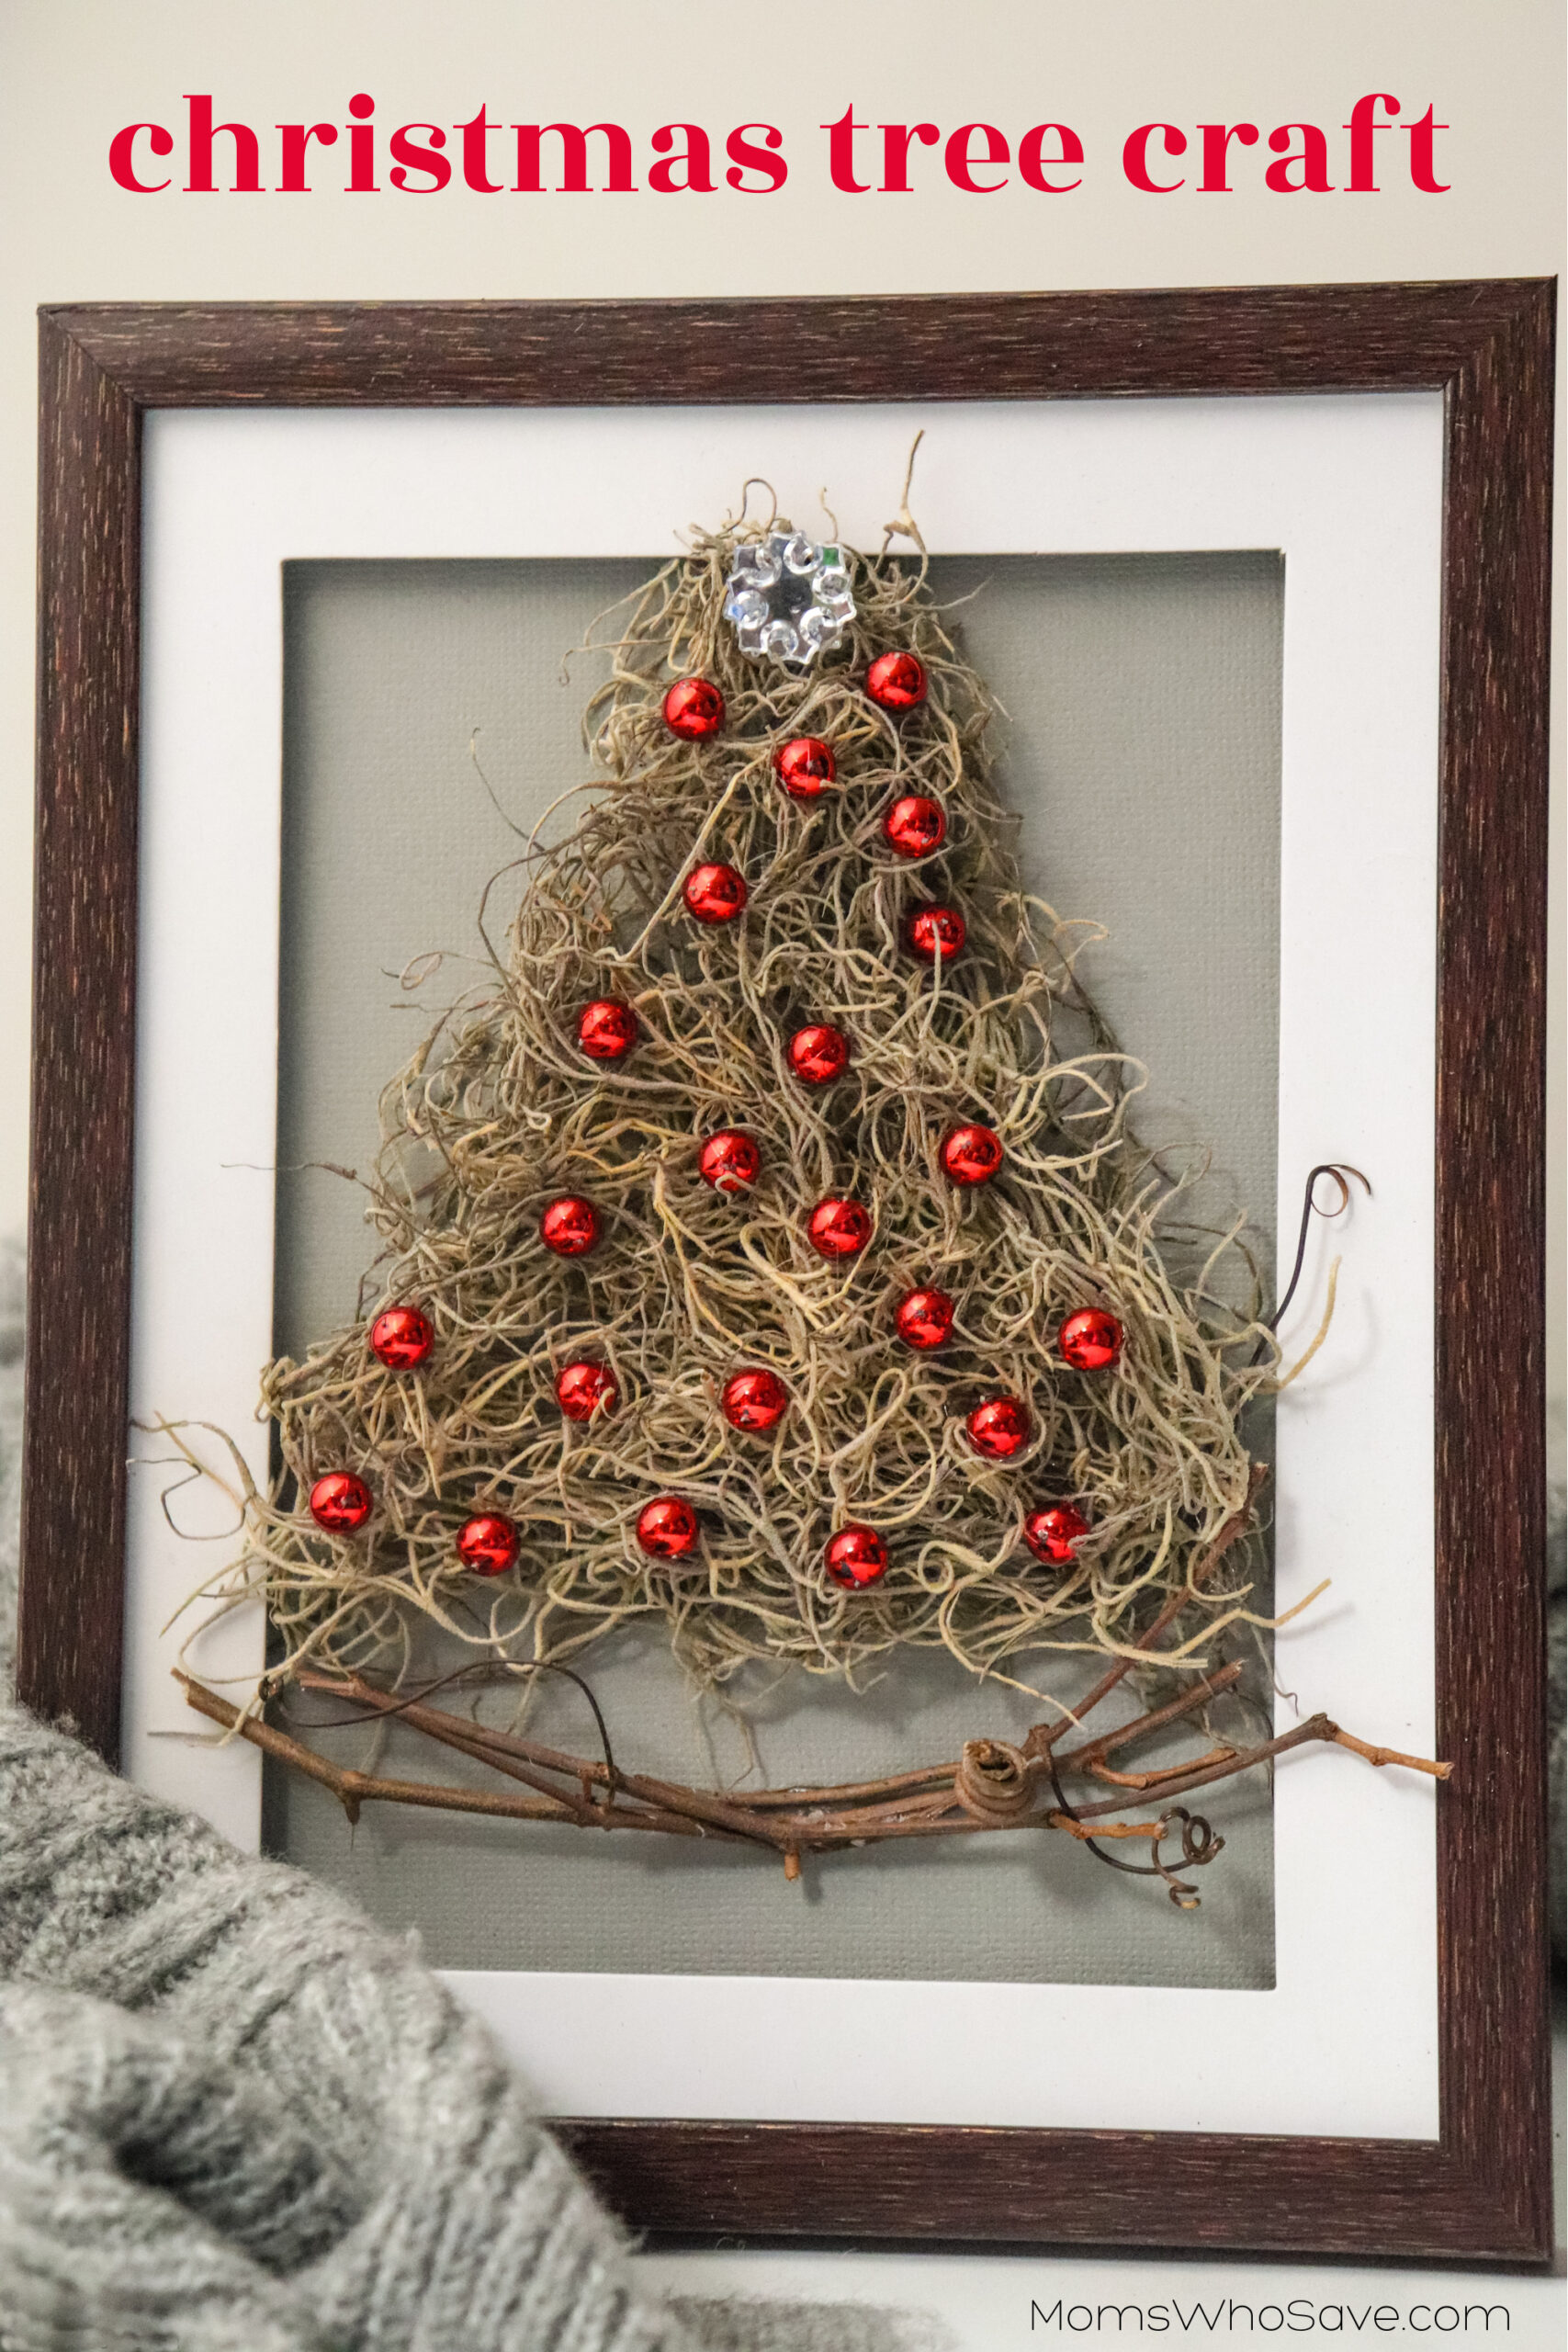
One of the warmest ways you can decorate your walls during the holiday season is with the found art look that comes with crafting a framed Christmas tree. I love how these look in my house. Everybody’s take is a little bit different, and that’s what makes it so fun and so personal.
This can be a single framed tree that you put on one of your walls or mantle, or you can make a series of these with a theme, or a variety of different looks. The only limit is your imagination. This craft is very simple and it looks beautiful, with three-dimensional materials breaking out of the frame. Your twig and moss Christmas tree can convey the holiday spirit in any style you already have in your home.
Frame and Fortune
You can go as pricey as you like with this, and make this framed Christmas tree craft more elegant if you’d like, but what I really enjoy about this is that it’s a great way to use a frame that you have lying around from a garage sale or a spontaneous dollar store purchase. The more resourceful you are, the better the story will be behind your creation.
Start with the perfect frame. If you have an empty frame you aren’t sure what to do with, that’s a great start. Otherwise, be on the lookout for a 5 x 7 frame at your favorite arts and crafts store and come up with an ornate tree design to fit it. We’ll provide the basics for how you can assemble this craft, but I really want you to run with this and go very big and broad. You can definitely choose a larger frame, and just size everything up.
Try This Variation
Trees Company: You can even make one framed Christmas tree across multiple frames for a clever mosaic effect. Plot where you want your frames, and shape your tree so that each part fits within the planned configuration on the wall.
This framed Christmas tree craft makes a thoughtful gift. You can make several, and customize them to match the decor or personal style of the recipient. Ready to get started?
Framed Christmas Tree Craft Instructions:
Time: 20 minutes
Supplies:
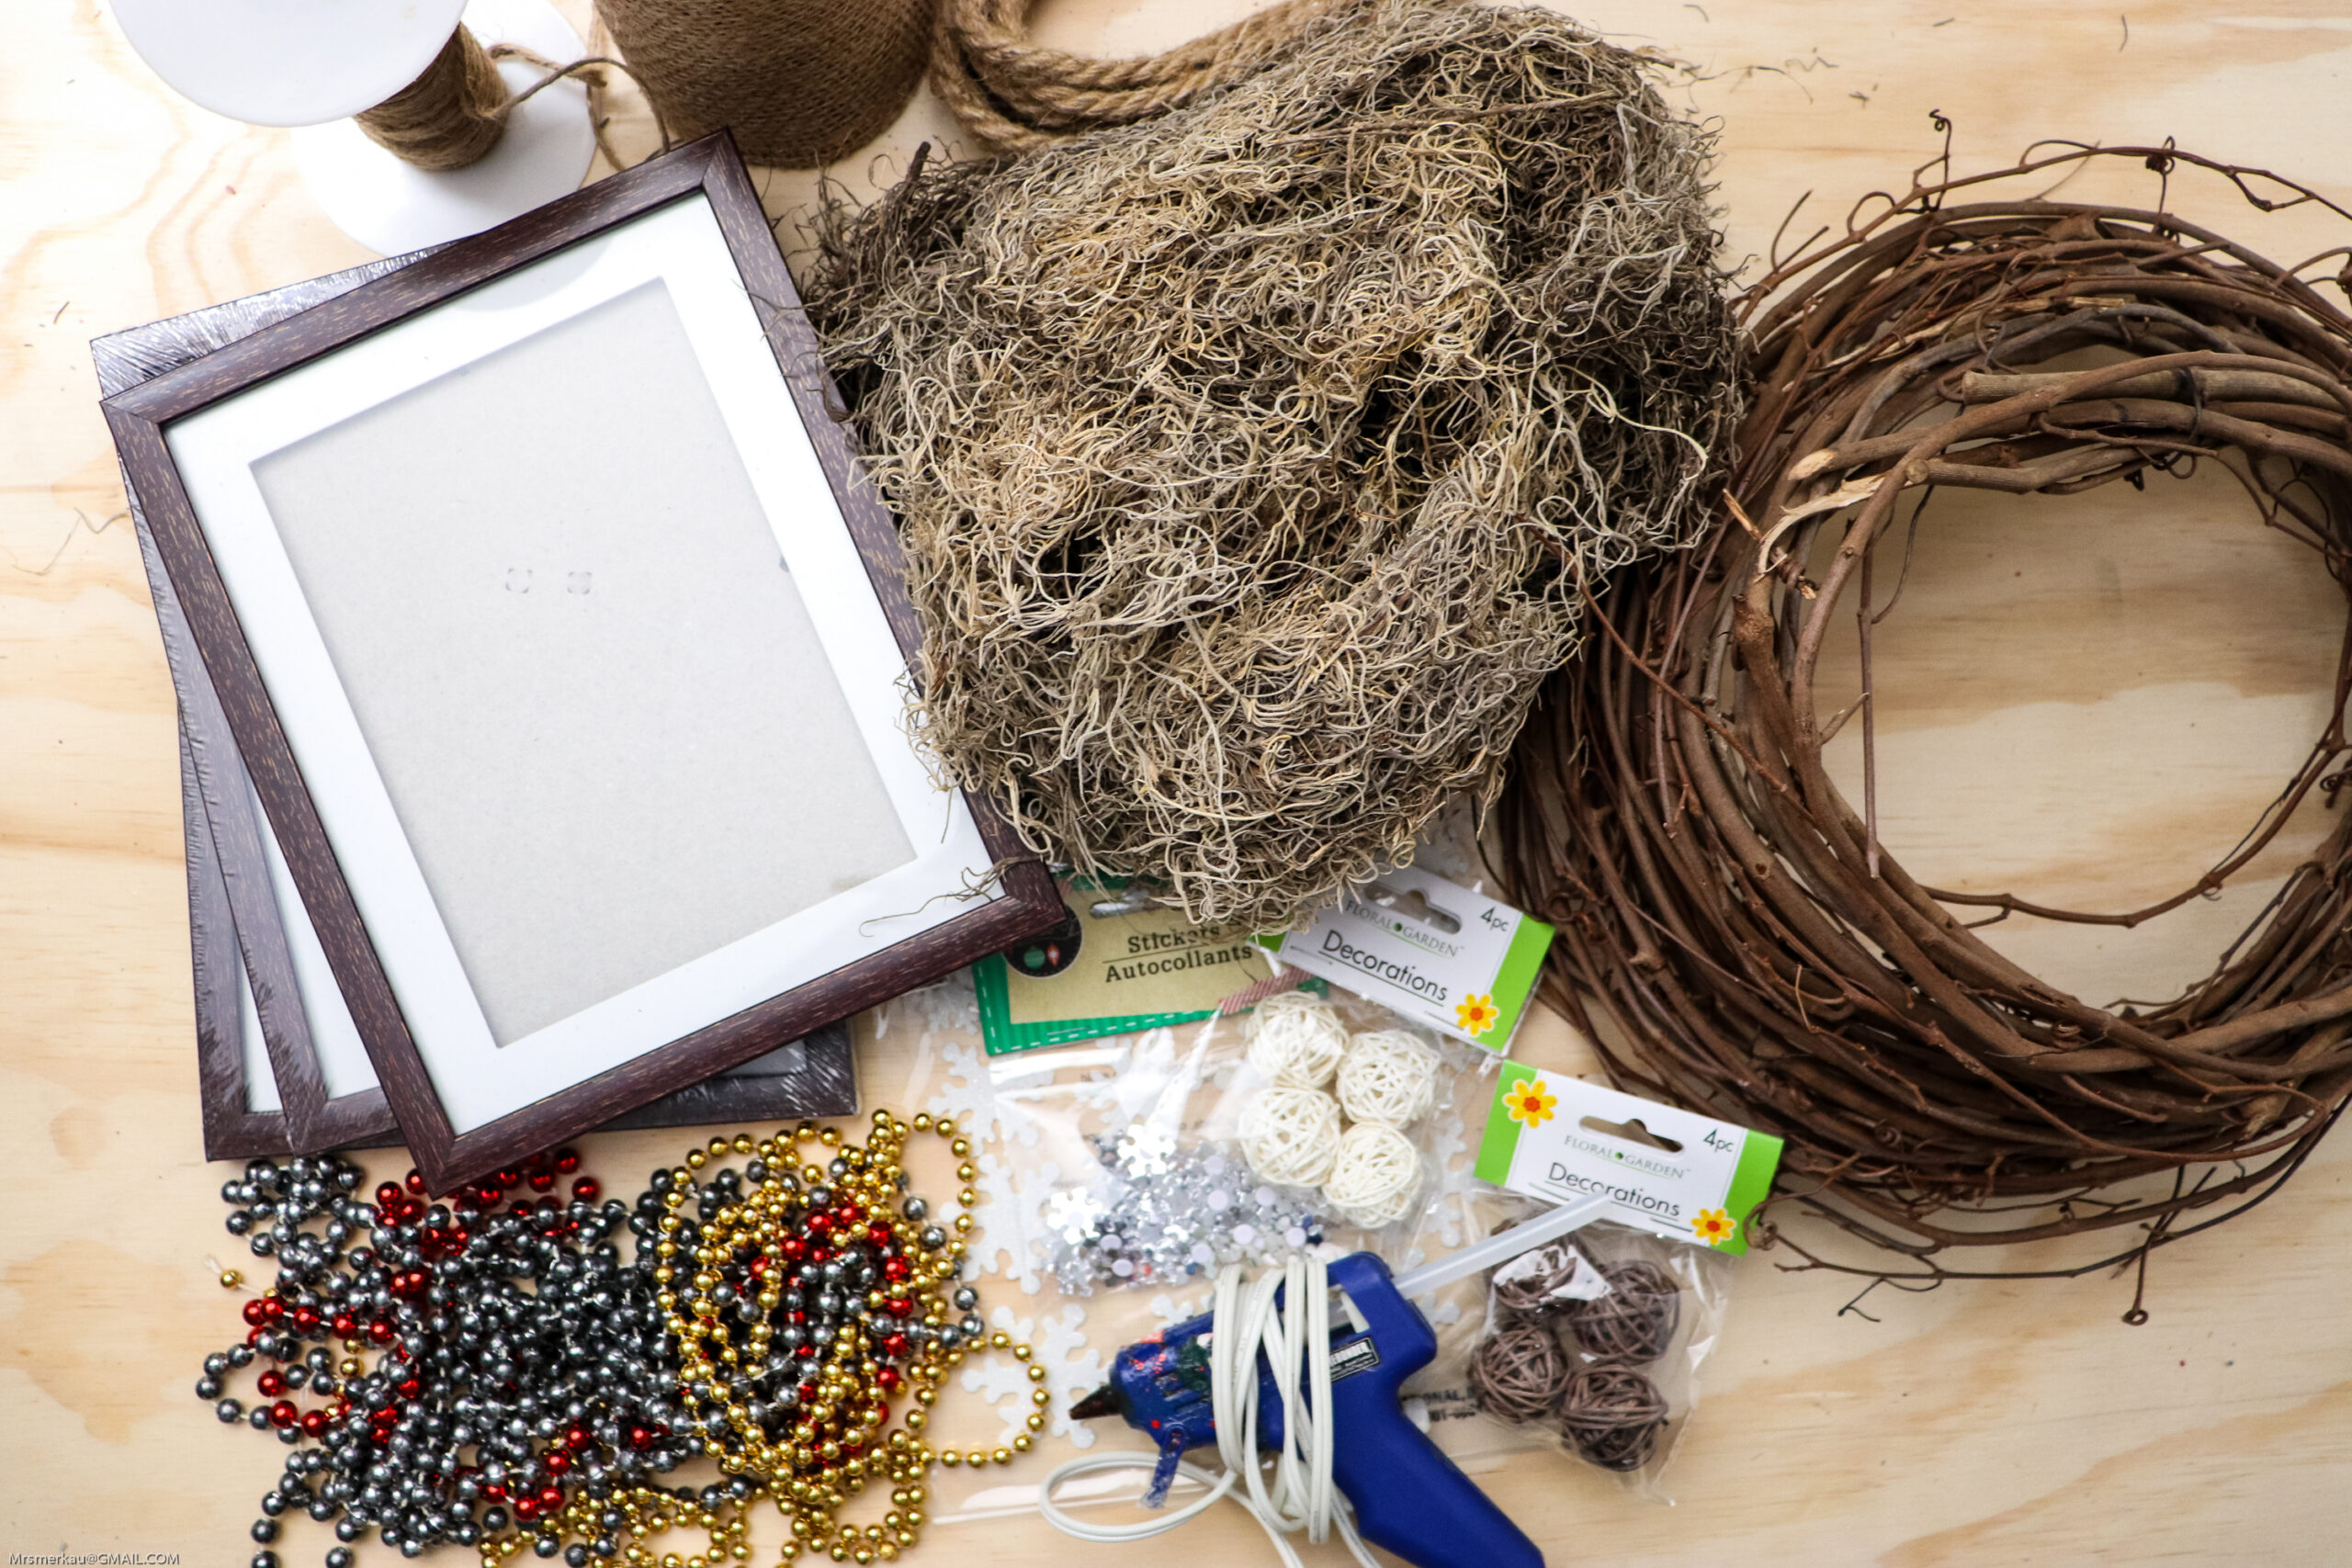
- A 5×7 photo frame for each tree (or go larger, if you’d like). Frames with a border work well.
- Spanish moss
- Scrapbook paper in the color of your choice (If you go with a larger frame, you’ll need larger paper.)
- Beads. A beaded necklace works great.
- Grapevine or small sticks from the yard
- Hot glue gun
- Embelleshments for the top of the tree, a star, snowflake, ribbon, or twine balls for example
- Scissors
Instructions:
- Open the frame, and remove the glass.
- Trace the example photo on the back of your scrapbook paper, and cut to size.
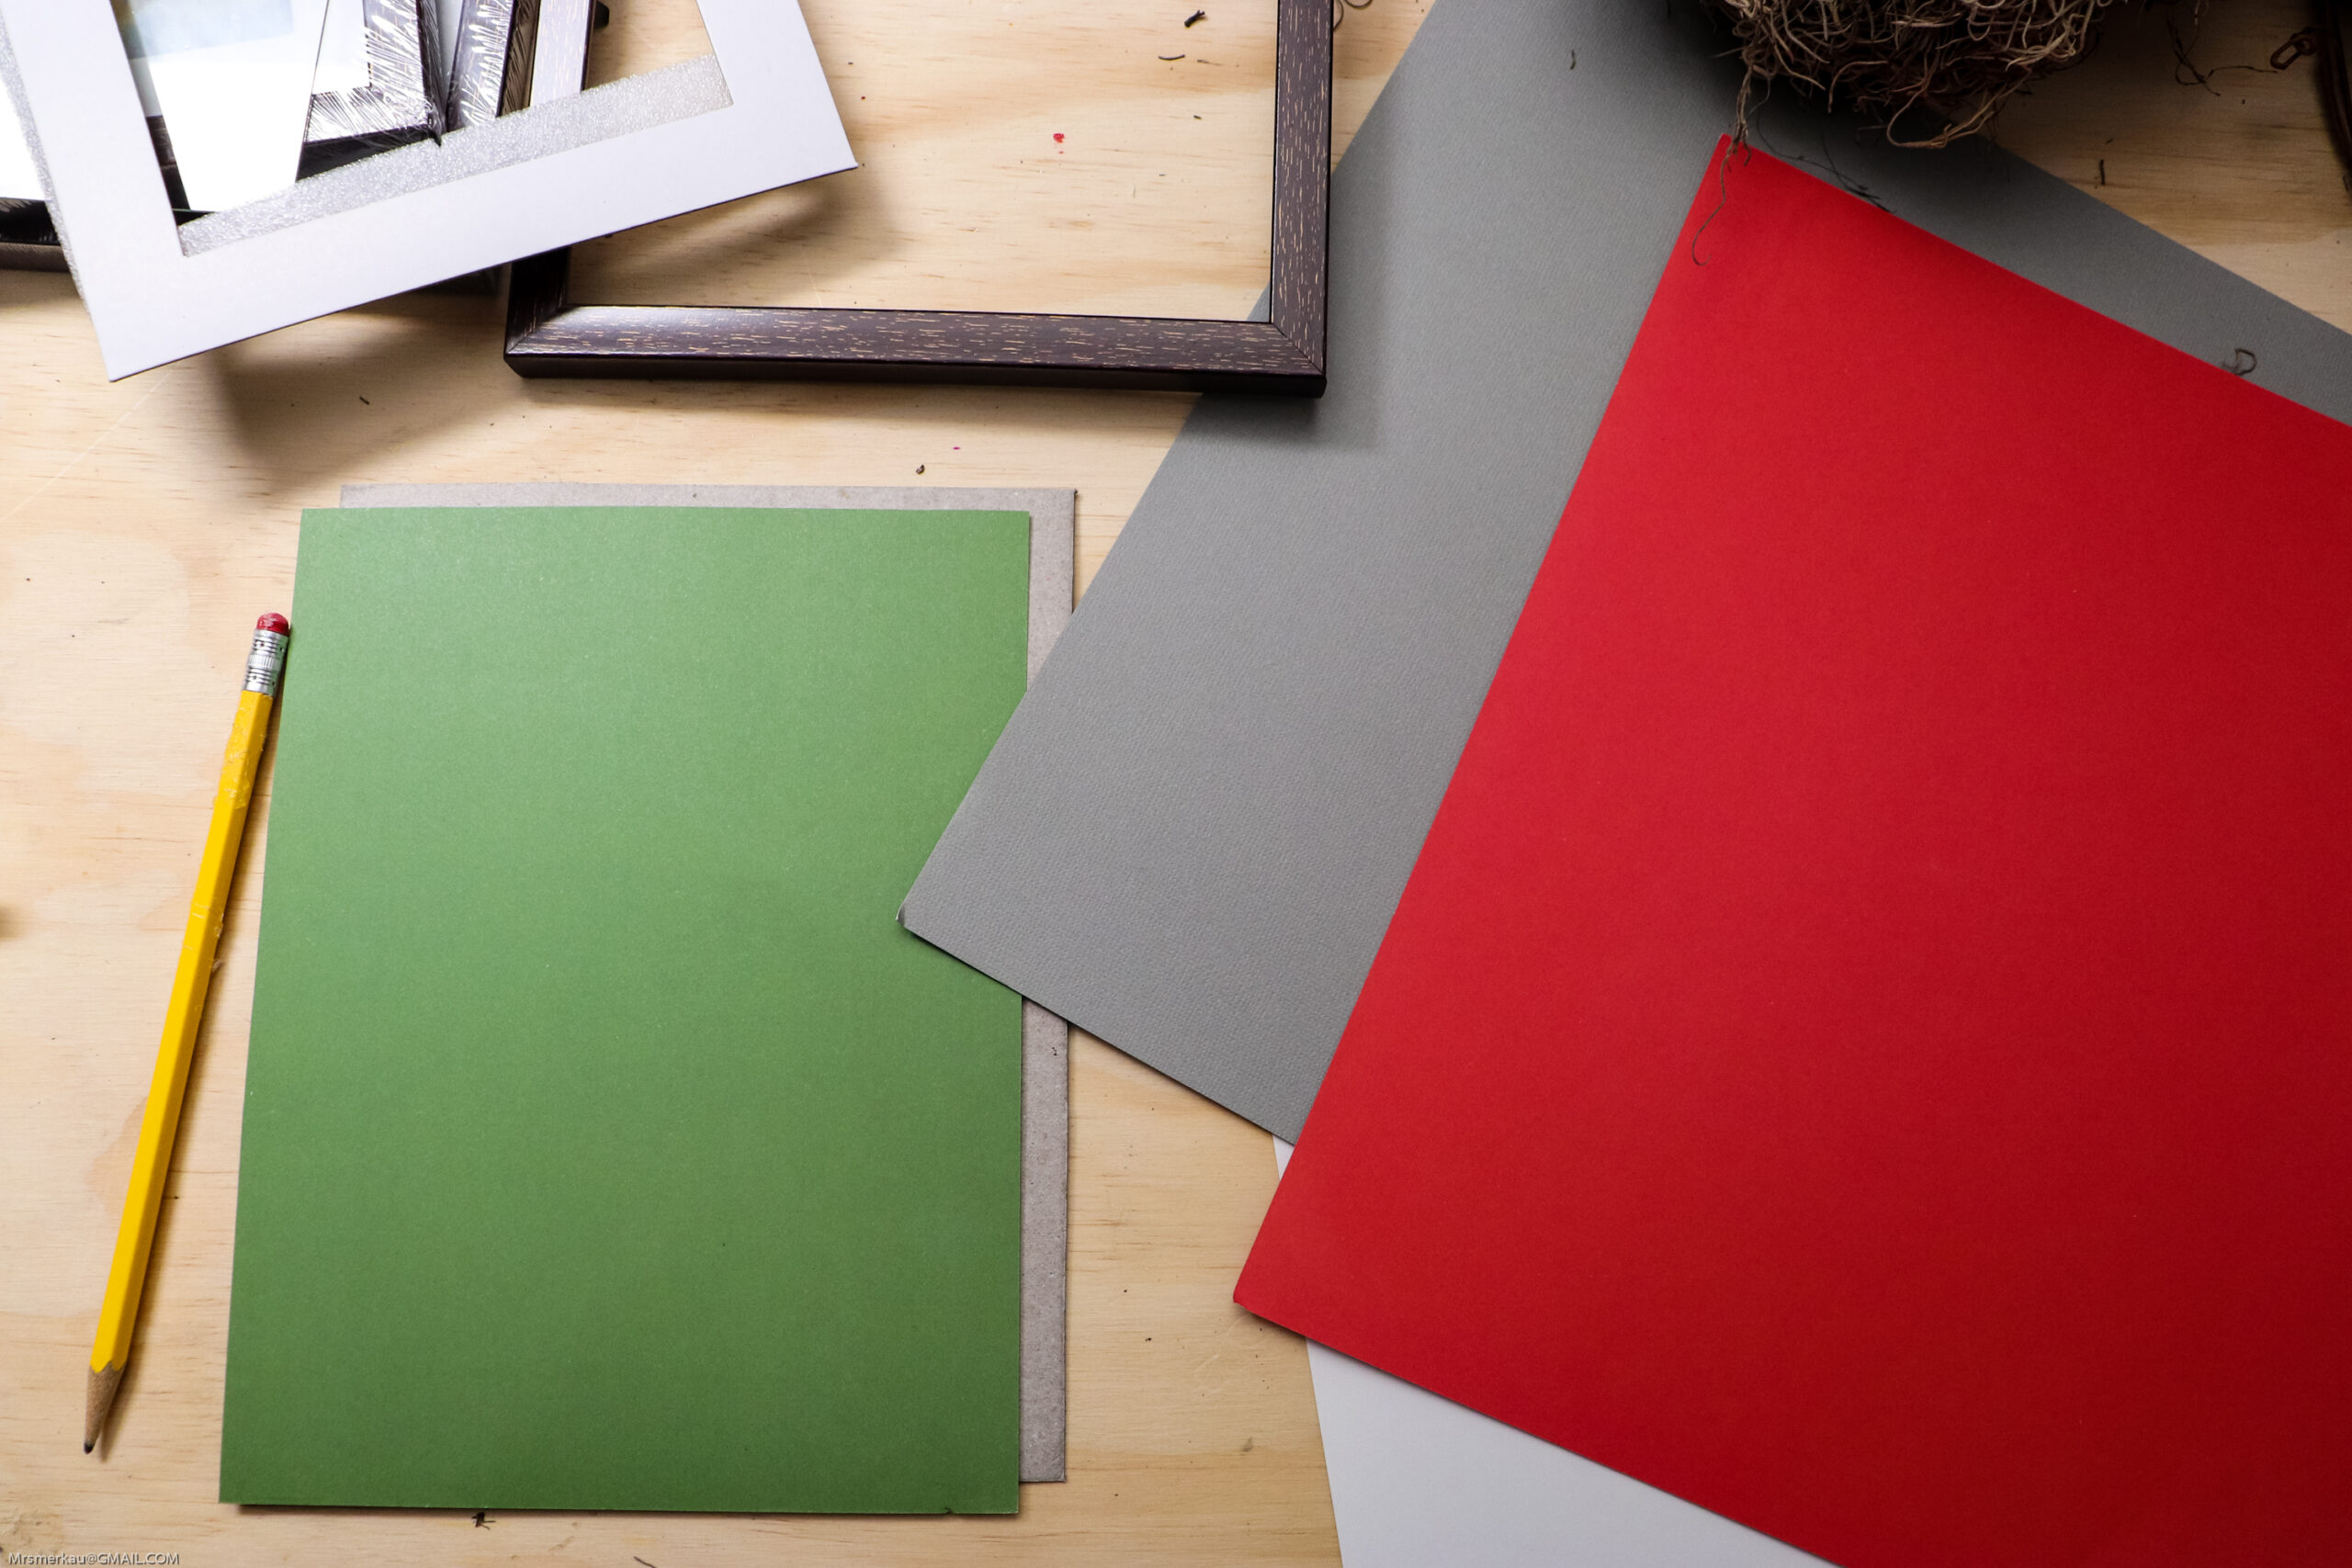
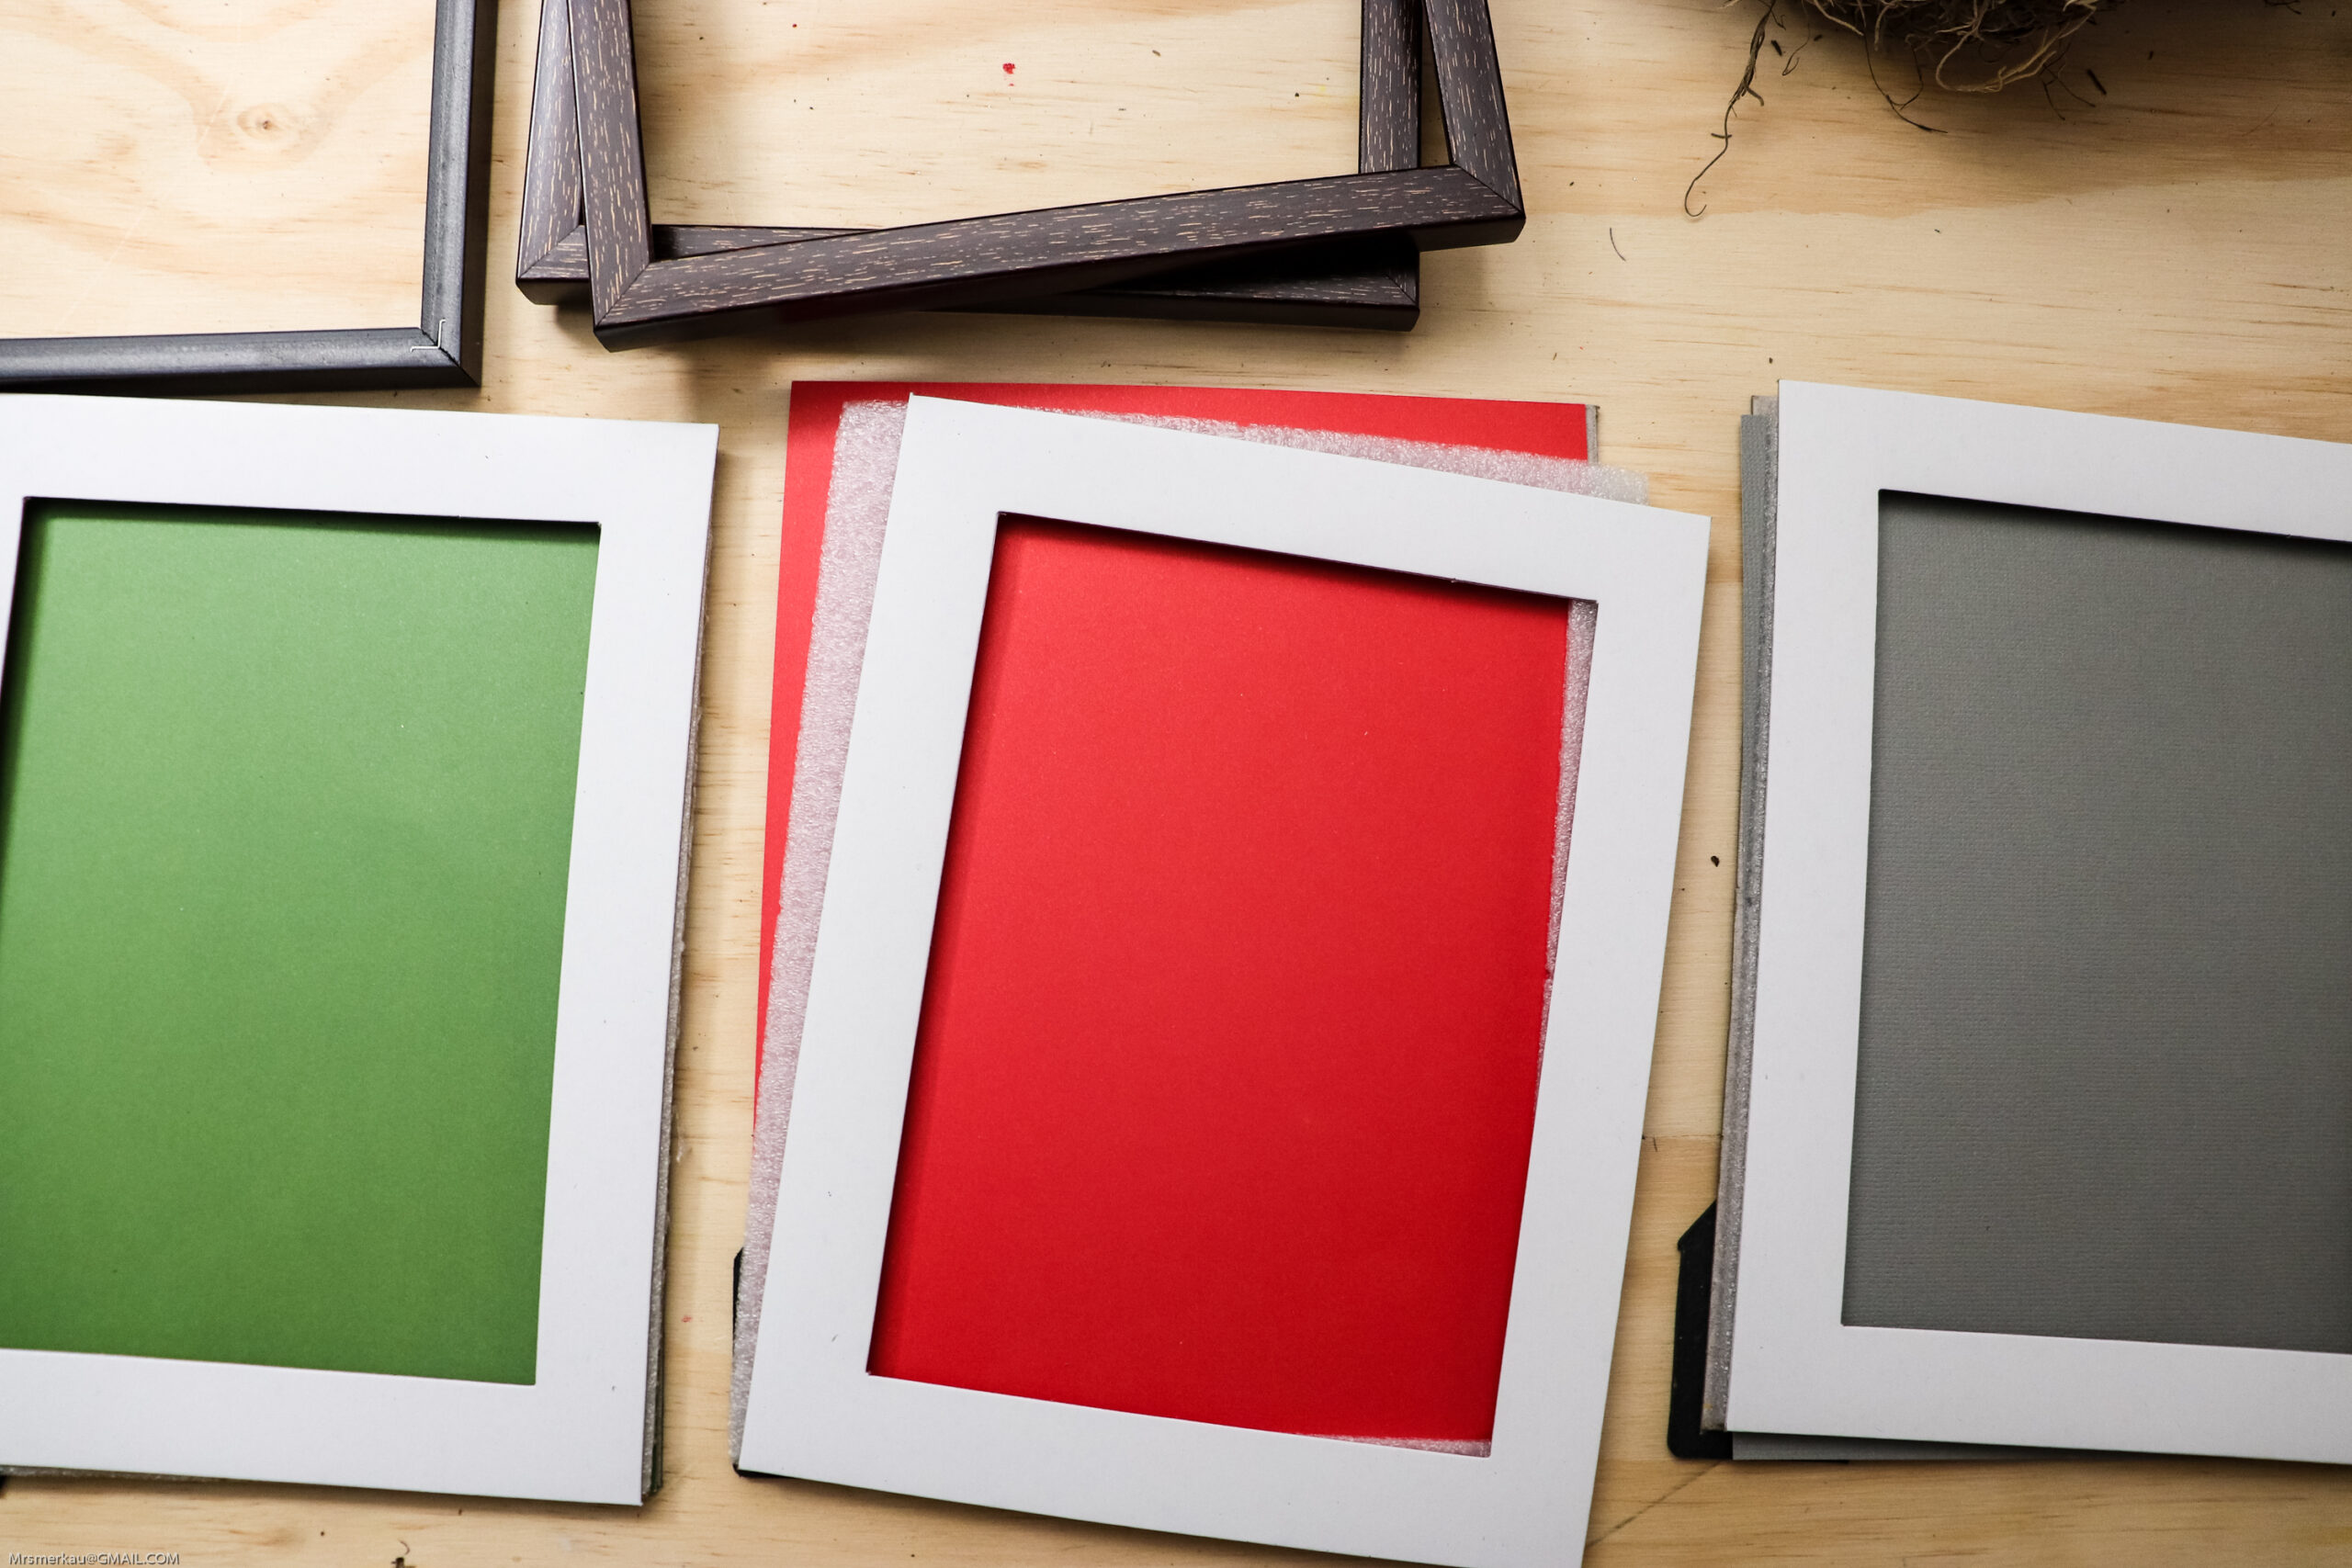
- Re-assemble the frame with the scrapbook paper inserted.
- Separate some Spanish moss, and begin to form a triangle on the scrapbook paper, until it resembles a tree.
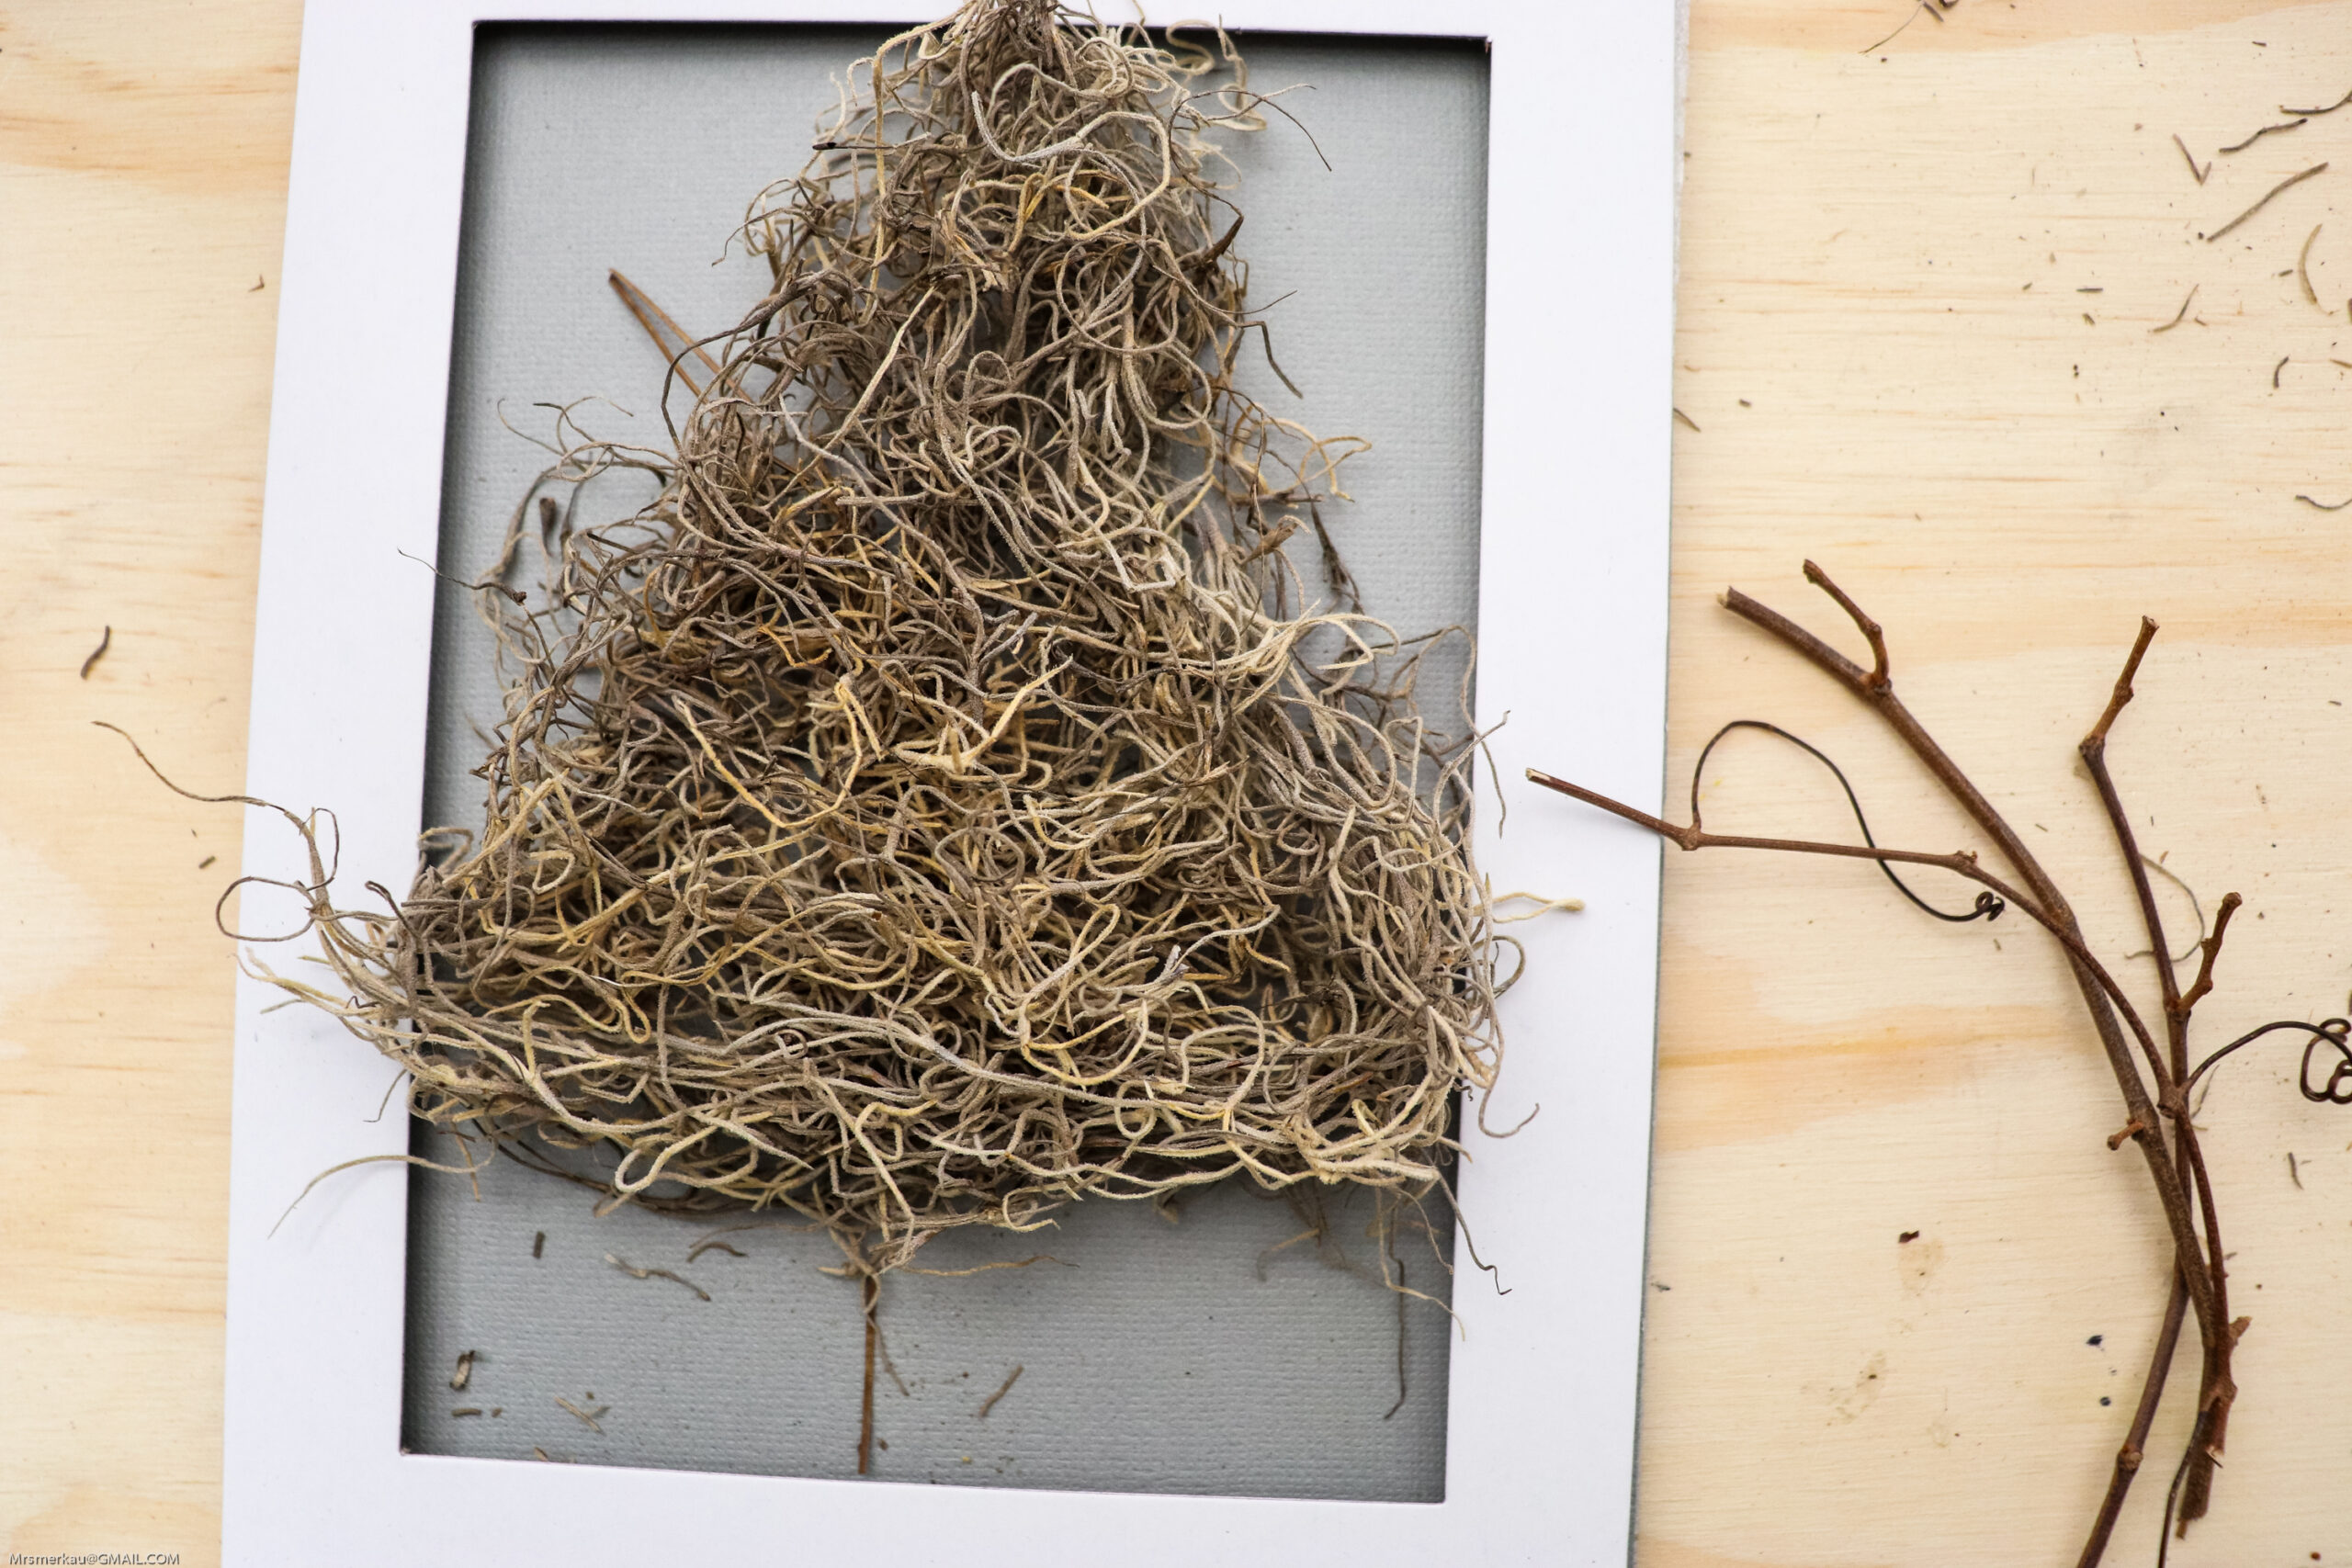
- Using the hot glue gun, begin gluing the top of the tree to the paper. Use a pencil, popsicle stick, or dowel to push the moss into the glue to avoid burning your fingers. Continue to glue the edges and center of the Spanish moss tree to the paper.
- Measure, and cut a piece of grapevine to fit underneath the tree. Glue it into place.
- Cut the beads off the beaded necklace with small sharp scissors, trying to remove as much of the visable thread as possible.
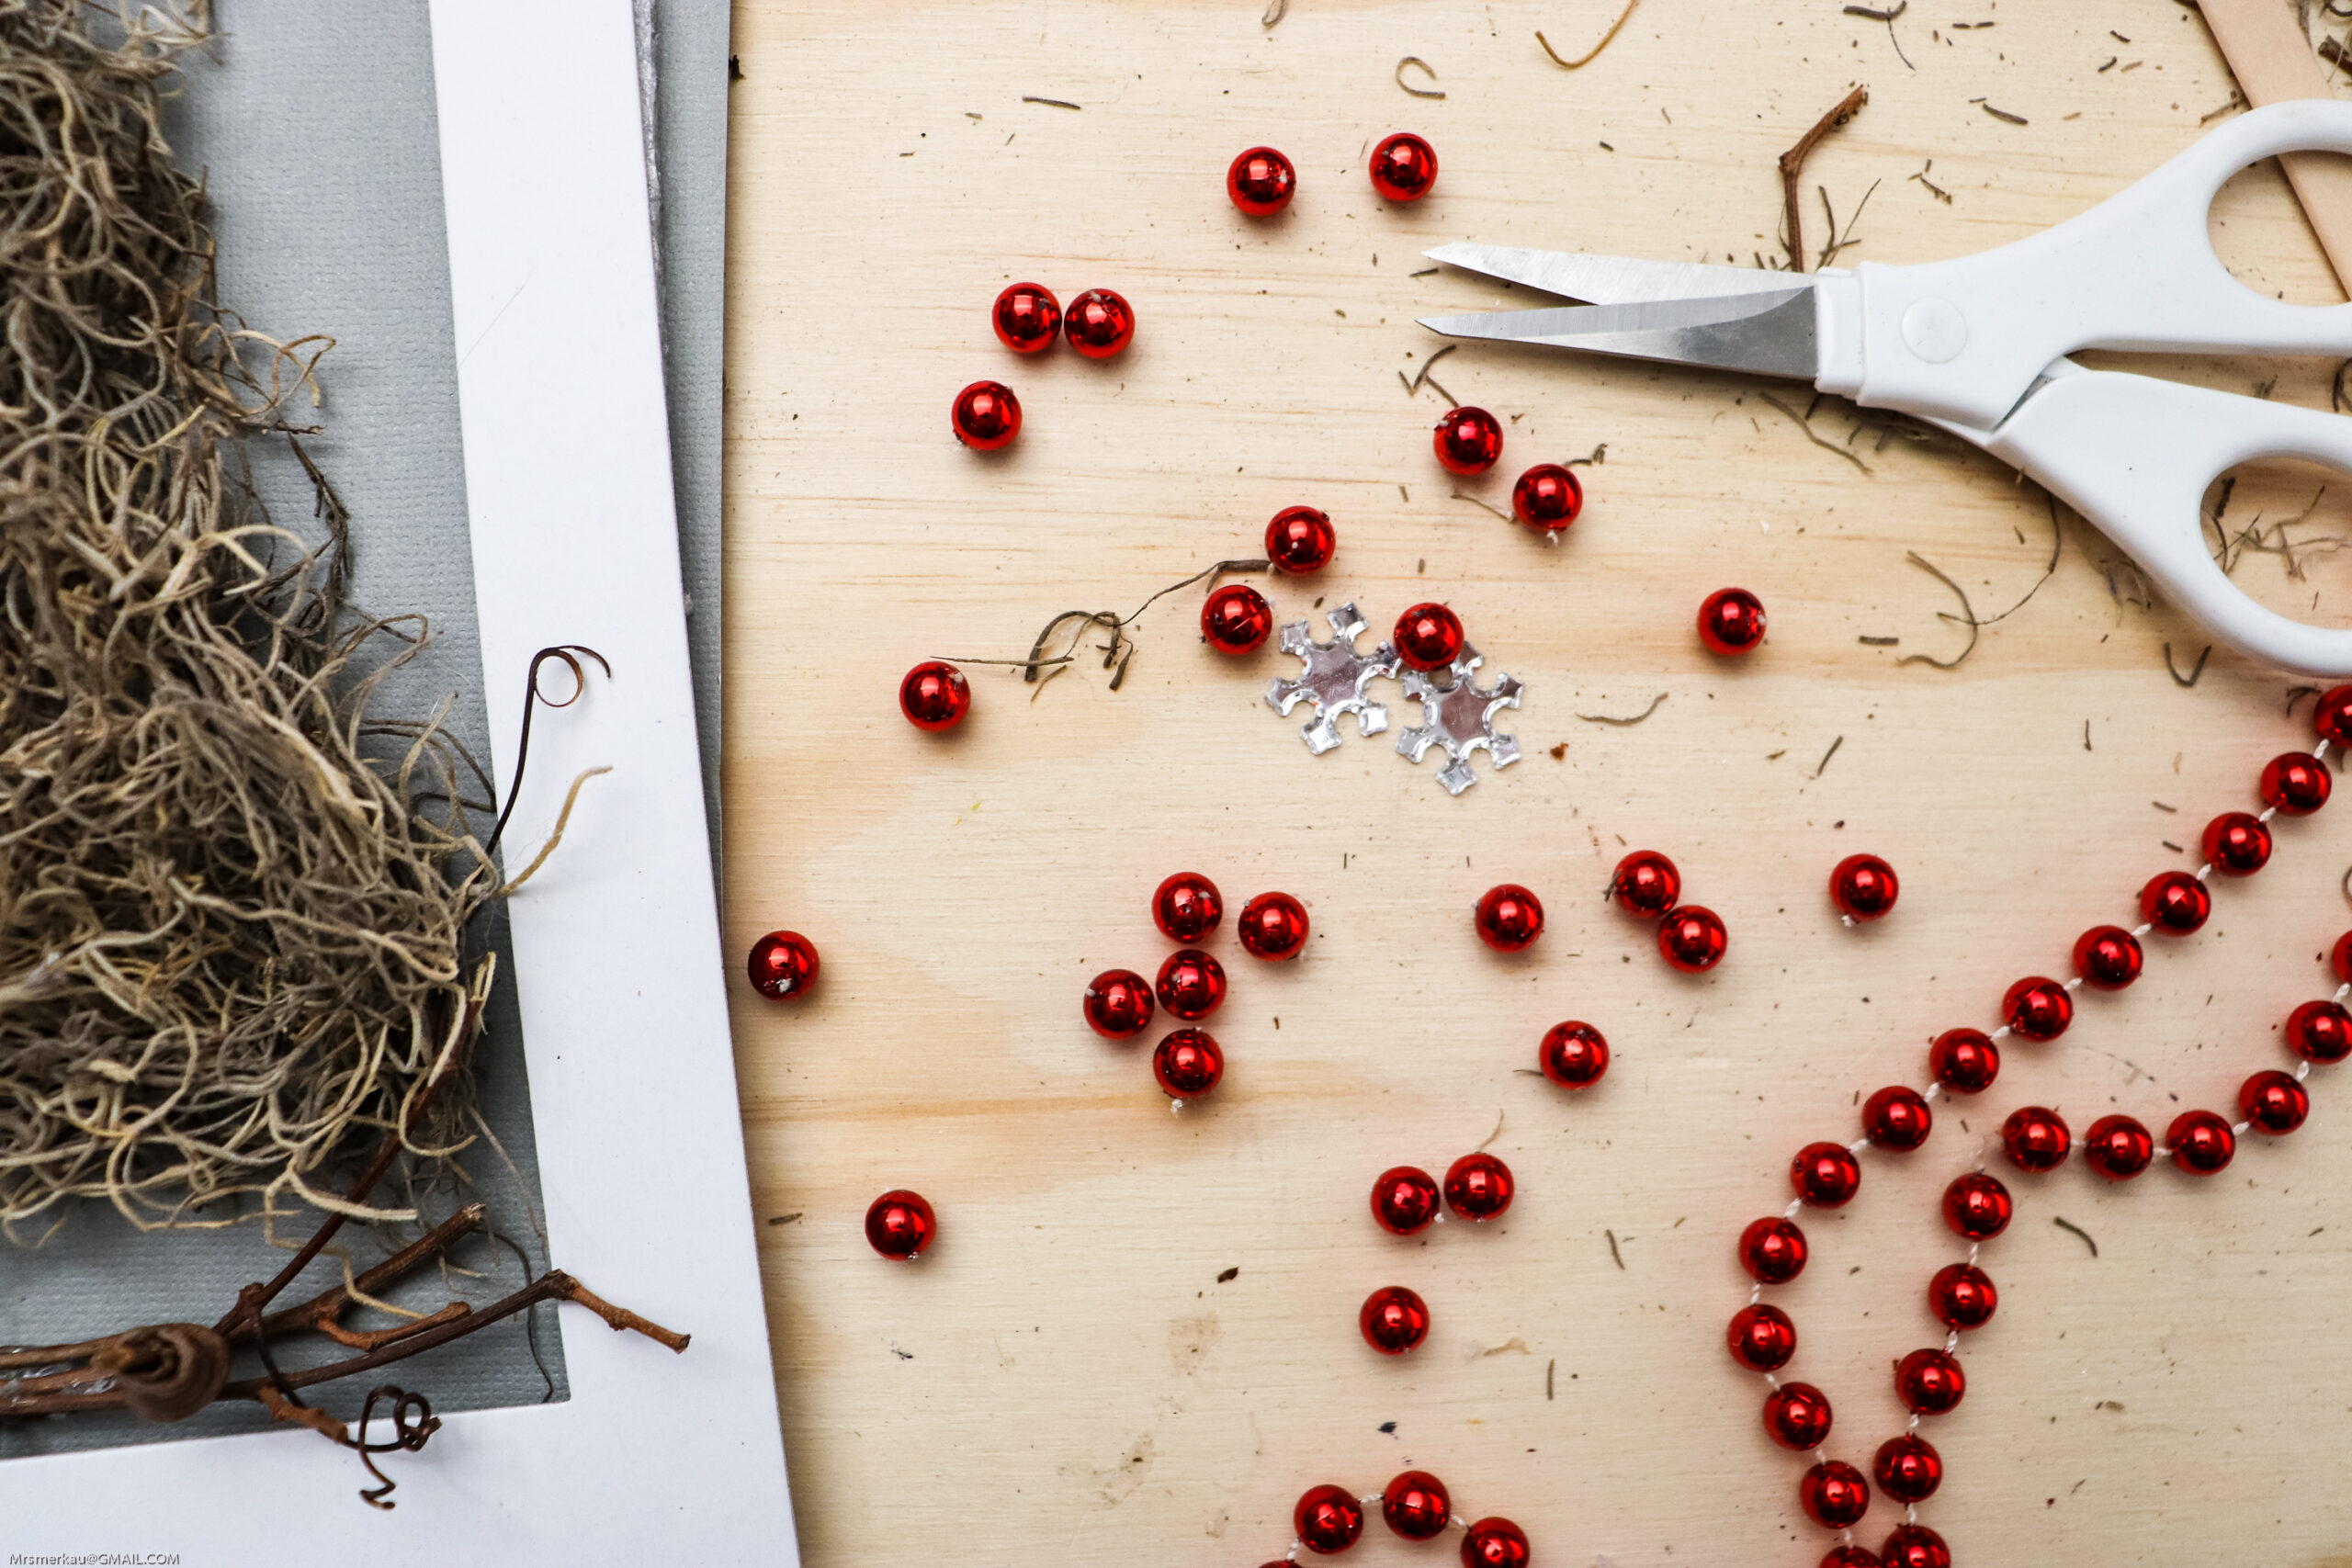
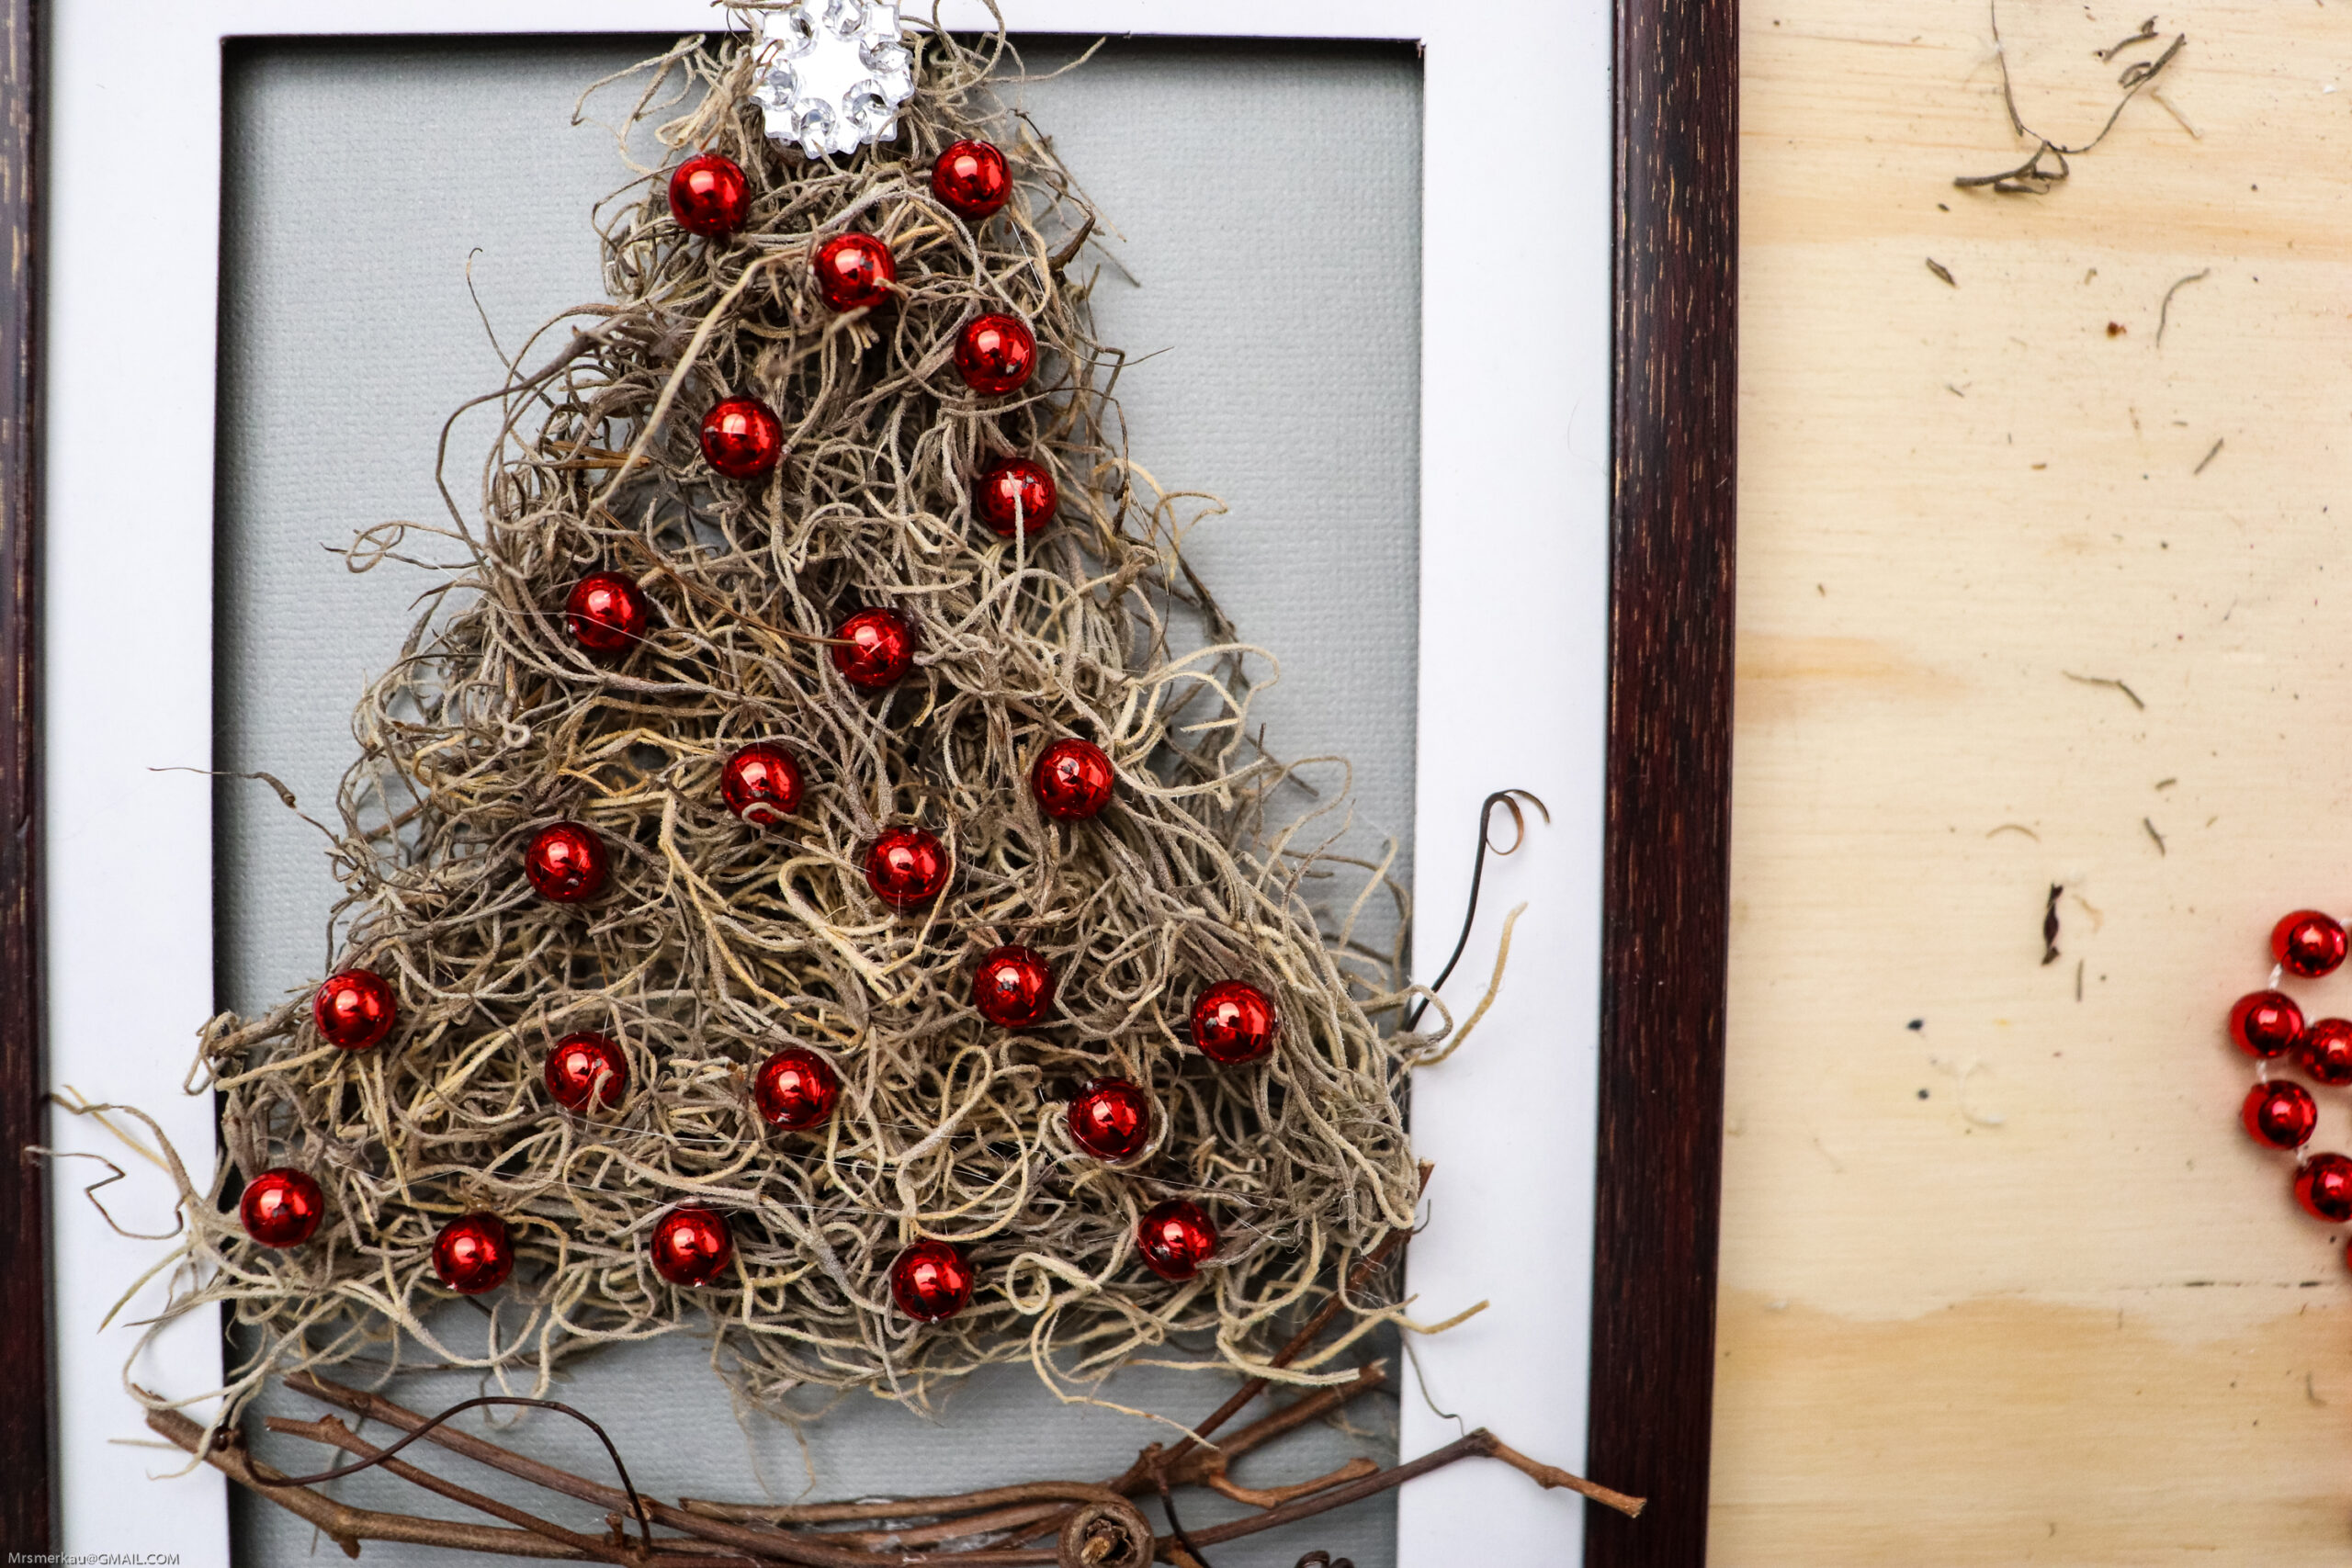
- Carefully add a small dollup of hot glue to one side of the bead, and press into the tree. Continue until you have the desired amount of beads or “ornaments” on the tree.
- Glue your favorite star, snowflake, ribbon, or other embelleshment to the top of the tree.
- Set out for display or give as a gift.
Also read:
DIY Gilded-Edge Agate Coasters
DIY Decoupage Tile Coasters
Kitchen Wall Prints — Over 30 Free Printables!
Robin
oh my goodness, this is so cute!
Athena Graeme
Genuis! I love how easy this looks. I am sure we have these things around the house.
Micheline
I really like this, just might give this a try.
Debbie P
This is pretty and very clever! I will be making a couple of these!
sarh s
This is so cute and fun! I love that it repurposes an old frame.
laurie damrose
This is a really great idea!
Molli Taylor
i love this. it is beautiful yet simple and affordable!