Disclosure: Articles may contain affiliate links. As an Amazon Associate, we earn from qualifying purchases (at no additional cost to you). See our full disclosure here.
Today we have a terrific DIY project to share! Get ready to learn how you can install a floating timber shelf (or shelves) to create an eye-catching focal point and add extra storage to your space.
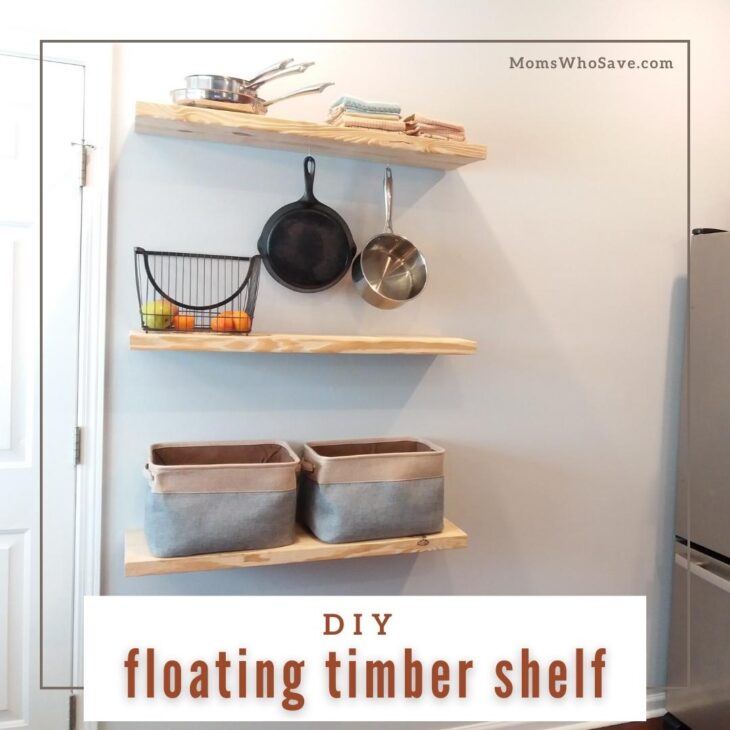
Let’s break down this project step-by-step.
Floating Timber Shelf
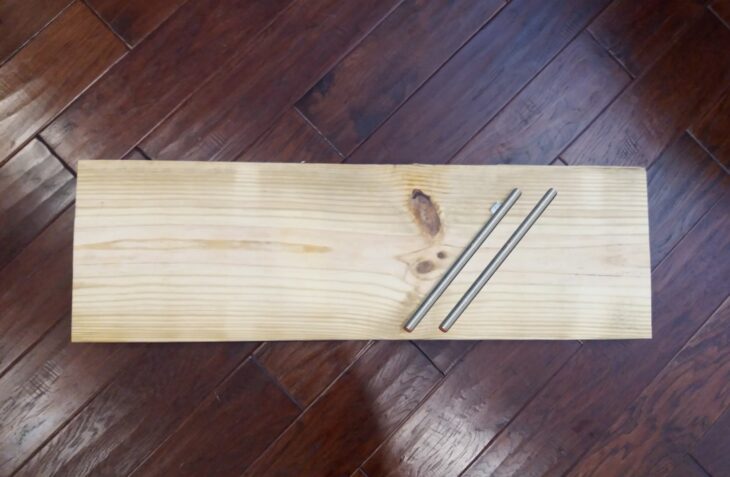
Supplies
- Timber / Wood (Choose the size and wood type based on what you want your shelf to look like: live edge, natural wood, stained, painted wood, etc.)
- Drill and drill bits
- Threaded rods
- Safety glasses
- Stud finder
- Tape measure
- Hammer
- Nails
- Pencil
- Hacksaw
- Level
- Rubber mallett
- Vice grip (may be needed)
- Liquid Nails (may be needed)
- Screw-in hooks (optional)
Step 1: Decide on the Height for Your Shelf (or Shelves)
If the shelf will be used for storage, think about the height of any boxes or baskets that will sit on the shelf and their size. Think about the distance to the ceiling and from the floor.
Work with another person to hold the shelves up as you stand back and decide what looks best.
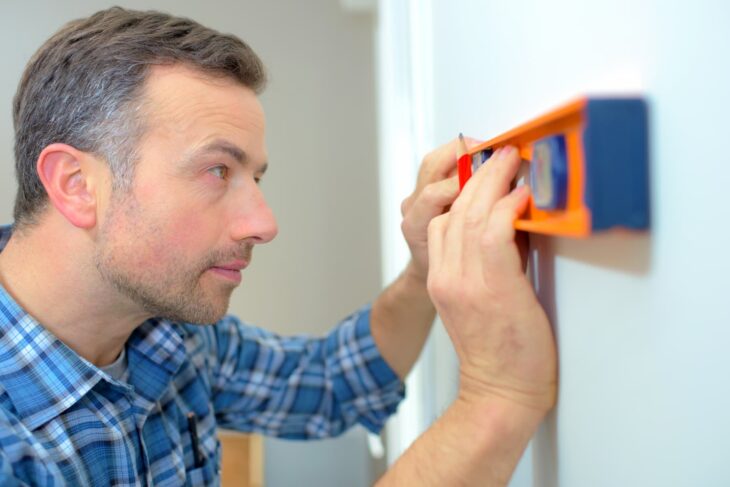
When you’ve decided what will work best, use a level to mark the wall. Make a mark as long as your shelf (or shelves).
Step 2: Locate the Wall Studs
Use a stud finder to locate the studs, or if you know how to tap the wall to find the studs, you can do that too.
Then, using a hammer and nail, find the approximate center of the studs. You want to do this just above the line you marked in step one. (You’ll find the center of the wall studs by using a nail and hammer to test different spots horizontally along the stud until you find the edge of the 2×4 on either side.)
Mark the center point of the studs when you find them.
Don’t worry about making small nail holes in the drywall. They’ll be covered by your shelf.
Step 3: Measure and Make Drill Marks on Your Shelf Pieces for the Threaded Rods
For this project, we’re using threaded rods to support our floating timber shelf.
These will fit into the wall studs via holes we will drill, and the other end will fit into the back side of the shelf.
Measure and mark the center point of your piece of timber. For example, if your timber is 1.5 inches thick, you would mark a spot in the center at .75 inches from either end.
Note: We used two threaded rods per shelf, but if you have a very long shelf, you can use more.
Step 4: Drill Holes into the Studs Where You’ve Marked
Using your drill and appropriate-sized drill bits, drill into the studs (where you marked them in step 2) to prepare them for the threaded rods.
For example, for a 12mm threaded rod, use a 12mm drill bit. Drill at the center of the studs where you previously marked them.
Mark the depth of your drill bit using a piece of tape. (We drilled into the studs about three inches.)
For safety’s sake, be aware of any electrical and water lines or wires that may be running through your wall.
Step 5: Cut Threaded Rods
Use a hacksaw to cut the threaded rods to the appropriate length. (This should be about six to eight inches long, assuming three inches will go into the wall and three to five inches into the lumber.)
Step 6: Put the Threaded Rods into the Wall
Now, you will use your hammer to tap the already-cut threaded rods into the pre-drilled holes in the wall.
Tap them in gently. (If the threaded rods do not go in easily, you can clamp onto them with a vice grip, and turn them in like a screw.)
Measure the end that is sticking out to make sure to make sure you have about three to five inches of the rods sticking out of the wall. Depending on the depth of your shelves, the length you’ll need will vary.
Step 8: Drill Corresponding Holes in the Back of the Shelf (Shelves)
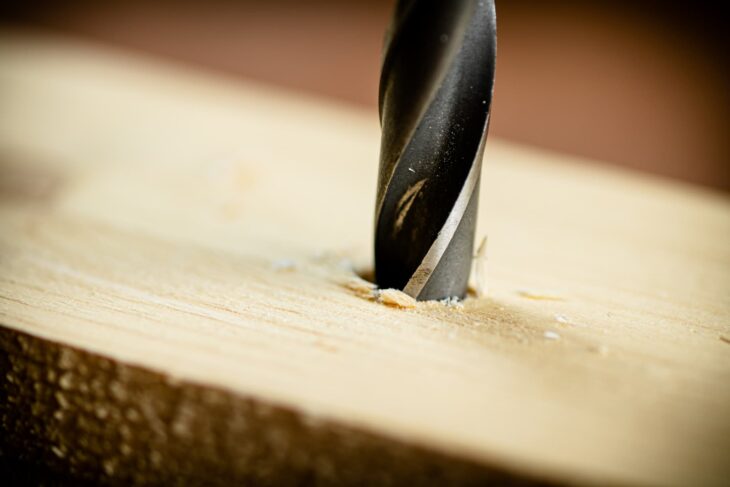
Next, you’ll drill into the timber so you’ll be able to slide the shelf onto the threaded rods.
Use a drill bit about .5mm larger than your threaded rods so you will be able to fit the shelf onto the rods easily.
You’ll drill where you previously marked the timber (step 3).
Step 9: Slide Your Floating Timber Shelf onto the Threaded Rods
Carefully slide your shelf onto the threaded rods. If you need to, you can use a rubber mallet to make sure you get the shelf tight against the wall.
On the other hand, if you feel that the shelf is not tight enough on the threaded rods, you can add some Liquid Nails to the inside of the holes in the shelves.
Notes and Tips:
If needed, you can drill the holes in the wall studs so that the threaded rods are sitting at a very slight upward angle. This allows for the weight of the heavy piece of wood to straighten out the shelf, making it level.
Take care to only drill into studs, and avoid any electrical, plumbing, or gas lines.
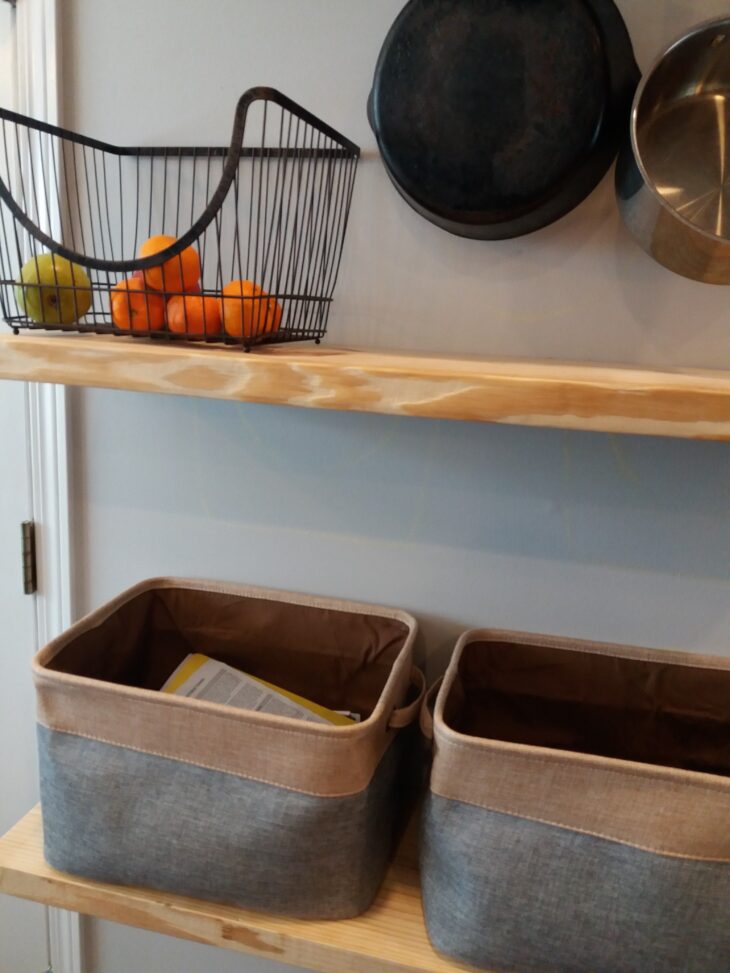
You can add screw-in hooks to the underside of your shelves–like we did to hang pots and pans (see below).
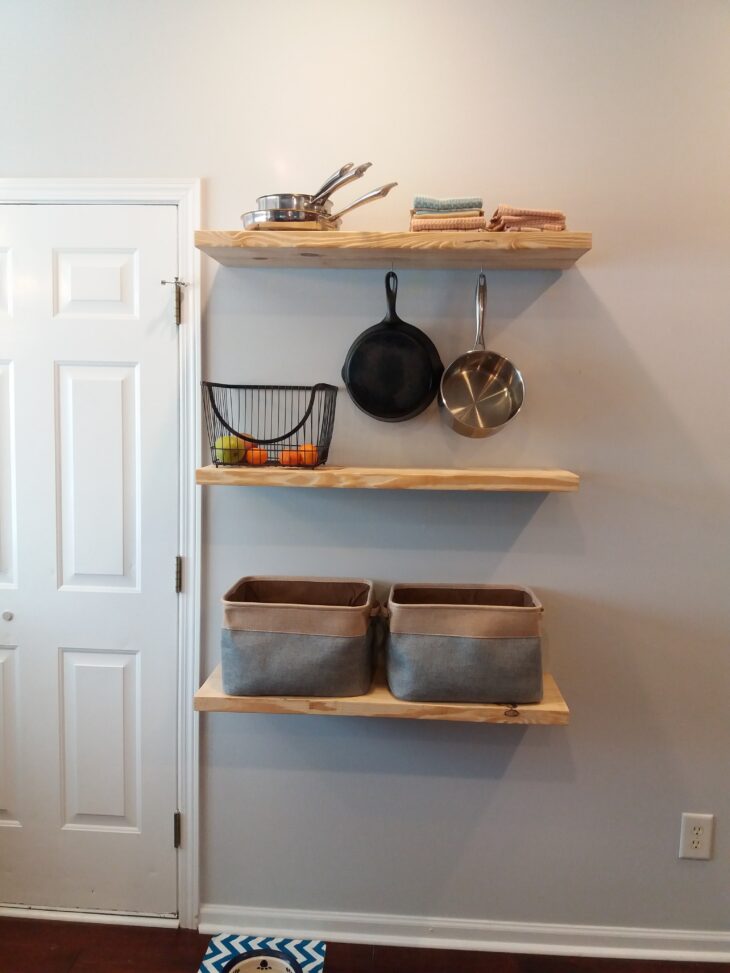
That’s it! Now you know how to add a beautiful custom floating timber shelf (or shelves) to any wall in your home.
Also read:
How to Make an Epoxy River Table: Step-by-Step Instructions
25 Fantastic Pottery Barn Inspired Projects
Get Inspired by These 13 Upcycled Chandelier Ideas
You can find MomsWhoSave on Facebook, Instagram, Pinterest, and Twitter. Join us for updates!
Don’t miss a thing! Subscribe to MomsWhoSave’s newsletter.
Leave a Reply