Disclosure: Articles may contain affiliate links. As an Amazon Associate, we earn from qualifying purchases (at no additional cost to you). See our full disclosure here.
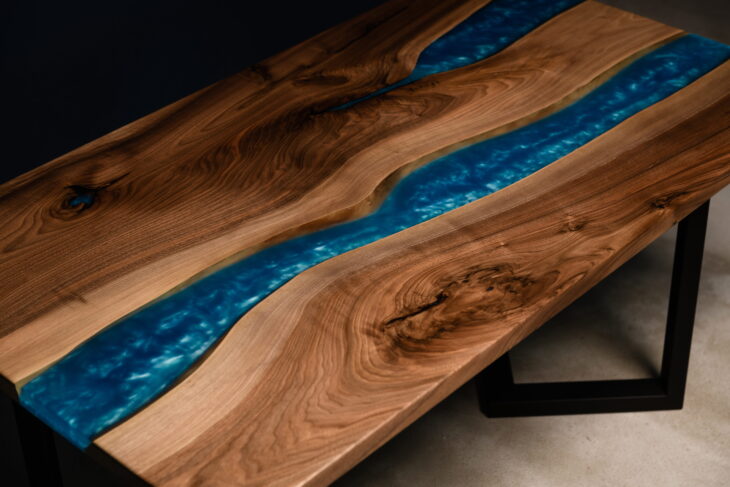
Don’t you love the gorgeous epoxy river tables that are so popular right now? If you’ve thought about buying one, but the price put you off, why not make one yourself? If you’re handy, you can do it!
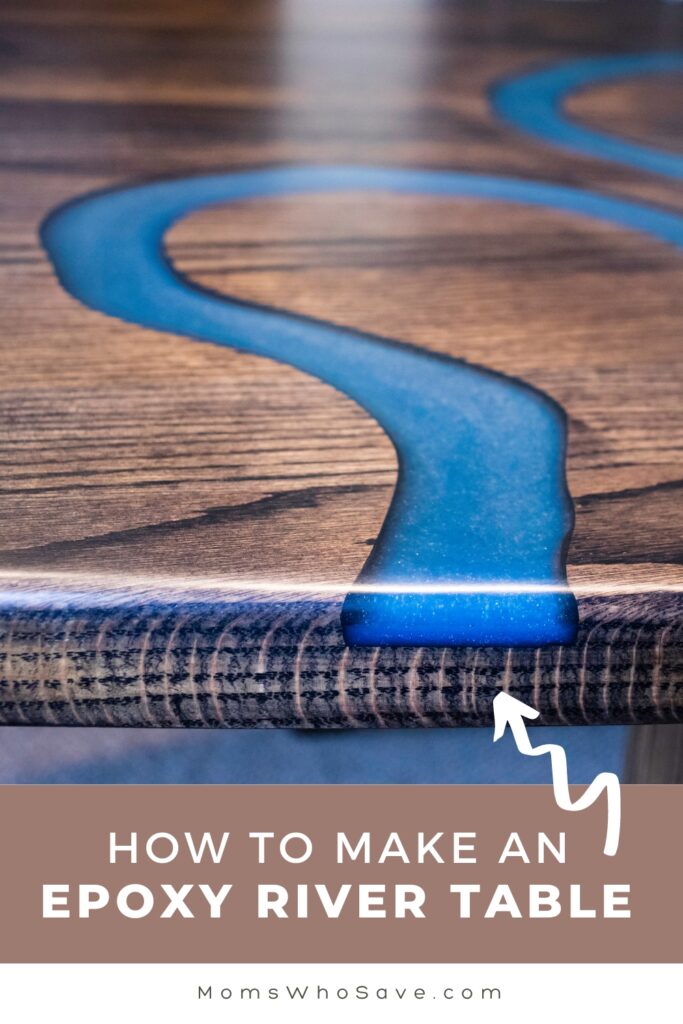
These unique tables add beauty to any room, and in this article, we’re going to show you how to make your own stunning epoxy river table.
Don’t worry if you’re not a professional woodworker. We’ll guide you through the process step-by-step, so you can create your very own show-stopping piece of furniture. Let’s get started!
What Is Epoxy?
First, what exactly is epoxy? Epoxy resin is a versatile synthetic material commonly used in industrial and commercial applications due to its strength, durability, and resistance to chemicals and heat.
It can be used for a variety of purposes, including coating, bonding, and molding, but is currently very popular with artists and hobbyists as a medium for creating beautiful works of art. People are using epoxy resin in making tabletops, jewellery, and sculptures among other things.
You can find examples of these all over the internet, including for sale on sites like Etsy, but this is a hobby you might want to take up yourself.
If you don’t want to begin with a large piece, like the epoxy river table we’re talking about today, start with something simpler. Hone your skills with smaller epoxy crafts until you feel comfortable taking on this table project.
With any epoxy craft, large or small, the first step is to gather your materials. To measure exactly how much epoxy you’ll need for your project use an epoxy coverage calculator, entering information about your project’s length, width, height, etc.
Health And Safety
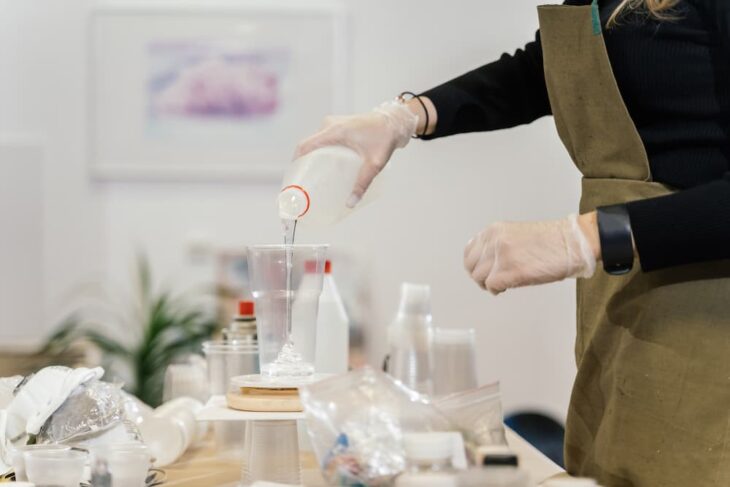
Working with epoxy resin can be hazardous if the proper precautions aren’t taken. It is important to wear protective clothing, gloves, and eyewear to prevent any skin or eye contact with the resin. Epoxy resin emits fumes that can be harmful to the lungs, so a well-ventilated workspace or the use of a respirator is also recommended.
Additionally, make sure to read and follow the instructions on your epoxy resin kit carefully, including the proper mixing ratios and curing times. When mixing the resin, avoid inhaling any dust or powder, and be sure to clean up any spills or drips immediately to prevent slips or falls.
How To Make An Epoxy River Table
Epoxy river tables are such beautiful and unique pieces of furniture. There’s almost no end to the variety of ways you can design them if you want something that’s truly one-of-a-kind.
You make an epoxy river table by filling a gap between two pieces of wood with epoxy resin, creating a beautiful “river” effect that highlights the natural beauty of the wood.
This project might not be one for a beginner, so as mentioned, practice working with epoxy resin. Then, when you’re comfortable, try your hand at making one of these tables. You can even start with a small side table or coffee table and work up to a dining table, if you’d like.
Step 1: Choose Your Wood
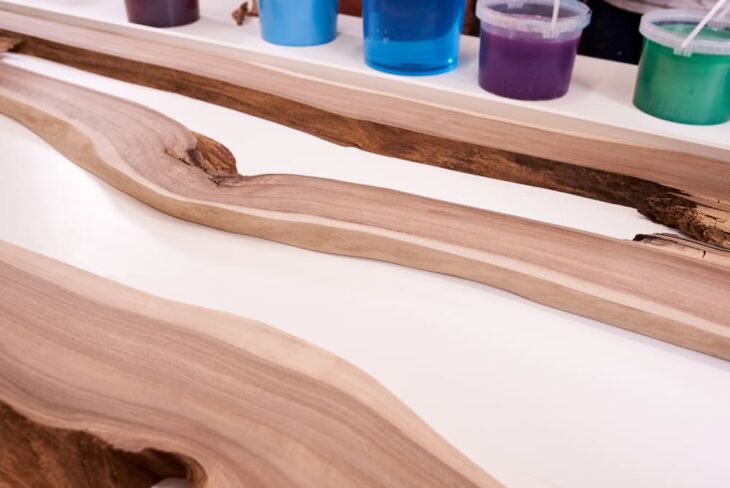
The first step is to choose the wood. You want to select pieces of wood that complement each other and are of similar thickness. Hardwoods like oak, maple, or walnut are great options, as they have an attractive grain pattern that adds to the beauty of the final piece.
Step 2: Prepare the Wood
Once you’ve selected the wood, you need to prepare it for the epoxy. Cut the wood to the desired length and width, and sand it down to remove any rough edges or imperfections.
You can also add any desired stain or color to the wood at this stage. Use a router to create a channel or groove in the center of the wood where the epoxy will go. The width and depth of the “river” will depend on the size of your table.
Step 3: Create a Mold
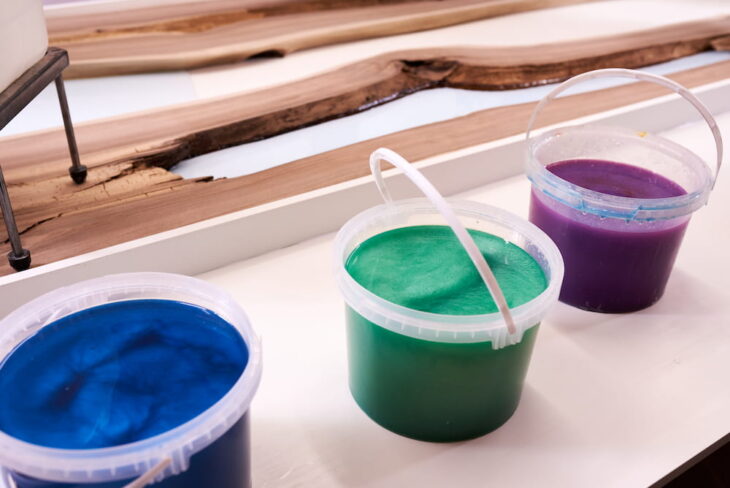
To create the mold, you will need to build a frame around the wood. You can use materials like melamine or plywood to build a frame. It’s very important to ensure that the frame is level and sturdy to prevent any leaks during the epoxy pouring process.
Step 4: Seal the Wood
Before pouring the epoxy, you need to seal the wood. This is important to prevent any air bubbles from forming in the epoxy. Use a sealant like shellac or polyurethane to seal the wood, and allow it to dry completely.
Step 5: Mix and Pour the Epoxy
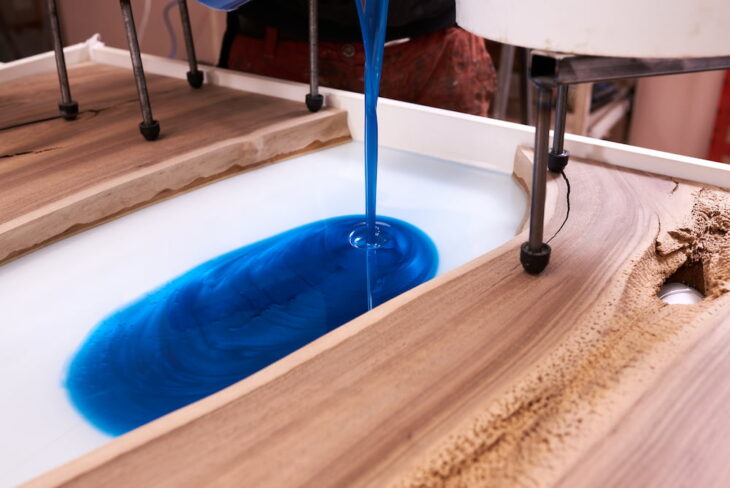
Mix the two parts of the epoxy according to the manufacturer’s instructions. Once mixed, pour the epoxy mixture into the river channel slowly and evenly, using a spreader or brush to distribute the epoxy evenly. Use a blowtorch or heat gun to remove any air bubbles that may have formed.
Step 6: Let the Epoxy Cure
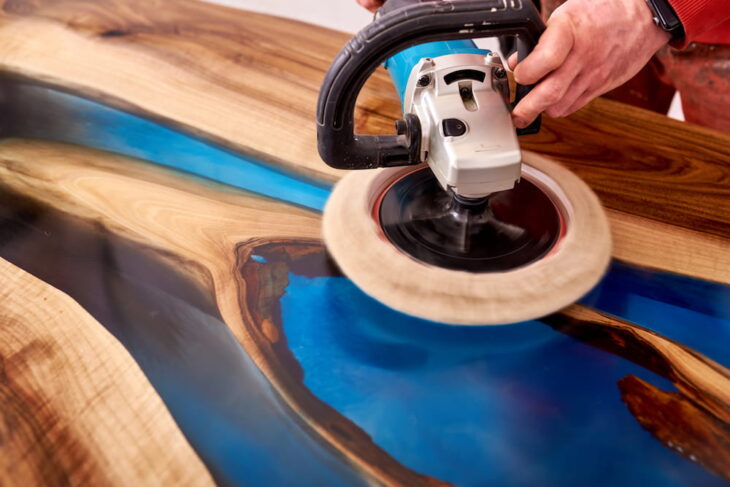
Allow the epoxy to cure for at least 24 hours before removing the mold. Once the epoxy has cured, use sandpaper to sand the surface of the table until it is smooth. Apply a finish of your choice to protect the wood and bring out its natural beauty.
Step 7: Enjoy Your Stunning Epoxy River Table
Finally, attach legs to your table (or any other hardware you want to add), and your stunning epoxy river table is complete. It’s a unique and beautiful piece of furniture that’s sure to impress your friends and family, so make sure you put it in a place where it will be seen!

River Table Aftercare
- Clean the table regularly: Use a soft, damp cloth to wipe down the surface of your table regularly. Avoid using harsh chemicals or abrasives, as they can damage the epoxy finish.
- Protect it from scratches and heat: Use coasters or trivets to protect the surface of your table from scratches and heat damage. Avoid placing hot items directly on the surface, as the heat can cause the epoxy to warp or discolor.
- Avoid direct sunlight: Exposure to direct sunlight can cause the epoxy to yellow or fade over time. Place your table in a location that is protected from direct sunlight.
- Reapply the finish as needed: Over time, the finish on your epoxy river table may start to wear away. To protect the wood and maintain the beauty of the table, you may need to reapply a finish every few years.
- Handle with care: While epoxy is a durable material, it can still be damaged if handled improperly. Avoid dropping heavy objects on the table, and be careful when moving them to prevent any cracks or damage.
In conclusion, making an epoxy river table is a fun and rewarding DIY project. With the right tools and materials, you can create a stunning piece of furniture that will last for years to come.
Also read:
Gorgeous DIY Agate Slice Coasters
25 Fantastic Pottery Barn Inspired Projects
Get Inspired by These 13 Upcycled Chandelier Ideas
You can find MomsWhoSave on Facebook, Instagram, Pinterest, and Twitter. Join us for updates!
Don’t miss a thing! Subscribe to MomsWhoSave’s newsletter.
Leave a Reply